How Does Spray Paint Stick to Plastic?
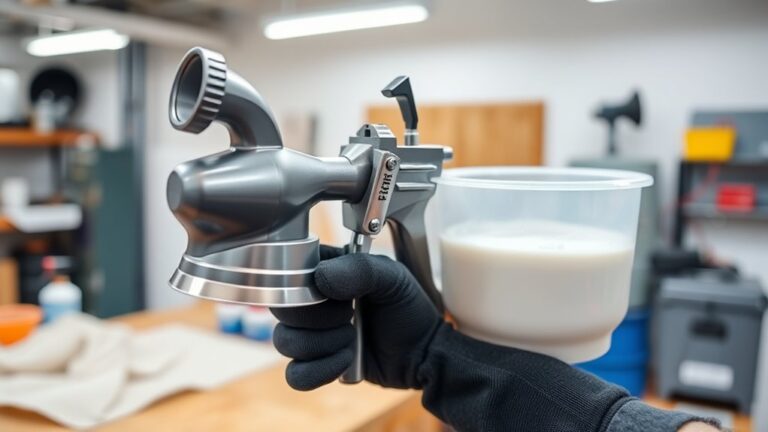
You can get spray paint to stick to plastic by properly prepping the surface first. Cleaning it with a degreaser is key to removing dirt and oils that might stop the paint from sticking well.
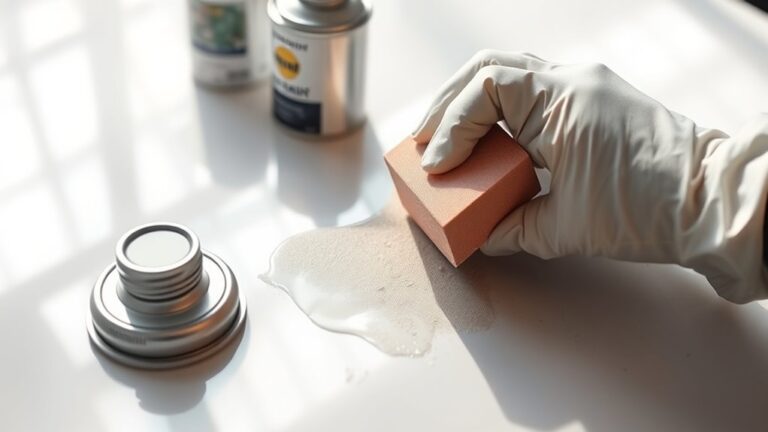
Then, sanding lightly creates a rough texture that helps the paint grip better.
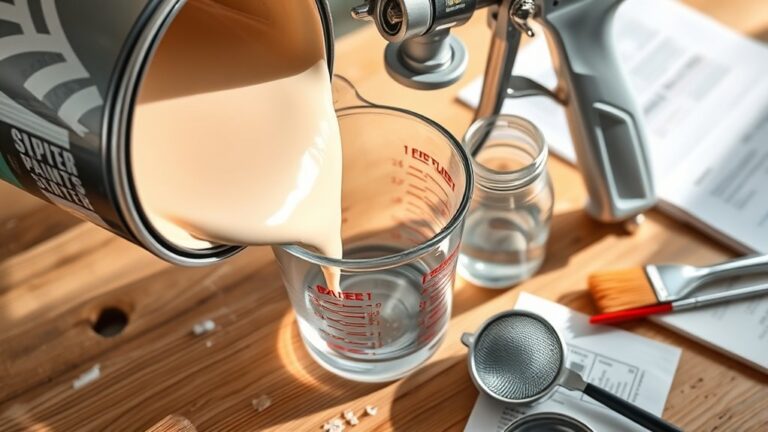
Next, use a primer designed specifically for plastic. This step is super important because it helps the paint bond firmly and prevents peeling down the line.
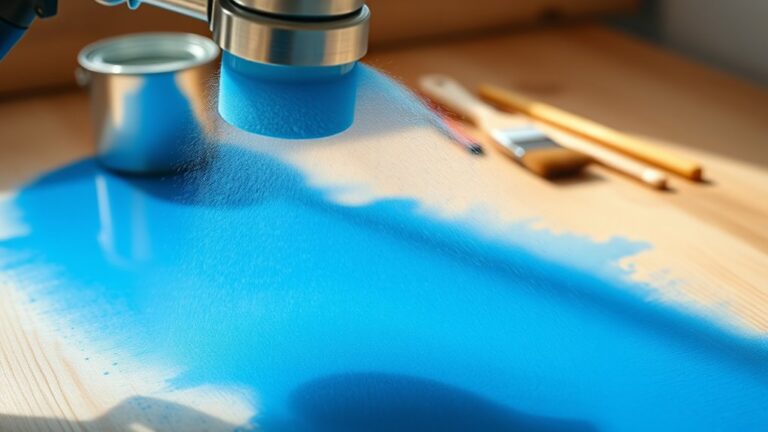
When you’re ready to paint, apply the spray paint in thin, even coats. Let each coat dry before putting on the next one.
Following these steps will make your spray paint stick much better to plastic surfaces. Plus, understanding these little details will help your project last longer and look great!
Key Takeaways
- Spray paint sticks to plastic by bonding with a surface that’s clean and a bit roughened up, usually by sanding.
- This prepped surface helps the paint grab on better and last longer.
- Using a primer made specifically for plastic is a smart move. It boosts adhesion and stops the paint from peeling or cracking.
- Before you paint, make sure to clean the plastic with a degreaser. This gets rid of oils and any gunk that could stop the paint from sticking well.
- When you spray, go for multiple thin, even coats instead of one thick layer. This gives better coverage and a stronger bond.
- Also, keep the right distance and use a steady spray technique. That way, the paint goes on smoothly and holds up better on plastic surfaces.
Challenges of Painting Plastic Surfaces

Although painting plastic surfaces might seem straightforward, you’ll quickly find that their smooth, non-porous nature makes it hard for paint to stick properly. The surface resists adhesion because traditional coatings often fail to bond well, causing peeling or flaking.
To improve adhesion, you need proper preparation—cleaning and sanding the plastic surface help create a texture for better bonding. Using the right primer is essential: flexible primers work best on soft plastics like vinyl to prevent cracking, while rigid plastics like polycarbonate require specialized self-etching primers.
Without this careful preparation and appropriate primer selection, your paint job won’t last. Understanding these challenges helps you appreciate why the right surface prep, flexible or self-etching primer, and sanding are indispensable for a durable, smooth coating on plastic.
Techniques to Ensure Spray Paint Adheres to Plastic

Getting spray paint to stick well on plastic starts with how you prepare and apply it. Begin with thorough surface cleaning using a degreaser like isopropyl alcohol to remove dirt, grease, and wax that hinder adhesion.
To get spray paint to stick on plastic, start by thoroughly cleaning the surface with a degreaser like isopropyl alcohol.
Next, lightly sand the plastic with fine grit sandpaper (400-600 grit) to create a rough texture, improving paint grip. Apply a plastic-specific primer—preferably flexible or self-etching—to promote strong bonding between the spray paint and plastic.
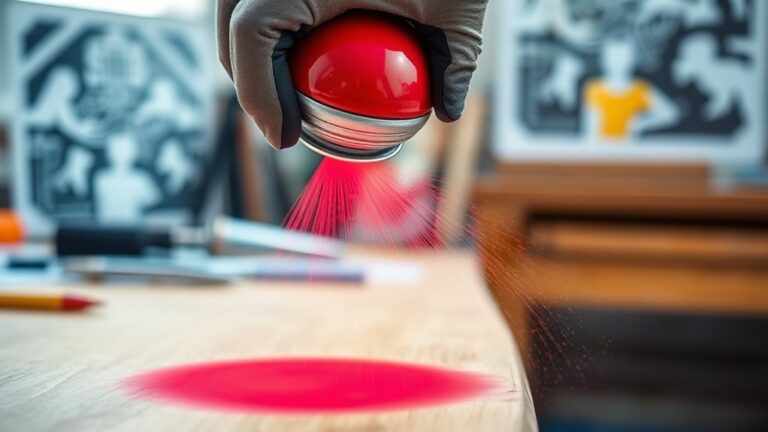
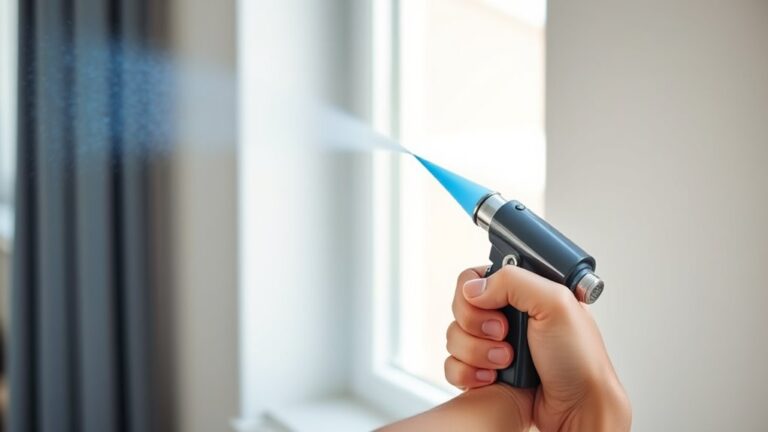
When spraying, hold the can at the recommended distance and use smooth, overlapping strokes to ensure even coating without drips. Apply multiple thin coats, allowing each to dry properly before the next.
This surface preparation and careful application enhance adhesion, resulting in a durable, flexible finish that sticks well to plastic. It’s all about patience and attention to detail!
Frequently Asked Questions
What Is the Best Way to Get Spray Paint to Stick to Plastic?
You get spray paint to stick to plastic best by cleaning and sanding the surface, using a plastic-specific primer, applying thin coats with proper drying time, holding the can correctly, and choosing paint made for plastic surfaces.
Start by giving the plastic a good clean so there’s no dirt or oils messing with the paint. Then, lightly sand it to help the paint grip better.
Next, slap on a primer that’s made specifically for plastic. This step is super important because regular primer won’t do the trick.
When you’re ready to paint, spray thin, even coats and give each layer enough time to dry. Also, keep the can about 8 to 12 inches away and spray in smooth, steady strokes.
Finally, make sure you use spray paint that’s designed for plastic — it makes all the difference in how well it sticks and lasts.
What Paint Permanently Stays on Plastic?
You’ll want to use premium spray paints like Krylon Fusion or Rust-Oleum Plastic. They chemically bond to plastic, especially if you prep properly with primer, clean, and sand.
Then, apply multiple thin coats and seal it well. This way, the paint will stick better and last longer on your plastic surface.
How Long Does Spray Paint Stick to Plastic?
Spray paint sticks to plastic for about 2-3 years outdoors if you prep the surface properly, use a plastic-specific primer, and apply multiple light coats.
Finishing with a clear protective topcoat really helps prevent peeling and flaking.
What Are the Pros and Cons of Using Spray Paint on Plastic?
You gain quick coverage, vibrant colors, and easy application, but face potential peeling, uneven finish, and durability issues.
You’ll need proper prep and patience to make sure it sticks well and lasts on plastic surfaces.
Conclusion
When you spray paint plastic, you’ll face challenges like poor adhesion and uneven coverage. To make the paint stick, you need to clean, sand, and use a plastic-friendly primer.
For example, imagine repainting an old plastic chair—you start by sanding it lightly, then apply a primer before spraying. This prep work guarantees the paint bonds well and lasts longer.
By properly cleaning and sanding the plastic surface, you help the paint grip better. Using a primer designed for plastic is key because it creates a surface that paint can cling to more effectively.
In the end, these steps ensure your spray paint sticks to plastic, giving your project a fresh, durable finish that lasts. So, if you want smooth, long-lasting results, remember: clean, sand, prime, then spray!