How to Paint a Room With a Sprayer in 5 Easy Steps
To paint a room with a sprayer, start by clearing and cleaning all surfaces. Patch any holes and prime bare spots to ensure an even finish.
Next, carefully mask floors, trim, doors, and ceilings to protect them from overspray. This step really helps keep your space neat and tidy.
Set up your sprayer correctly by adjusting the pressure and selecting the right tip for your paint. Then, spray evenly from about 12 inches away, overlapping each pass to avoid streaks.
Finally, remove the masking carefully and touch up any imperfections you notice. With a little patience, you’ll achieve a flawless, professional-looking paint job.
Keep following for more tips that make painting with a sprayer easy and fun!
Key Takeaways
– Prepare the room by moving furniture, cleaning walls, patching holes, and priming patched areas for even paint adhesion.
It’s important to start with a clean, smooth surface so your paint goes on nicely.
– Mask floors, trim, doors, and ceilings precisely using tape and plastic sheeting to protect surfaces from overspray.
This step helps keep your paint job neat and prevents any accidental splatters.
– Set up the sprayer by connecting it to clean, mixed paint, adjusting pressure, and priming until the spray is even.
Make sure everything is connected well and test the spray on a scrap surface first.
– Spray paint using steady, overlapping strokes at a consistent 12-inch distance with the nozzle perpendicular to the surface.
Keep your movements smooth and try not to stop mid-stroke to avoid uneven coverage.
– Remove masking carefully after painting dries, inspect for imperfections, and touch up with a brush as needed.
Take your time here so you don’t peel any fresh paint off. A few touch-ups can make a big difference!
Preparing the Room and Surfaces

Before you begin painting, you’ll want to prepare the room carefully to safeguard your belongings and guarantee a smooth finish. Start by moving furniture to the center and covering it with drop cloths or plastic sheeting.
Begin by moving furniture to the center and covering it with drop cloths to protect your belongings.
Thorough cleaning is vital—use a TSP and water mixture with a flat mop to remove grease and dust from the wall surface. Next, inspect for holes or dents and patch them with drywall putty.
Once dry, sand these areas smooth to create an even base. Remove outlet covers, turn off power, and apply masking tape carefully around switches and outlets.
Use masking tape to protect ceilings and trim, ensuring clean paint lines. If needed, apply primer over patched or bare spots to improve paint adhesion and assure a flawless finish.
Masking Floors, Trim, Doors, and Ceilings
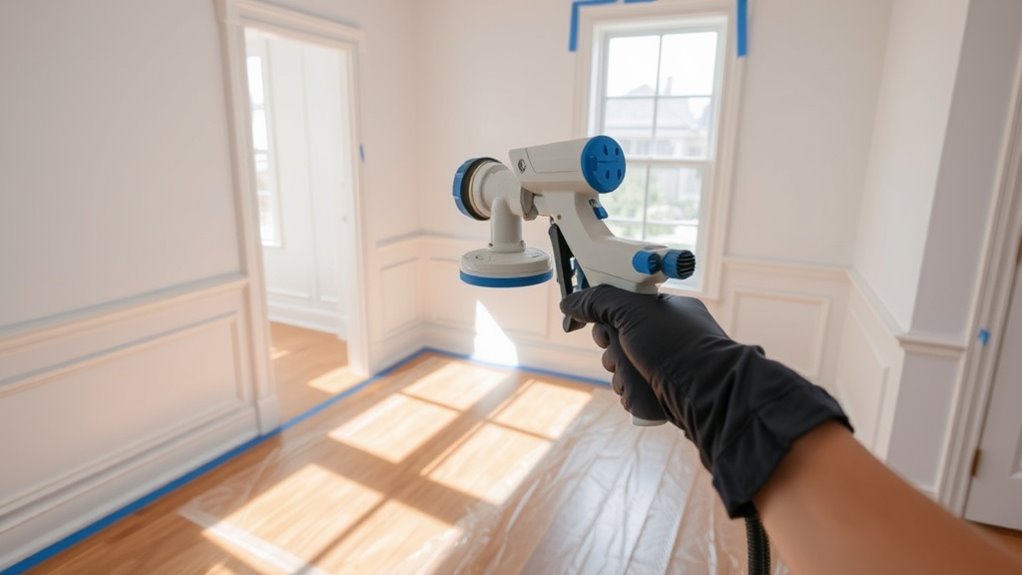
When you’re ready to protect your floors, trim, doors, and ceilings, start by covering floors with durable, non-slip masking paper or plastic sheeting. Make sure to tape the edges securely with painter’s tape.
For trim and baseboards, tape the edges first. Then tuck masking plastic or film underneath to create crisp lines and prevent paint from seeping.
If you can, remove doors or mask both sides. Overlap plastic sheeting and tape down the edges for seamless protective covering.
Cover ceilings with plastic sheeting, taping edges just 1/8 inch into the ceiling. This helps avoid overspray and keeps your lines clean.
Using pre-taped masking film speeds up the process. Plus, it ensures your spray pattern doesn’t stray onto unwanted areas, keeping your room neat and ready for painting.
Setting Up and Operating the Paint Sprayer
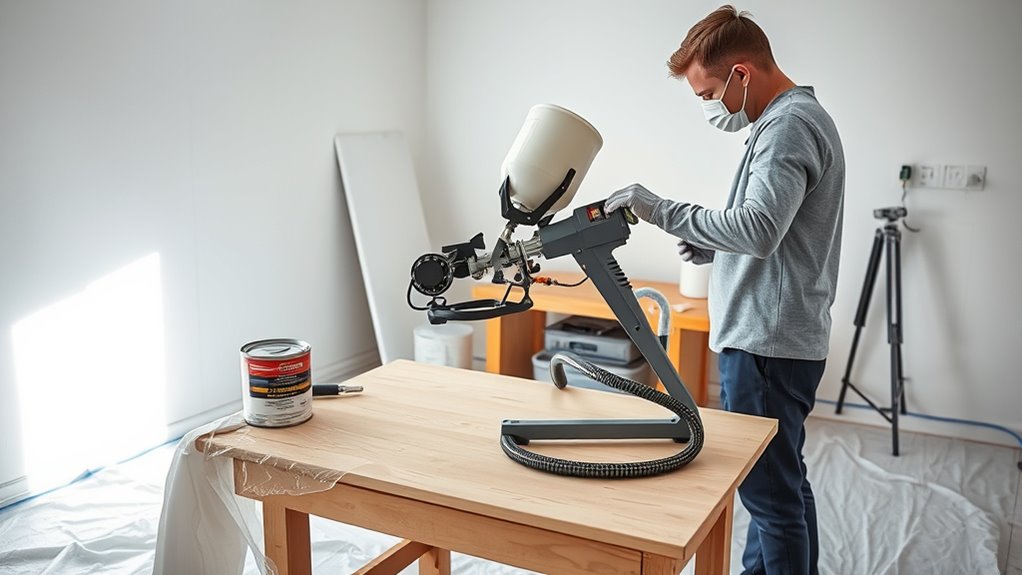
Although setting up a paint sprayer might seem complex, you’ll find it straightforward if you connect the sprayer securely to a clean, well-mixed paint container and check that all hoses and fittings are tight.
Next, adjust the spray tip and pressure according to the manufacturer’s instructions, matching the surface and paint type.
Before you start, prime the paint sprayer by running paint through it until you get a steady, even spray. This helps ensure no clogging or sputtering.
Keep a consistent distance of about 12 inches from the surface and remember to overlap each pass by roughly 50% for smooth coverage.
Once finished, focus on cleaning the sprayer thoroughly. Pay close attention to hoses, fittings, and the spray tip to maintain consistency and prolong your sprayer’s life.
Applying Paint With Proper Technique
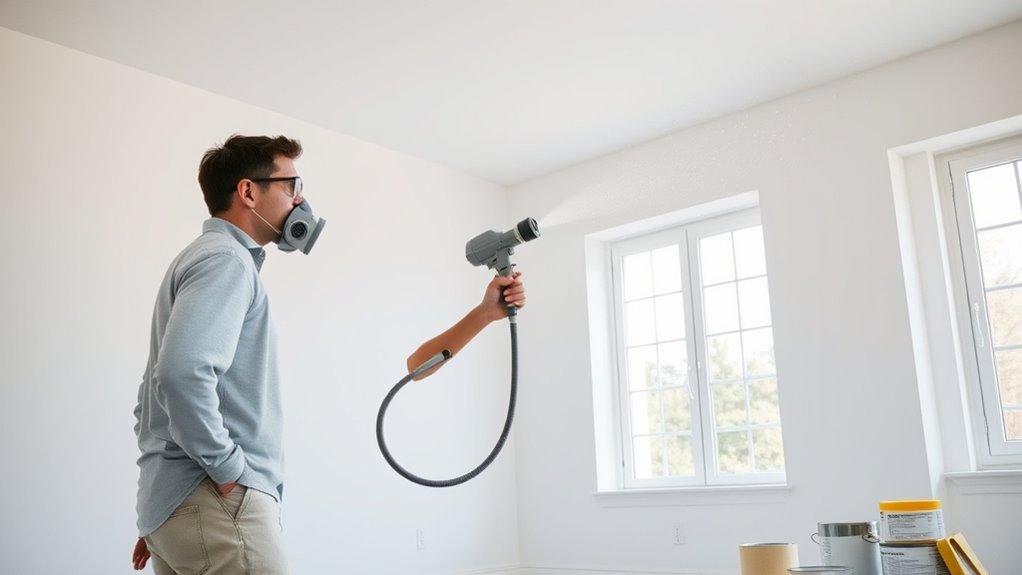
To achieve a smooth, even coat, you’ll want to maintain a consistent 12-inch distance from the surface while spraying and overlap each pass by about 50%. This sprayer technique guarantees even coverage and prevents streaks.
Use overlapping strokes in vertical or horizontal passes, starting from the top or a corner, to work with systematic application. Keep the spray nozzle perpendicular to the surface, maintaining the proper spray angle to avoid drips and uneven paint.
Practice good trigger control by releasing it only when moving off the surface, which helps prevent overspray and uneven lines. Remember, thorough surface preparation combined with consistent distance, angle of spray, and controlled movement is key to achieving a flawless finish with your paint sprayer.
Removing Masking and Touching Up
Once you’ve finished spraying with consistent technique, it’s time to carefully remove the masking materials. Start peeling back masking tape and plastic sheets slowly from the edges, working from the top or outer edges to avoid smudging wet paint.
Keep an eye out for drips, smudges, or uneven edges as you do your masking removal. After removing the masking tape, inspect the surfaces closely.
Use a touch-up brush or small applicator to fix any missed spots or rough areas. If needed, smooth out imperfections with a fine-grit sanding block before touching up.
Proper finishing includes cleaning your touch-up tools and disposing of or storing masking supplies correctly. This not only ensures a neat work cleanup but also prepares you for any future touch-up work.
Frequently Asked Questions
How to Paint With a Sprayer for Beginners?
You’ll want to start by practicing on scrap material to get comfortable. Keep the sprayer about 12 inches away, move steadily, and apply thin, even coats.
Make sure to protect surrounding areas well to avoid overspray. It’s all about taking your time and getting a feel for the sprayer before you jump into the main project.
What Are the Most Common Mistakes When Using Spray Paint?
You might unintentionally add character with overspray or uneven coats, but watch out for rushing, inconsistent distance, poor surface prep, and skipping cleanup.
These little quirks can lead to drips, clogs, and patchy finishes.
Taking your time and prepping properly really makes a difference.
And don’t forget to clean up afterwards—it helps keep your spray paint working smoothly next time!
What Is the Order of Spray Painting a Room?
You start by spraying edges and corners first, then move from top to bottom in vertical strokes. Work on one wall at a time, overlapping passes, and finish adjacent walls to guarantee even coverage without streaks.
It’s best to take it step by step like this. That way, you make sure every part of the room gets painted evenly. Plus, it helps avoid those annoying streaks that can show up if you’re not careful.
Do You Dilute Paint When Using a Sprayer?
Yes, you usually dilute paint when using a sprayer to guarantee smooth flow and prevent clogs.
Check your sprayer’s manual for the right ratio, typically 10-20% thinner. Also, strain the paint before spraying to avoid any bits that might clog the nozzle.
Conclusion
Painting with a sprayer is like flying a kite—you need the right setup and steady hands to keep everything smooth. Remember when I first tried it, and a sudden gust sent paint everywhere? With these steps, you’ll avoid that chaos.
Spraying covers surfaces 50% faster than brushes, so once you get the hang of it, your room transforms quickly and beautifully. Just prep well, spray evenly, and enjoy the effortless finish you’ll achieve!
Using a paint sprayer makes painting a room faster and more efficient. It helps you reach tricky spots and gives a smooth, even coat every time. By following these easy steps, you’ll master how to paint a room with a sprayer like a pro.
So, get your sprayer ready, prep the space properly, and start spraying. You’ll save time and get a professional-looking finish without the hassle of brushes or rollers. Painting with a sprayer is a smart choice for a quick, flawless room makeover!