How to Unclog a Paint Sprayer Step by Step
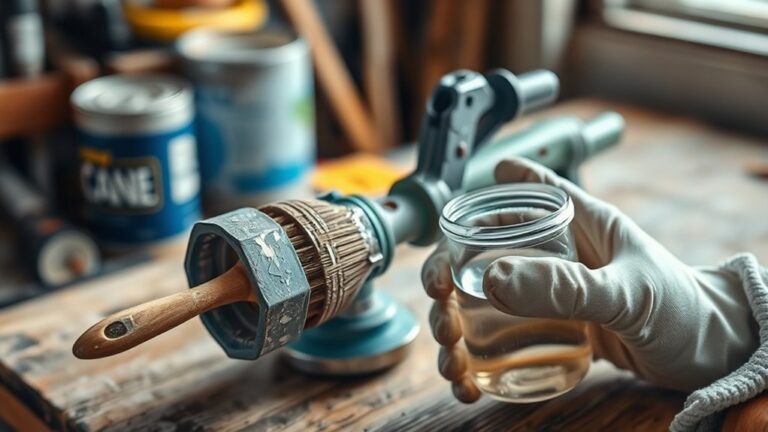
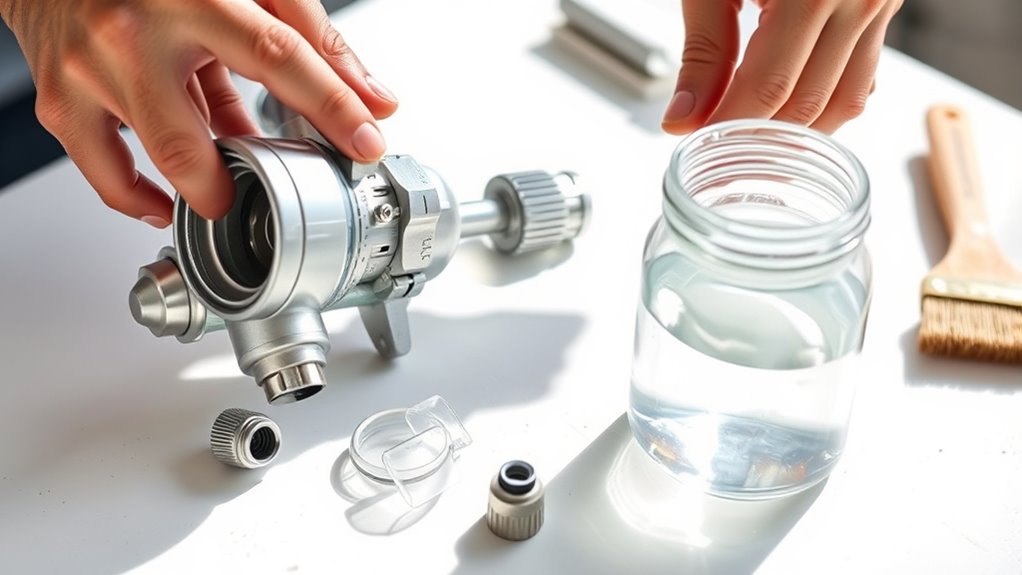
If your paint sprayer clogs, don’t worry—it’s a common issue and pretty easy to fix. Start by soaking the nozzle and tips in acetone or a suitable solvent. This helps dissolve any dried paint that’s causing the blockage.
Next, grab a fine needle or pin and gently clear out any residue inside the nozzle. Be careful here; you don’t want to damage the parts.
After that, flush the sprayer by running solvent through it while pressing the trigger. This step helps clear out any remaining blockages.
Always clean the tips right after you finish using the sprayer. Doing this prevents paint from building up and causing future clogs.
Follow these simple steps to keep your paint sprayer flowing smoothly and avoid those frustrating blockages. You’ll find even more helpful tips ahead to make your painting projects easier!
Key Takeaways
- Soak clogged spray tips in acetone or a suitable solvent for several minutes to dissolve dried paint. This helps loosen up any stubborn buildup.
- Use a fine pin or needle to carefully clear hardened paint from the nozzle openings. Take your time here to avoid damaging the tips.
- Remove and scrub spray tips with a brush dipped in cleaning solution to eliminate buildup. Make sure to get into all the nooks and crannies.
- Turn on the sprayer and press the trigger to flush out residual blockage using solvent. This step helps clear any remaining paint inside.
- Wipe the nozzle and tips with a lint-free cloth to ensure smooth, uninterrupted paint flow. A clean nozzle means better spraying next time!
Common Causes of Paint Sprayer Clogging

Why does your paint sprayer clog so often? One main reason is paint drying inside the nozzle or tube, which blocks proper flow. When paint dries, it hardens, causing clogging that disrupts spraying.
Paint sprayers clog when dried paint hardens inside the nozzle or tube, blocking proper flow and disrupting spraying.
Using thick or incompatible paints without thinning them properly also raises the risk of clogs. If you skip maintenance and don’t clean your sprayer thoroughly after each use, residual paint hardens and obstructs the tips.
Repeated use without proper upkeep allows buildup inside components, making clogging worse over time. Additionally, storing paint in the sprayer for long periods leads to hardened paint that blocks the system.
To avoid frequent clogging, regular maintenance and immediate cleaning after use are essential to keep your sprayer working smoothly. Trust me, a little cleanup goes a long way!
Effective Techniques for Unclogging Sprayer Tips

Although clogged sprayer tips can be frustrating, you can often clear them quickly with the right approach. Start by soaking the clogged tip in acetone or a suitable cleaning solvent for several minutes to dissolve dried paint buildup.
Next, use a fine pin or needle to carefully remove any dried paint inside the nozzle. If the tip is removable, take it off and gently scrub with a brush dipped in cleaning solution.
For an airless sprayer, turn it on and press the trigger briefly to force solvent through the nozzle, flushing out residual blockage. Finally, wipe the tip with a lint-free cloth to remove debris and ensure smooth spray flow.
These effective techniques will get your sprayer working properly again in no time. Easy, right? Just a few simple steps and you’re back in action!
Preventative Maintenance to Keep Sprayers Flowing Smoothly

To keep your paint sprayer working smoothly, you need to perform regular preventative maintenance after each use. Start by cleaning spray tips immediately with acetone or mineral spirits to prevent paint buildup that clogs nozzles.
For airless spraying equipment, turn the spray can upside down and press the nozzle until only air comes out. This helps clear any residual paint inside.
Wipe the nozzle with a lint-free cloth or cotton swab dipped in cleaning solution to remove dried paint. Store your sprayer in a clean, dry place, making sure no paint residue remains inside tips or tubes to avoid hardening.
Periodically soak removable spray tips in acetone or proper solvents. This keeps your spray performance consistent.
Following these steps ensures your sprayer stays clog-free and ready for your next project. It’s simple but makes a big difference!
Frequently Asked Questions
How Do I Unclog a Clogged Paint Sprayer?
You unclog a paint sprayer by removing the tip and soaking it in solvent. Then, clear the nozzle with a pin before putting it back together.
Next, flush air through the sprayer to clear any remaining blockage. If it’s still blocked, soak the tip overnight and try again.
Can I Run Water Through My Paint Sprayer to Clean It?
You can run water through your paint sprayer like a river cleansing the land, but only if you’ve used water-based paint.
For oil-based paints, stick to solvents to avoid damage and stubborn clogs. It’s all about using the right cleaning method for the paint type.
How to Unclog a Spray Can That Won’t Spray?
You’ll want to turn the can upside down and spray until only air comes out. Then, shake it vigorously to mix paint inside.
If needed, remove and soak the nozzle in solvent, clearing it gently with a pin. This usually does the trick!
How to Fix a Sprayer That Won’t Spray?
You’ll want to remove the spray tip, soak it in solvent, and clear any blockages with a pin.
Check the dip tube’s alignment, then run the sprayer without the tip to flush out clogs and restore flow.
Doing this step-by-step really helps get things moving again. Just take your time, and you’ll have it spraying in no time!
Conclusion
By following these steps, you’ll nip paint sprayer clogs in the bud before they become a bigger headache. Keeping your sprayer clean and well-maintained is like oiling the gears of a finely tuned machine—everything runs smoothly.
Remember, a little regular care goes a long way in preventing blockages. This way, you can keep your projects flowing without a hitch.
Don’t let a clog throw a wrench in your painting plans! Regular unclogging and maintenance of your paint sprayer ensure consistent spray patterns and save you time and frustration on every job. So, stay ahead by cleaning your paint sprayer properly and enjoy flawless finishes every time.