How to Clean a Paint Sprayer With Dried Paint in 3 Easy Steps
To clean a paint sprayer with dried paint, start by disassembling all removable parts like the nozzle and spray tip. This step is crucial because dried paint can clog these components and affect your sprayer’s performance.
Next, soak the parts overnight in warm water mixed with a mild cleaner. This helps loosen the dried paint, making it easier to remove.
After soaking, gently scrub away any remaining residue to ensure all paint is cleared out.
Finally, reassemble the sprayer and flush it with clean water until the water runs clear.
This simple process keeps your paint sprayer working smoothly and prevents future clogs. Stick around for some handy tips that will help your sprayer last even longer!
Key Takeaways
- Disassemble all sprayer parts like the tip and nozzle following manufacturer instructions for thorough cleaning.
- Soak the parts overnight in warm water mixed with Murphy’s Oil Soap to loosen dried paint.
- Use a soft brush or cloth to gently scrub remaining paint after soaking.
- Rinse parts thoroughly with clean water and repeat soaking if stubborn paint remains.
- Reassemble the sprayer, then flush clean water through it until liquid runs clear to remove all residue.
Disassemble and Soak Paint Sprayer Parts

Before you start cleaning, carefully disassemble your paint sprayer by removing the spray tip, nozzle, and fluid passages according to the manufacturer’s instructions. When dealing with an airless paint sprayer, this step is vital to guarantee thorough cleaning and prevent clogging.
Once disassembled, submerge all parts in a container filled with warm water mixed with Murphy’s Oil Soap or another suitable cleaning solution. Make sure each component is fully submerged to loosen dried paint effectively.
Submerge all sprayer parts in warm, soapy water to effectively loosen dried paint and ensure thorough cleaning.
Let the parts soak overnight to soften any stubborn residue. After soaking, use a soft brush or cloth to gently scrub away remaining paint.
Finally, rinse everything thoroughly with clean water to remove soap and loosened paint. This careful process prepares your sprayer for reassembly and peak function.
Remove Dried Paint Using Soaking and Mechanical Methods
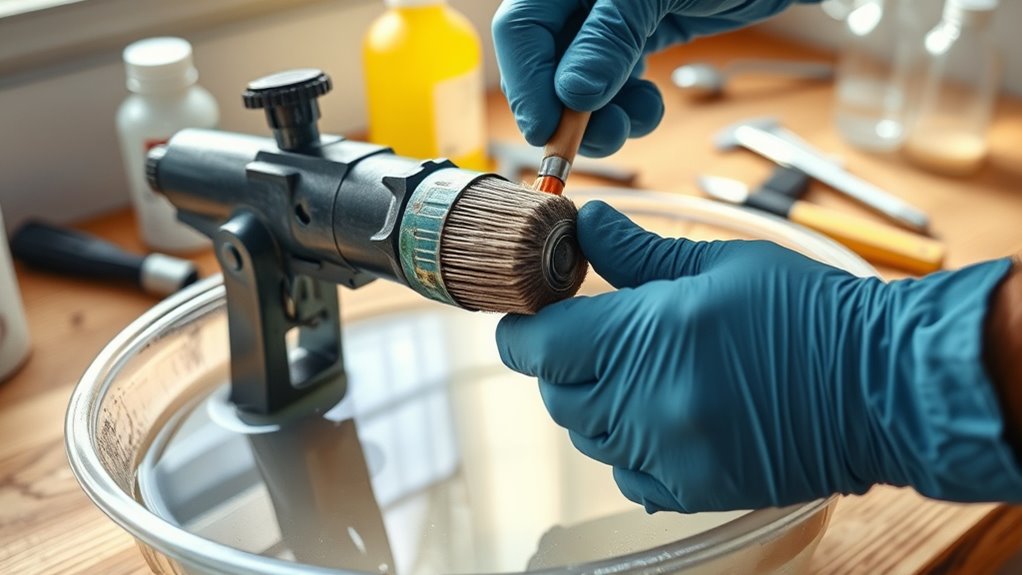
Although soaking loosens most dried paint, you’ll often need to combine this with mechanical methods to fully clean your sprayer parts.
To clean an airless sprayer, soak components overnight in water mixed with Murphy’s Oil Soap or washing-up liquid. Make sure everything is fully submerged for the best results.
After soaking, wipe softened paint with a paper towel. Then, use gentle scrubbing or a brayer for any stubborn spots.
Never rinse paint down drains, and if needed, just repeat the soaking process.
| Step | Method | Tip |
|---|---|---|
| Soak | Overnight immersion | Fully submerge parts |
| Wipe | Paper towel | Remove softened paint gently |
| Scrub/Brayer | Mechanical cleaning | Target stubborn paint spots |
Reassemble and Flush the Sprayer for Optimal Performance
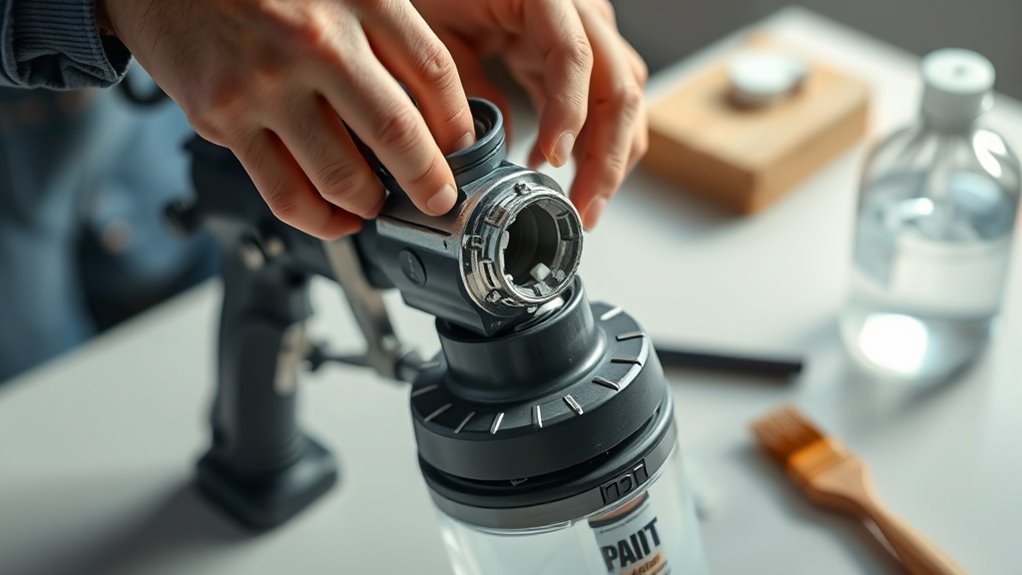
Once you’ve thoroughly cleaned each part, reassemble your sprayer securely to guarantee it functions properly during flushing. Fill the paint reservoir with clean water or the recommended cleaning solution.
Then, trigger the sprayer to flush the solution through all internal components and spray tips. Keep flushing until the liquid runs clear, making sure all leftover paint and debris are gone.
After flushing, take apart any removable parts again and dry them completely. This helps prevent rust and buildup.
This step is super important for keeping your sprayer working at its best and lasting longer. By following these steps, you’ll keep your paint sprayer in great shape and ready for your next project.
Frequently Asked Questions
How to Get Dried Paint Out of a Paint Sprayer?
You should soak the sprayer parts in warm, soapy water overnight to loosen dried paint. Then, gently scrub with a soft brush and use a plastic scraper if needed.
Rinse and dry thoroughly before reassembling. This way, you’ll make sure everything is clean and ready for the next use.
What Dissolves Dried Spray Paint?
You can dissolve dried spray paint using solvents like mineral spirits or paint thinner for oil-based paints, and warm soapy water for water-based types.
Specialized paint removers also work well to break down hardened paint residues quickly.
It’s pretty handy to know which option suits the type of paint you’re dealing with. That way, you get the best results without much hassle.
What Can I Soak My Paint Sprayer in to Clean It?
To kill two birds with one stone, soak your paint sprayer in water mixed with Murphy’s Oil Soap overnight.
This loosens dried paint, making it easier for you to wipe away residue without damaging parts. Give it some time to work its magic!
What Dissolves Hardened Paint?
You can dissolve hardened paint using solvents like mineral spirits, paint thinner, or acetone for oil-based paints. These solvents break down the paint, making it easier to remove.
For water-based paints, soaking parts in warm soapy water works well. You can also use specialized cleaners designed to soften and remove the paint effectively. Give it some time to soak, and the paint should come off more easily.
Conclusion
Cleaning a paint sprayer with dried paint might seem like taming a stubborn beast, but with these simple steps, you’ve got it under control. By soaking, scrubbing, and flushing, you’re giving your sprayer a fresh start, ready to tackle your next project smoothly.
Keep up this routine, and your sprayer will stay as reliable as a trusty sidekick. It’ll save you time and frustration every time you pick it up. A clean paint sprayer means better spray patterns, less clogging, and longer equipment life. So, don’t let dried paint slow you down—regularly cleaning your paint sprayer ensures it performs like new, making your painting jobs easier and more enjoyable.