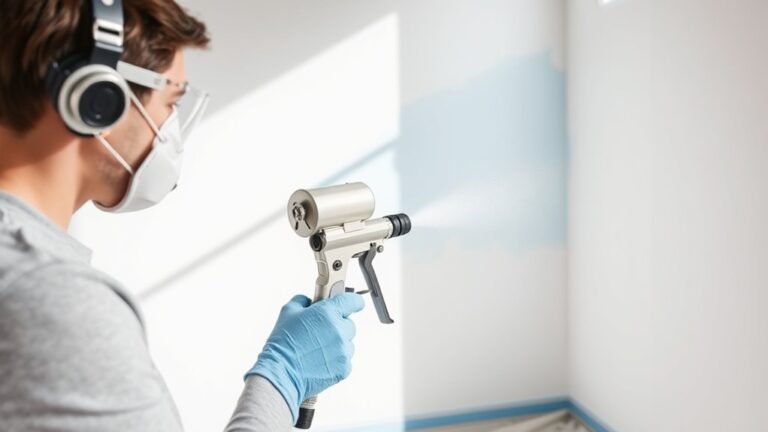
How to Clean a Paint Sprayer in 5 Easy Steps
To clean your paint sprayer in 5 easy steps, start by unplugging the sprayer and removing the paint container. This is important to make sure you’re working safely and to prevent any spills.
Next, flush out any leftover paint by running water or a suitable cleaner through the system at low pressure. Keep flushing until the liquid runs clear.
Once that’s done, wipe down the exterior of the sprayer to remove any paint splatters or dust. Don’t forget to thoroughly flush the hoses and spray tips as well.
After that, run the sprayer at full pressure to blow out any remaining debris or residue stuck inside.
Finally, give the spray tips and filters a good cleaning. Purge all fluids from the system, and then store your sprayer using the proper storage fluid to keep it in top shape.
Follow these steps regularly, and you’ll not only keep your paint sprayer clean but also extend its life significantly. Keep going, and you’ll find it gets easier each time!
Key Takeaways
- Turn off and unplug the sprayer. Remove the paint container, and detach hoses and tips. This makes cleaning safer and easier.
- Next, flush out any leftover paint. Use water or a cleaning solution at low pressure. Keep flushing until the fluid runs clear from the nozzle.
- Wipe down the exterior surfaces of the sprayer. Also, flush all hoses and tips thoroughly. This helps remove paint buildup and prevents clogging.
- Now, run the sprayer at full pressure for 20-30 seconds. This clears out any remaining debris. It ensures your system is clean and ready for next time.
- Finally, clean spray tips and filters carefully. Purge any fluids and circulate storage fluid if needed. Store your sprayer in a dry, heated place to keep it in top shape.
Preparing the Sprayer for Cleaning

Before you begin cleaning your paint sprayer, make sure to turn it off and unplug it to stay safe. Start by removing the paint container and detaching any hoses or spray tips.
This step makes your paint sprayer easy to clean and prevents leftover paint from clogging parts. Prepare your workspace with towels or rags to catch any drips or spills during cleaning.
Wiping down the external surfaces with a damp cloth helps stop paint from drying on your machine, keeping it in good condition. By carefully prepping your paint sprayer this way, you set the stage for a smooth, effective cleaning process that maintains your tool’s performance and longevity.
Removing Residual Paint at Low Pressure

Once you’ve prepped your sprayer, the next step is to remove any leftover paint inside the system. To do this safely and effectively, follow these steps:
- Turn off the sprayer and disconnect it from power before starting. This prevents accidents and guarantees safety.
- Add a small amount of water or cleaning solution into the paint container. Then, gently push the trigger at low pressure to flush out residual paint through the spray gun and hoses.
- Keep pressing the trigger until you see clear, thin fluid flowing from the nozzle. This signals the paint is mostly cleared out, avoiding clogs or dried paint buildup.
Maintaining low pressure prevents splattering and protects your sprayer components during this vital step. It’s an easy way to keep your equipment in good shape.
Wiping and Flushing the System Thoroughly

While the sprayer is still damp from flushing, wipe down its exterior to remove any excess paint that could harden and cause damage later. Use a clean cloth and focus on seams and crevices where paint tends to accumulate.
Next, flush the system thoroughly by running water or cleaning fluid through the hoses and tips at low pressure. This helps push out any remaining paint inside the internal components.
Don’t forget to clean the spray tip carefully with a brush or wire to prevent clogging and maintain a proper spray pattern next time you use it. Taking these steps ensures your sprayer stays in good condition and ready for your next project.
Pressurizing to Clear Remaining Debris
Because residual paint can clog your sprayer, you’ll want to pressurize the system by running it at full pressure for 20 to 30 seconds. This step forces out any remaining paint and debris, ensuring a clear passage through the pump and hoses.
Running your sprayer at full pressure for 20-30 seconds clears residual paint and prevents clogs.
Follow these simple steps:
- Hold the hose firmly and move it quickly to scrub the pump walls, preventing clogs.
- Run cleaning fluid or water through the system under full pressure, flushing out all paint residues.
- Watch for the blue cleaning fluid coming from the gun and return hose—this confirms the system is fully cleared.
It’s a quick process, but it makes a big difference in keeping your sprayer working smoothly. Just stick with it, and you’ll avoid any annoying clogs down the line!
Final Cleaning and Proper Storage Techniques
To keep your paint sprayer in top condition, you should complete a final cleaning and use proper storage techniques after every job. First, remove and clean the spray tip and filters to prevent clogs. Then, purge excess water or cleaning fluids from the system.
Next, fill the sprayer with a storage fluid like windshield washer fluid or mineral spirits until the fluid circulates through all hoses and components. This step helps protect the internal parts from rust and freezing.
Finally, store the sprayer in a heated, dry place to avoid damage from freezing and moisture. It’s a simple way to make sure your equipment lasts longer and stays ready for the next job.
| Step | Purpose |
|---|---|
| Clean tips and filters | Prevent clogs and maintain flow |
| Fill with storage fluid | Prevent rust and freezing |
| Store in dry, heated area | Protect from moisture damage |
Frequently Asked Questions
How Do I Properly Clean My Paint Sprayer?
You should run the sprayer on low pressure to push out paint. Then, flush the hoses and tips with water or cleaner.
After that, run it at full pressure to clear out any debris. Finally, clean the tip and wipe down the sprayer thoroughly.
This way, your sprayer stays in good shape and works well for your next project!
What Can I Run Through My Paint Sprayer to Clean It?
You can run water or a mild detergent mixture through your sprayer for water-based paints, and mineral spirits or a solvent for oil-based paints.
Windshield washer fluid also helps dissolve stubborn residues and prevent clogs. It’s pretty handy when you want to keep your sprayer working smoothly.
How Do You Get Buildup off Sprayer Nozzles?
You don’t need a steam-powered contraption—just soak the nozzle in warm water or cleaning solution. Then, gently scrub with a soft brush or needle to clear buildup.
After that, push cleaning fluid through at low pressure to flush it out. It’s pretty simple once you get the hang of it!
How to Clean a Wagner Paint Sprayer With Dried Paint?
You’ll want to soak the Wagner sprayer’s tip and parts in warm, soapy water or a recommended remover. Then, scrub gently with a soft brush.
After that, flush the system with clean water or solvent to clear all dried paint. This helps make sure every bit of paint is gone and your sprayer is ready to use again.
Conclusion
Cleaning your paint sprayer properly can extend its life by up to 50%, saving you time and money on repairs. By taking a little extra care, you keep your investment working smoothly for years to come.
Start by following these five easy steps—preparing, removing paint at low pressure, wiping and flushing, pressurizing, and final cleaning. Each step plays a key role in maintaining your sprayer’s performance.
Don’t skip these steps; a well-maintained sprayer means smoother jobs and less hassle. So, take a few extra minutes to clean it right after every use. Remember, regular cleaning not only improves the quality of your paint jobs but also prevents clogs and costly breakdowns. Keeping your paint sprayer clean is essential for anyone who wants consistent results and a longer-lasting tool. Make cleaning your paint sprayer a simple part of your routine—you’ll thank yourself on your next project!