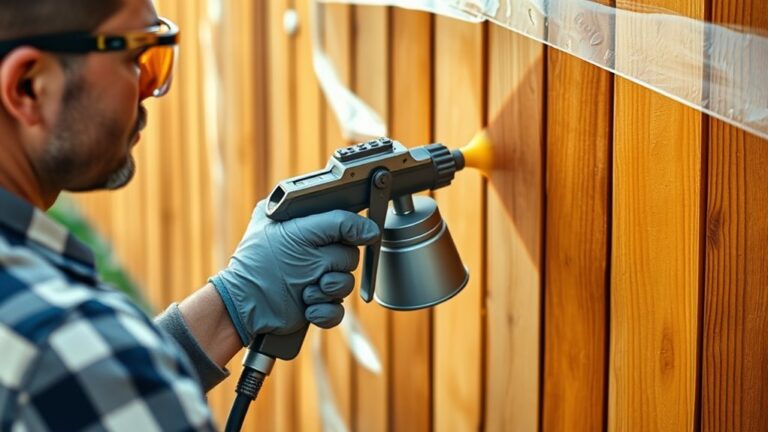
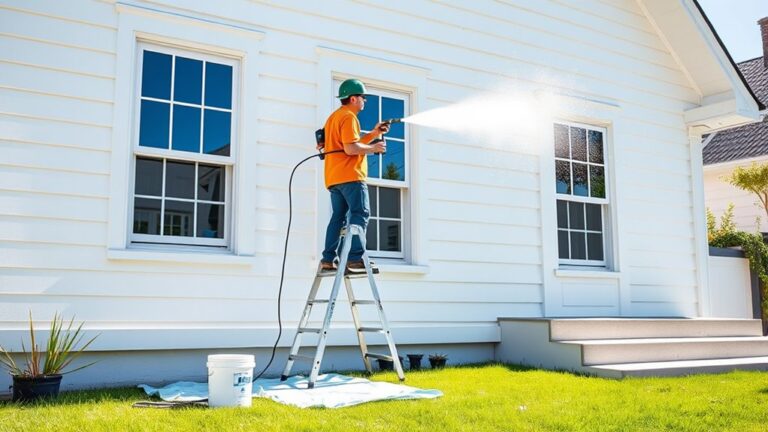
How You Put Wood Stain in a Paint Sprayer
To put wood stain in a paint sprayer, first stir it well and strain out any lumps. This helps ensure a smooth application without clogs.
Then, thin the stain gradually with water, acetone, or alcohol until it flows smoothly.
Pour it carefully into your sprayer, avoiding air bubbles that can cause uneven spraying.
Use a small spray tip around 1 mm and adjust the air pressure for even coverage.
Keep your distance steady and overlap passes for the best results.
Stick around to explore how to fine-tune your technique for a flawless finish.
Key Takeaways
- Stir wood stain thoroughly and strain it to remove lumps before pouring it into the paint sprayer.
- Thin the stain gradually with water, acetone, or alcohol. This helps achieve the proper flow consistency for spraying.
- Use a small spray tip, around 1 mm, and adjust the air pressure to about 23 psi when spraying stain.
- Pour the stain slowly into the sprayer reservoir. Doing this carefully helps avoid trapping air bubbles inside.
- Test spray on scrap wood first. This lets you fine-tune the spray pattern, pressure, and flow before applying it to your actual project.
Preparing the Stain for Spraying

Before you load the stain into your paint sprayer, you’ll need to prepare it properly to guarantee smooth application. Start by stirring the stain thoroughly with a stir stick to ensure consistent color and texture.
Next, strain the stain through a paint strainer bag to remove lumps or debris that could clog the sprayer. Check the spray pattern by testing on scrap wood, and adjust the stain’s viscosity if necessary.
Thinning with water, acetone, or alcohol helps improve flow and sprayability. Add thinning agents gradually, mixing well each time, until you achieve the desired spray pattern without drips or uneven coverage.
Finally, pour the prepared stain into the sprayer’s container carefully to avoid trapping air bubbles. This will help ensure an even, professional finish.
Setting Up Your Paint Sprayer

Although you’ve prepared the stain carefully, setting up your paint sprayer correctly is essential for achieving a smooth, even finish.
Start by ensuring your surface is clean and dry to promote proper adhesion. Choose a smaller spray tip, around 1 mm, ideal for the low-viscosity stain you’re using.
Begin with a clean, dry surface and select a 1 mm spray tip for optimal stain application.
Adjust the sprayer’s air pressure to about 23 psi, but be ready to tweak this depending on how the stain flows and covers. Back the fluid needle out roughly 2.5 turns from closed to control the stain flow initially.
Before you begin on your project, test spray on scrap wood or cardboard. This helps you fine-tune the pressure and paint flow, ensuring the stain applies evenly without drips or blotches.
Tips for Applying Stain With a Sprayer

When you apply stain with a sprayer, testing on a small area or scrap wood helps you dial in the right dilution and spray settings to get an even finish. Use a smaller tip size, like 1 mm, for better control when you spray thin stains or paints.
Keep the sprayer about 6 to 12 inches from the surface to ensure even coverage and prevent runs. Overlap each pass by 50% to avoid streaks and uneven color absorption.
While the stain is still wet, back-brush or wipe it into the wood to enhance penetration and reduce blotching. Following these tips will help you achieve a smooth, consistent finish that highlights the wood’s natural beauty with your spray application.
Frequently Asked Questions
Can I Put Wood Stains in a Paint Sprayer?
Yes, you can put wood stains in a paint sprayer. Just thin the stain if needed, choose the right tip and pressure, test on scrap wood first, and clean the sprayer thoroughly after to prevent clogs and buildup.
It’s pretty straightforward, but those little steps make a big difference. Give it a try and you’ll see how smooth the finish can be!
Does Stain Need to Be Thinned in a Sprayer?
Yes, you usually need to dilute stain before spraying to guarantee smooth flow and even coverage. Thin it gradually, stir well, and test spray to avoid over-thinning and maintain the stain’s color and penetration.
It’s kind of like adjusting the consistency so it sprays nicely without clogging. Just take your time with it, and you’ll get a great finish!
What Is the Best Applicator for Applying Wood Stain?
You’ll find that HVLP spray guns, used by 75% of pros, are the best applicators for wood stain. They deliver smooth, even coats quickly while minimizing overspray.
This makes your staining job efficient and flawless every time. Plus, they’re pretty easy to handle once you get the hang of them.
Can You Use the Same Sprayer for Paint and Stain?
Yes, you can use the same sprayer for paint and stain. Just adjust the nozzle and pressure to fit the material you’re spraying.
Make sure to clean it thoroughly between uses. This helps avoid clogging and keeps your sprayer working smoothly.
Also, check your sprayer’s compatibility with both paint and stain. That way, you’ll prevent any cross-contamination and get the best results every time.
Conclusion
Now that you know how to prepare and apply wood stain with a paint sprayer, you’re ready to tackle your project like a pro.
Remember, “measure twice, cut once” applies here too—take your time prepping the stain and setting up your sprayer for the best results.
With patience and proper technique, you’ll achieve a smooth, even finish that brings out the wood’s natural beauty. Using a paint sprayer for wood stain not only speeds up the process but also helps you get an even coat without brush marks or streaks.
So, whether you’re refinishing furniture or staining a deck, mastering how to put wood stain in a paint sprayer is a game-changer. Happy staining!