How to Paint House Exterior With a Sprayer in 5 Easy Steps
To paint your house exterior with a sprayer, start by thoroughly cleaning and prepping the surface. Fix any damage and protect nearby areas to avoid unwanted paint splatters. These initial steps are crucial for a smooth and professional-looking finish.
Next, gather your sprayer, paint, and safety gear, then set up your workspace. Make sure everything is within reach so you can work efficiently without interruptions. It’s a good idea to practice spraying on scrap material first to get the hang of the technique.
When you’re ready, apply the paint using steady, overlapping strokes for even coverage. This helps avoid streaks and ensures the paint goes on smoothly.
Once finished, clean your equipment thoroughly and inspect the exterior for any touch-ups.
Following these steps guarantees a smooth finish. Plus, you can explore detailed tips for a flawless job and make your house exterior look fresh and vibrant.
Key Takeaways
– Clean and prep the exterior surface by power washing, scraping loose paint, sealing cracks, and repairing damaged areas.
This step is super important because it helps the paint stick better and last longer.
– Set up a quality airless paint sprayer with proper tips, safety gear, and measure paint needed.
Make sure you have everything ready before you start so the job goes smoothly.
– Practice spraying on scrap material to adjust pressure, distance, and maintain consistent, overlapping strokes.
This practice helps you get a feel for the sprayer and avoid mistakes on your house.
– Hold the sprayer about 12 inches from the wall and apply paint evenly with 50% overlap for full coverage.
Take your time and keep a steady hand to get a nice, even coat.
– After paint dries, remove protective coverings, inspect for missed spots, touch up, and thoroughly clean the sprayer.
Cleaning your sprayer well will keep it working great for next time!
Prepare the Exterior Surface

Before you start painting, make sure to power wash the siding thoroughly to remove dirt, loose paint, mold, and mildew. Then, let it dry for one to two days.
Once dry, scrape loose paint from the exterior siding with hand tools or a sander to create a smooth surface. Use caulk or filler to seal holes, cracks, and gaps—this helps prevent water damage and ensures a uniform finish.
Repair any damaged siding, trim, or mortar joints to stabilize the surface before painting. Next, cover windows, doors, and nearby landscaping with plastic sheeting and secure it using painter’s tape to protect them from overspray.
Taking these steps will prepare your exterior surface properly, making your paint job last longer and look professional.
Gather and Set Up Equipment

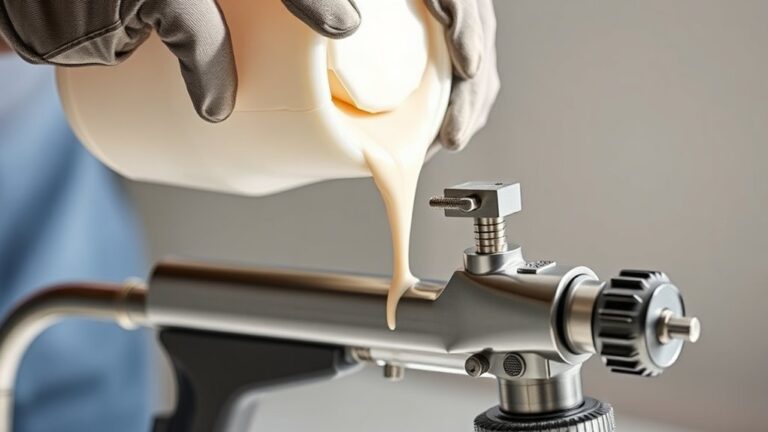
Once your exterior surface is prepped and protected, it’s time to gather and set up the right equipment for painting. Choose a high-quality airless paint sprayer like Graco or Magnum, and select compatible spray tips such as 515 or 517 for exterior latex paint.
Make sure your equipment setup includes a spray gun, a 50-foot spray line for flexibility, an extension ladder, and paint strainers. Don’t forget safety gear: respirator, gloves, and protective eyewear.
Measure your house’s square footage and calculate how much exterior latex paint you’ll need. Before you start, inspect all components—hoses, spray tip, and spray gun—to ensure they work properly.
This setup helps you achieve a consistent spray pattern and makes it easier to paint a house efficiently and safely.
Practice Spraying Technique
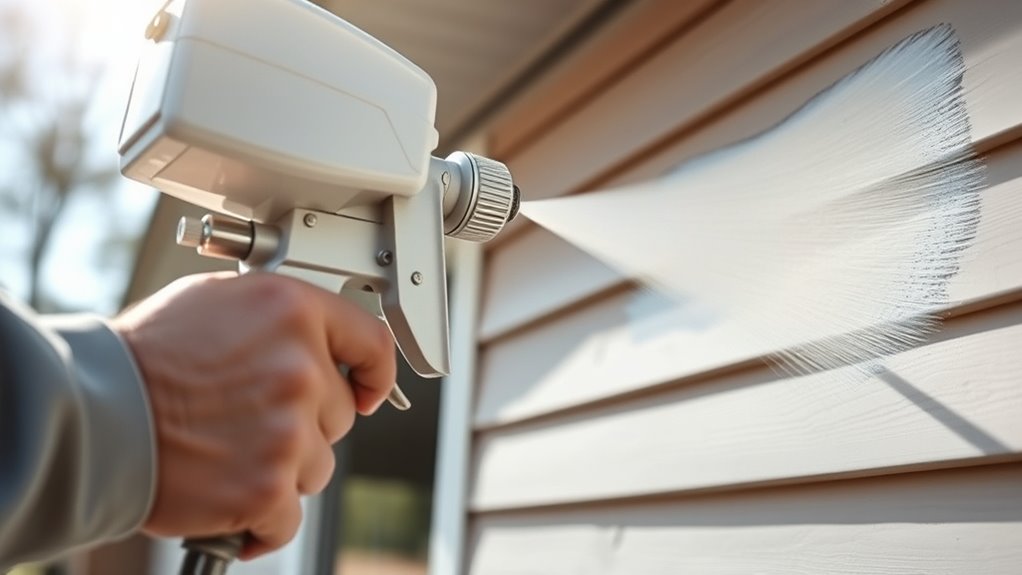
Although it might be tempting to start spraying right away, you should first practice on cardboard or scrap material to fine-tune your pressure, spray distance, and trigger control. Aim for about 12 inches from the surface and test different spray tips, like 313 or 413 for trim, to find the best fit for your paint and texture.
Practice spraying with wide, sweeping strokes, overlapping each pass by roughly 50% to ensure even coverage. Keep a consistent speed and keep the spray gun moving to avoid drips and pooling.
Control overspray by working in calm conditions and keeping the spray at the proper distance. This practice will help you master your technique and avoid common issues before applying paint to your house exterior.
Apply Paint Using the Sprayer
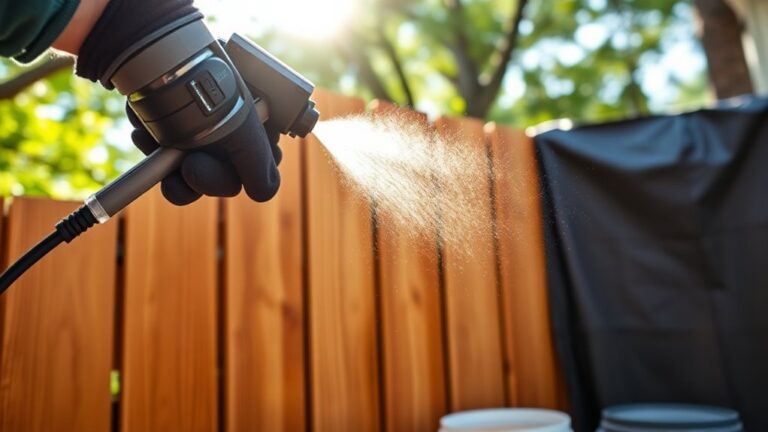
Now that you’ve practiced your spraying technique and adjusted your equipment, it’s time to apply paint to your house exterior. Use your airless sprayer with the correct spray tip—such as 313 or 413—to control paint flow.
Hold the sprayer about 12 inches from the exterior walls and move it in a steady motion. Overlap each pass by 50% to ensure even coverage and maintain a wet edge to avoid streaks.
Apply a heavy coat for durability, and reload paint as needed to prevent thin spots.
| Step | Key Tip |
|---|---|
| Equipment Setup | Select proper spray tip |
| Spraying Distance | Keep ~12 inches from surface |
| Technique | Overlap passes by 50% |
| Coverage | Maintain wet edge, heavy coat |
Clean Up and Inspect the Finish
After the paint dries completely, you’ll want to carefully remove painter’s tape and protective plastic coverings. This helps preserve crisp edges without smudges.
Make sure the surface has dried thoroughly before peeling off tape from windows, doors, and fixtures to avoid damage.
Next, perform a detailed visual inspection of the entire exterior. Look for missed spots or uneven areas, and touch up as needed for a professional finish.
Reinstall any hardware that was removed, making sure everything is secure and clean.
Finally, focus on equipment maintenance by cleaning your sprayer thoroughly according to the manufacturer’s instructions or using the Power Flush method. Properly cleaning your sprayer prevents clogs and extends its lifespan, which helps you achieve flawless results on future projects.
Frequently Asked Questions
Is It Better to Roll or Spray Exterior House Paint?
You’ll find spraying faster for large areas but rolling gives you better control and saves paint.
Combining both works best—spray broad surfaces, then roll detailed spots for a smooth, efficient exterior paint job.
What Are the Most Common Mistakes When Using Spray Paint?
Don’t let your paint job go south by rushing prep, using wrong spray tips, or holding the sprayer too close.
Keep steady, overlap passes over 50%, and mask surroundings well to avoid messy overspray disasters.
Taking your time and being careful can really make all the difference!
How to Paint the Exterior of a House With a Sprayer?
You’ll want to start by thoroughly mixing paint, then spray test on cardboard.
Keep a consistent 12-inch distance, spray top to bottom with overlapping strokes, and follow the surface grain for smooth, even coverage. It really helps to keep your strokes steady and consistent.
How Long Does It Take to Paint a House Exterior With a Sprayer?
You’ll usually take 5 to 10 hours to paint your house exterior with a sprayer. If you prep well and weather’s on your side, you’ll finish faster than with brushes, making your effort truly rewarding.
It’s pretty satisfying to see the job done quickly, right? Plus, sprayers cover large areas smoothly, which saves you a lot of time and hassle. Just make sure to protect nearby plants and furniture before you start!
Conclusion
Now that you’ve mastered these five steps, painting your house exterior with a sprayer can be quick and efficient. Just like Sarah, who transformed her faded siding in a weekend, you’ll save time and achieve a smooth, professional finish.
Remember, preparation and practice make all the difference. So grab your sprayer, follow these tips, and enjoy the fresh, vibrant look your home deserves!
Using a paint sprayer for your house exterior not only speeds up the process but also helps you get that even, flawless coat every time. With a little patience and the right technique, your DIY project can look just like a pro did it.
So don’t hesitate—start your exterior house painting with a sprayer today and watch your home’s curb appeal soar!