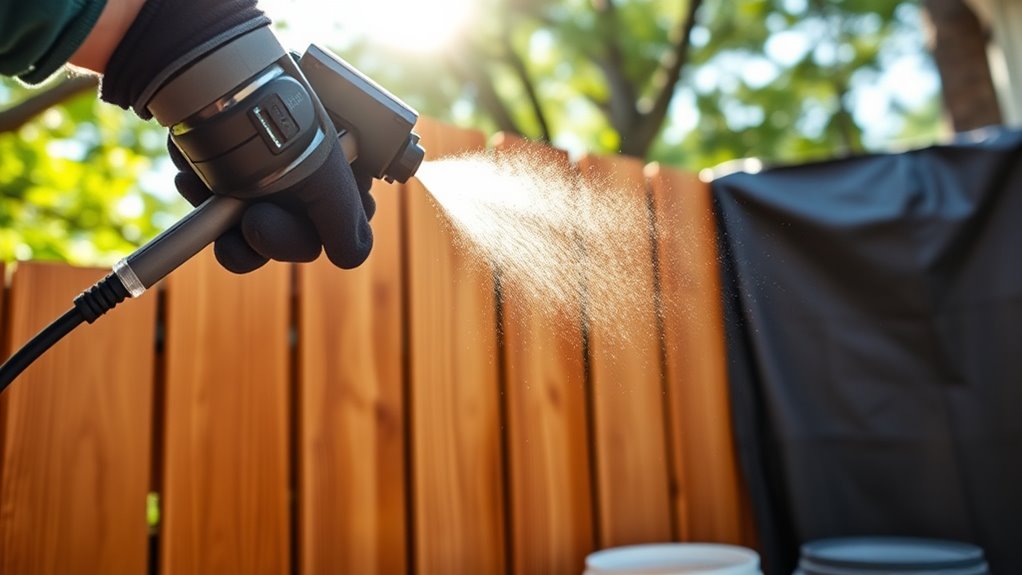
How You Use a Stain Sprayer for Paint Application
To use a stain sprayer for paint application, start by cleaning your sprayer thoroughly.
Then, fill it with well-stirred stain to ensure an even color. Keeping your sprayer about 10-12 inches from the surface is key for a smooth finish.
Spray evenly, making sure to overlap each pass by about 50%. This helps avoid streaks and blotches. Don’t forget to adjust the tip size to get a nice, smooth spray pattern that covers the surface well.
Also, protect nearby areas by covering them to catch any overspray. After you’re done spraying, clean your equipment thoroughly to prevent clogs and damage.
Follow these simple basics, and you’ll quickly master applying stain evenly and professionally. Stick around for more pro tips coming up!
Key Takeaways
- Clean and inspect the sprayer first. Then, fill it with well-stirred stain. Always test spray on scrap material before you start.
- Hold the sprayer about 10-12 inches from the surface. Move it steadily, overlapping your passes by about 50% to get even coverage.
- Adjust the spray tip size to around 1.3, but tweak it depending on the type of stain and the surface texture.
- If you’re using water-based stains, back-brush or wipe off any excess right away. This helps make sure the finish looks uniform.
- After you’re done, clean the sprayer thoroughly. Flush it with solvent and take apart the parts for a detailed cleaning.
Preparing Your Stain Sprayer and Work Area

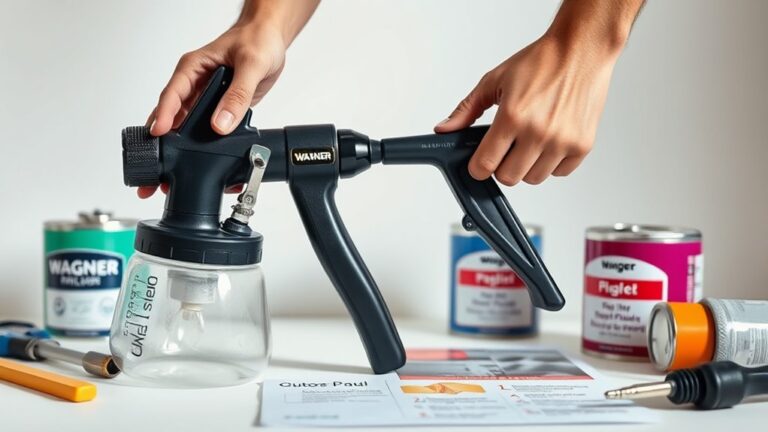
Before you begin staining, make sure you thoroughly clean and inspect your stain sprayer to remove any clogs or debris. This step keeps your airless paint sprayer working like new and prevents uneven spray patterns.
Thoroughly clean and inspect your stain sprayer to avoid clogs and ensure a smooth, even finish every time.
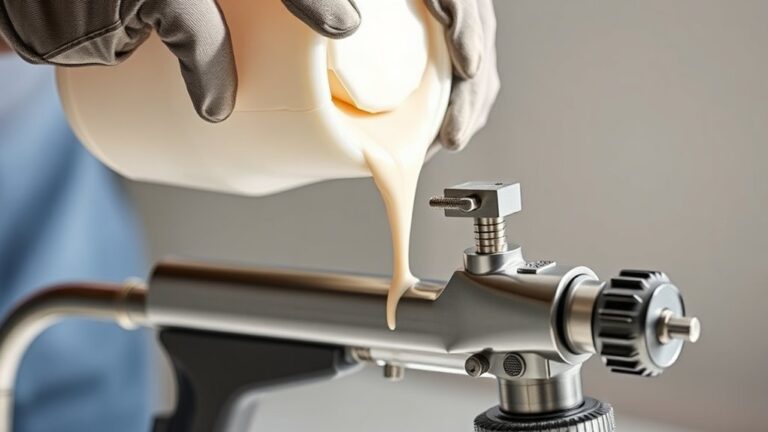
Next, fill the sprayer’s cup with the stain, stirring well to maintain a consistent texture and color. Make sure to adjust the spray tip to the recommended size—usually around 1.3—for ideal stain application.
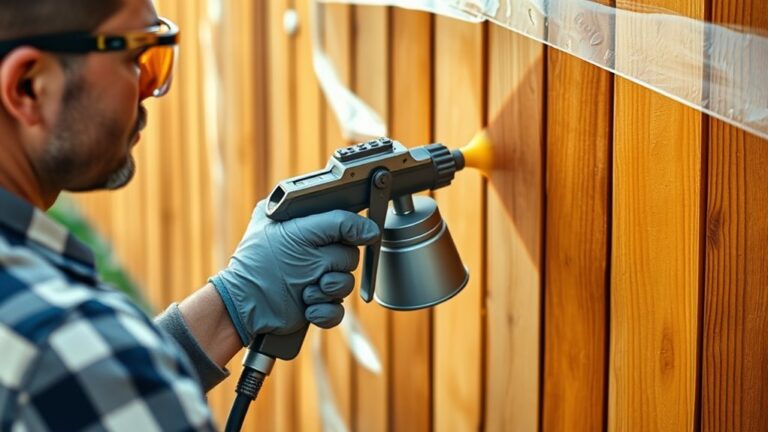
Protect surrounding areas by covering plants, furniture, and walls with plastic tarps or painter’s plastic to catch any overspray. It’s a simple step that saves you a lot of cleanup later.
Finally, test your sprayer on a scrap piece or cardboard. This lets you check the spray pressure, flow, and pattern before moving to your main surface, ensuring a smooth, professional finish every time.
Techniques for Applying Stain With a Sprayer

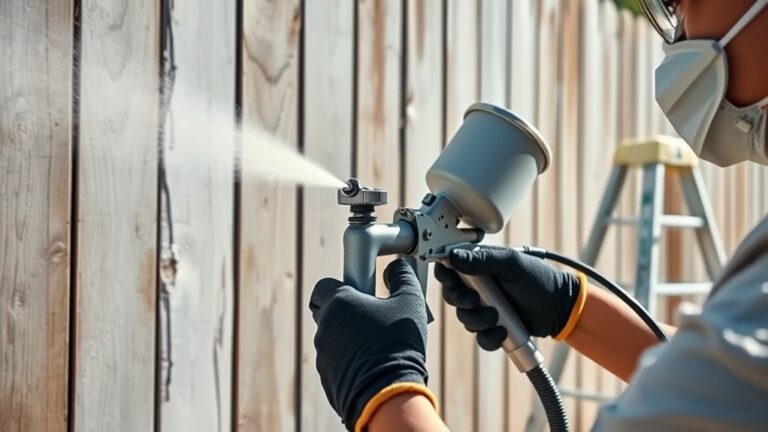
Once your sprayer is ready and you’ve tested the spray pattern, it’s time to focus on applying the stain evenly. Keep the spray gun about 10-12 inches from the wood and maintain a steady, controlled pace.
Overlap each pass by roughly 50% to ensure uniform coverage without streaks. Adjust the spray pattern as needed to follow the surface’s contours and reach detailed areas.
If you’re using a water-based stain, keep a brush handy to immediately back-brush or wipe off any excess stain pooling on the wood. This prevents unevenness and helps the new coat absorb properly.
Cleaning and Maintaining Your Stain Sprayer

Although cleaning your stain sprayer may seem tedious, doing it immediately after use prevents clogs and keeps your equipment in top condition. Once you’ve finished spraying a fresh coat of stain, rinse the spray gun thoroughly with mineral spirits or water to remove residual stain.
Disassemble the spray tip, nozzle, and seals, then clean each part with a brush or spray gun cleaning kit to get rid of dried stain or paint. Running clean solvent through the system flushes out what’s left.
Don’t forget to store your sprayer in a clean, dry place and lubricate moving parts to keep it running like brand new. Using drop cloths during your job reduces cleanup later, but maintaining your sprayer ensures you’ll have no trouble when it’s time to get the job done again.
Frequently Asked Questions
Can a Stain Sprayer Be Used for Paint?
Yes, you can use a stain sprayer for paint, but you’ll need to thin the paint, adjust pressure, and possibly change tips or filters.
Always test on scrap material first to guarantee smooth, even coverage without drips.
It’s a good idea to take your time setting things up so the finish looks great. Just a little prep goes a long way!
Does Stain Need to Be Thinned in a Sprayer?
You’ll want to thin stain by about 10-25% before spraying to avoid clogging. This guarantees a smooth finish, like painting with liquid silk.
Always test on scrap wood to get the right flow. It’s a quick step that saves you from messy mistakes later on.
Can You Use the Same Sprayer for Paint and Stain?
Yes, you can use the same sprayer for paint and stain.
But you’ll need to clean it thoroughly between uses. This helps avoid clogs and mixing colors.
Also, adjust the pressure and tip size to match the material’s thickness. That way, you get a smooth, even application every time.
Can I Leave Stains in a Paint Sprayer Overnight?
Don’t let stains nap in your sprayer overnight—they’ll dry like stubborn paint ghosts, clogging nozzles and haunting your next use.
Always clean it thoroughly to keep your tool ready and your finish flawless.
Conclusion
Using a stain sprayer is like wielding a paintbrush on wings—effortless and precise. By properly preparing your sprayer and work area, you set the stage for smooth, even application.
Master your spraying technique to achieve a flawless finish, then clean and maintain your equipment to keep it ready for the next project.
With these steps, you’ll transform any surface quickly and beautifully. Using a stain sprayer not only speeds up your work but also ensures an even coat that enhances the wood’s natural beauty. Keeping your sprayer clean and well-maintained means you’ll enjoy consistent results every time. So, whether you’re tackling a deck, fence, or furniture, a stain sprayer makes the staining process efficient, enjoyable, and professional-looking.