How Does an Airless Paint Sprayer Work Step by Step
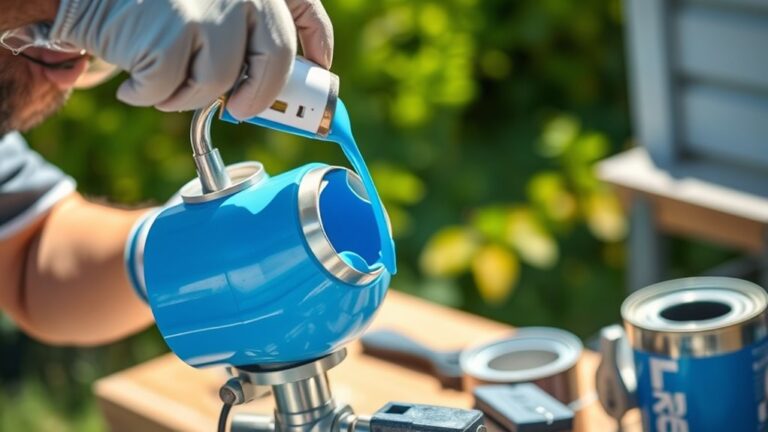
You start by filling and attaching the paint container to the airless paint sprayer. Then, you prime the system to make certain any air is removed for smooth paint flow. This initial step is crucial for preventing clogs and ensuring consistent spraying.
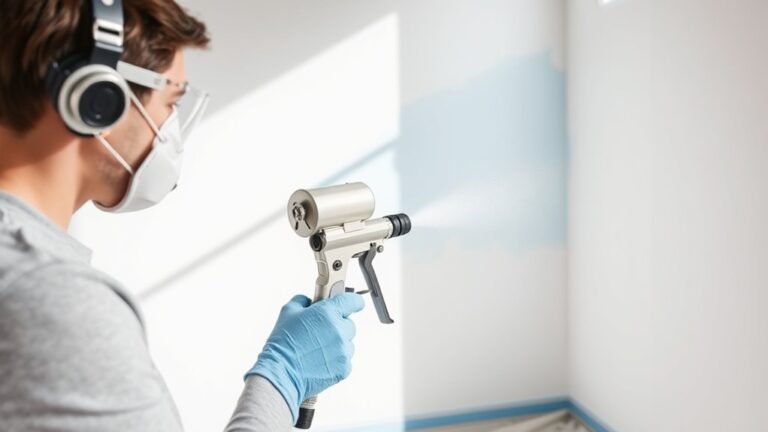
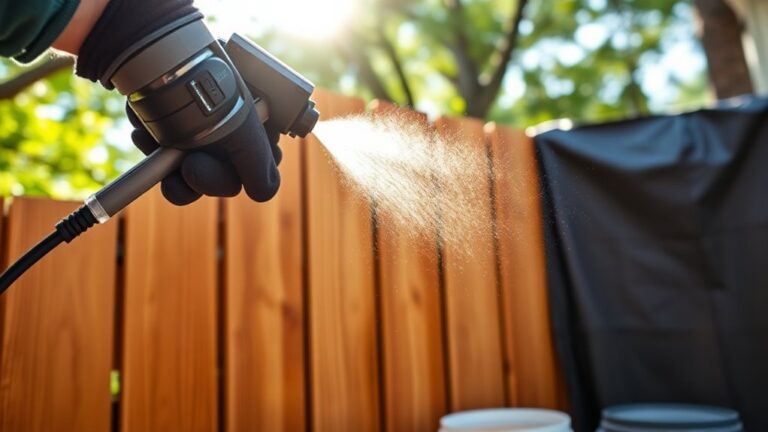
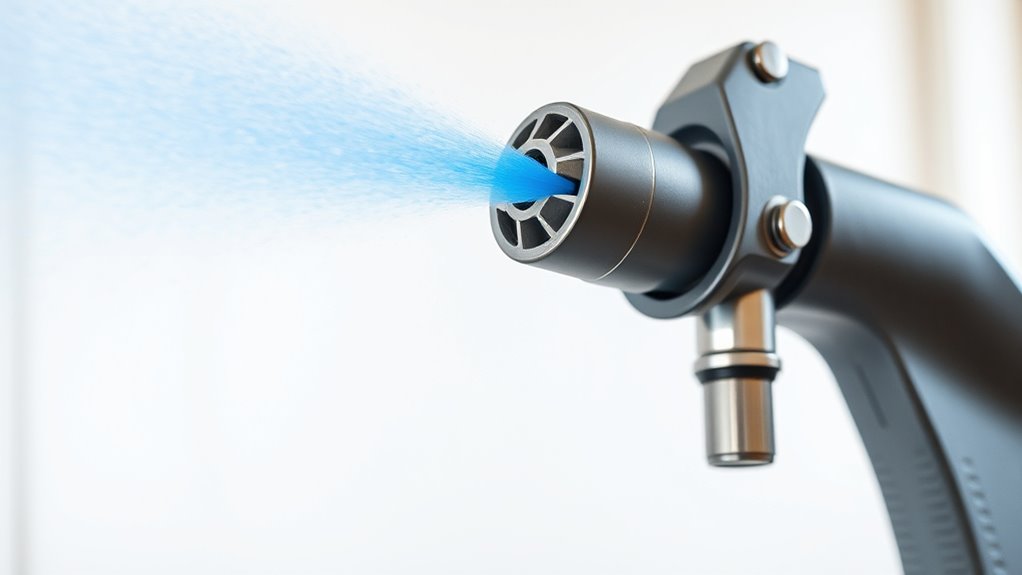
Next, the pump pressurizes the paint, forcing it through the spray tip at high pressure. This high pressure breaks the paint into fine droplets, a process called atomization.
These atomized droplets spray evenly, creating a consistent, fan-shaped pattern that coats your surface flawlessly.
Keep going to explore how each step of using an airless paint sprayer ensures a professional and efficient finish. Understanding this process helps you achieve smooth, even coverage every time you paint.
Key Takeaways
- Fill the paint container and prime the sprayer to remove air and ensure smooth paint flow. This step gets everything ready for a flawless start.
- The pump draws paint from the container, compresses it, and removes trapped air to create high pressure. It’s like giving the paint a powerful push.
- High pressure forces paint through the spray tip, atomizing it into tiny droplets for an even spray pattern. This is what helps you get that nice, smooth coverage.
- Atomized paint droplets form a fan-shaped pattern, providing uniform coverage on the surface. It’s all about spreading the paint evenly.
- Continuous pressure and proper tip selection ensure a steady, smooth flow for a professional finish. Keep these in mind to avoid any drips or uneven spots.
Preparing and Priming the Airless Sprayer
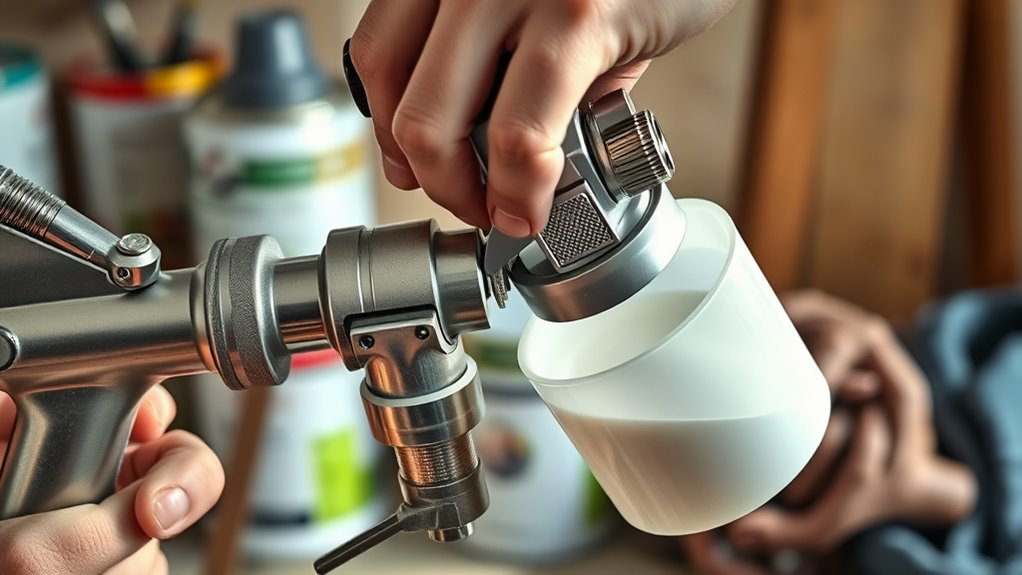
Before you start spraying, make sure the paint container is filled and securely attached to your airless sprayer. Begin priming by opening the fluid outlet and activating the pump, allowing paint to flow through the system.
Watch the spray gun closely to ensure paint flows smoothly without air bubbles or sputtering. If you notice any irregularities, keep priming until the flow stabilizes.
Double-check that the spray tip is properly installed and free of blockages—this is vital for even coverage. Finally, adjust the pressure settings according to the type of paint and surface you’re working on.
Proper pressure adjustment helps maintain consistent operation and prevents spattering or uneven sprays. These steps set you up for a flawless, efficient painting job.
Pumping and Pressurizing the Paint

Once you’ve primed the sprayer and set the pressure, the pump takes over by drawing paint from the container through a suction tube. This pump compresses the paint, pushing out all trapped air and creating the high pressure needed for consistent flow.
Proper priming guarantees no air remains in the system, which is vital for maintaining steady pressure during operation. As the pump continuously fills with paint, it sustains this pressure, preparing the paint to travel through the supply line.
This pressurized paint is then ready to move toward the spray tip. By effectively managing suction and pressure, the pump guarantees a smooth, uninterrupted delivery of paint, setting the stage for a flawless finish without any sputtering or unevenness.
Atomizing Paint and Applying the Coating
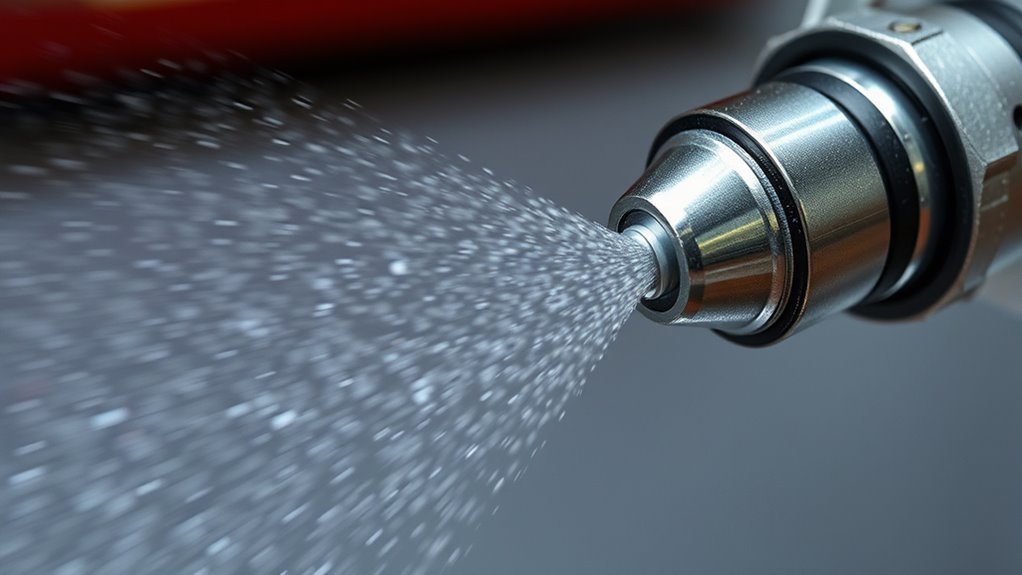
How does the paint transform from a thick liquid into a fine mist that evenly covers your surface? The pump pressurizes the paint, forcing it through the spray tip at high pressure.
This pressure, combined with the spray tip’s shape, creates atomization—breaking the paint into tiny droplets. These droplets form a fan-shaped spray pattern that ensures even coverage and a smooth finish.
| Feature | Function |
|---|---|
| Pressure | Pushes paint through spray tip |
| Spray Tip Shape | Forms spray pattern |
| Atomization | Breaks paint into fine droplets |
| Spray Pattern | Provides uniform coating |
Frequently Asked Questions
What Is the Number One Rule When Using Airless Spray Guns?
The number one rule when using airless spray guns is to always wear proper personal protective equipment like masks and goggles. You shouldn’t skip this, as it protects you from harmful paint fumes and accidental spray injuries.
It might seem like a hassle, but trust me, it’s worth it for your safety. Plus, staying protected lets you focus better on your work without worrying about getting hurt.
Do You Add Water to Paint When You Use an Airless Paint Sprayer?
You don’t usually add water to paint when using an airless sprayer; it’s like adding sugar to salt—it changes the whole mix.
Only thin paint if the manufacturer says so, or your finish might suffer.
What Are the Common Problems With Airless Sprayers?
You’ll often face clogged tips, uneven spray patterns, and pump issues like leaks or pressure loss.
Using paint with the wrong viscosity or motor faults can also cause problems, disrupting your airless sprayer’s performance.
These issues can be frustrating, but knowing what to look out for helps you fix them faster. Just keep an eye on your equipment and maintenance routine!
Do I Need to Dilute Paint for an Airless Sprayer?
You usually don’t need to dilute paint for an airless sprayer because most are pre-thinned.
But if your paint’s too thick, add 10-20% water or solvent. Just be sure to test it first to make certain you get smooth spraying and good coverage.
Conclusion
Now that you know how an airless paint sprayer works step by step, you’re ready to tackle your next project with ease.
Remember, “a stitch in time saves nine”—taking the time to prepare and prime your sprayer properly guarantees smooth, even coats.
This preparation saves you from headaches later on. Pump, pressurize, and spray confidently, knowing you’ve mastered the process.
Using your airless paint sprayer correctly ensures a flawless finish every time. With practice, applying paint evenly and efficiently becomes second nature.
So go ahead, grab your sprayer, and enjoy the benefits of quick, professional-looking results on your next painting project!