How You Spray Paint a Car Step by Step
To spray paint a car, start by cleaning and sanding the surface thoroughly. This removes any dirt, grime, and rust that could affect the paint’s adhesion.
Next, mask off any areas you don’t want to get painted, like windows, trim, and tires. This step helps keep your work neat and professional-looking.
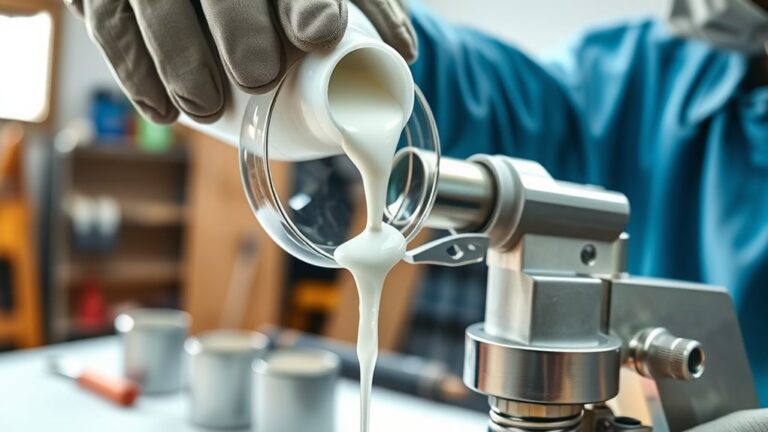
Now, apply thin, even coats of primer. Let each coat dry fully before adding the next one. Primer helps the paint stick better and ensures a smooth base.
Once the primer is ready, spray the base coat using steady, overlapping passes. Allow the paint to dry before lightly sanding to remove any imperfections.
Finally, finish with multiple layers of clear coat. This adds durability and a glossy shine to your paint job. Make sure each clear coat cures properly before moving on.
If you want a flawless, long-lasting finish, keep reading for more detailed tips and tricks. You’ll learn how to get professional results right from your own garage!
Key Takeaways
– Clean, sand, and remove rust from the car surface; mask off areas not to be painted for protection.
Make sure you do a thorough job here because this prep work really sets the stage for a smooth paint job.
– Dry and inspect the surface thoroughly to ensure it is smooth, clean, and free from contaminants.
You want to catch any spots you might have missed before moving on.
– Apply thin, even primer coats using a spray gun, allowing 5-10 minutes drying time between coats.
Taking your time with the primer helps the paint stick better and look more even in the end.
– Spray the base coat evenly with overlapping passes, let dry for 24 hours, then sand with 800-1000 grit paper.
Be patient and gentle when sanding to keep the surface perfect.
– Apply multiple thin clear coat layers with steady passes, allowing 24 hours curing for a glossy, durable finish.
This final step really brings out the shine and protects all your hard work.
Preparation and Surface Treatment
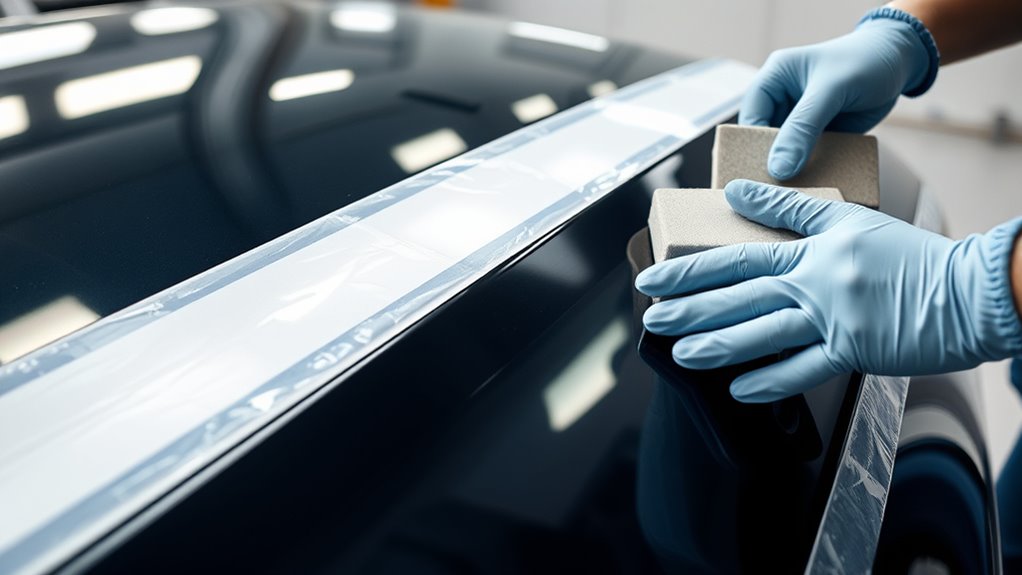
Before you begin painting, you need to prepare the car’s surface carefully. Start by cleaning the surface thoroughly to remove dirt, grease, and wax using soap, water, and degreasing agents.
Once clean, sand the paint with 180-320 grit sandpaper to create a rough texture that improves paint and primer adhesion. Remove any rust or corrosion using chemical rust converters or abrasive blasting.
Then treat bare metal with an etching primer to prevent future rust. Next, mask off areas not to be painted using painter’s tape and masking paper to protect from overspray and ensure crisp lines.
Finally, make sure the surface is completely dry, smooth, and free of contaminants like dust or debris before moving on. These things can cause poor adhesion and paint imperfections, so don’t skip this step!
Applying Primer, Paint, and Finishing Coats
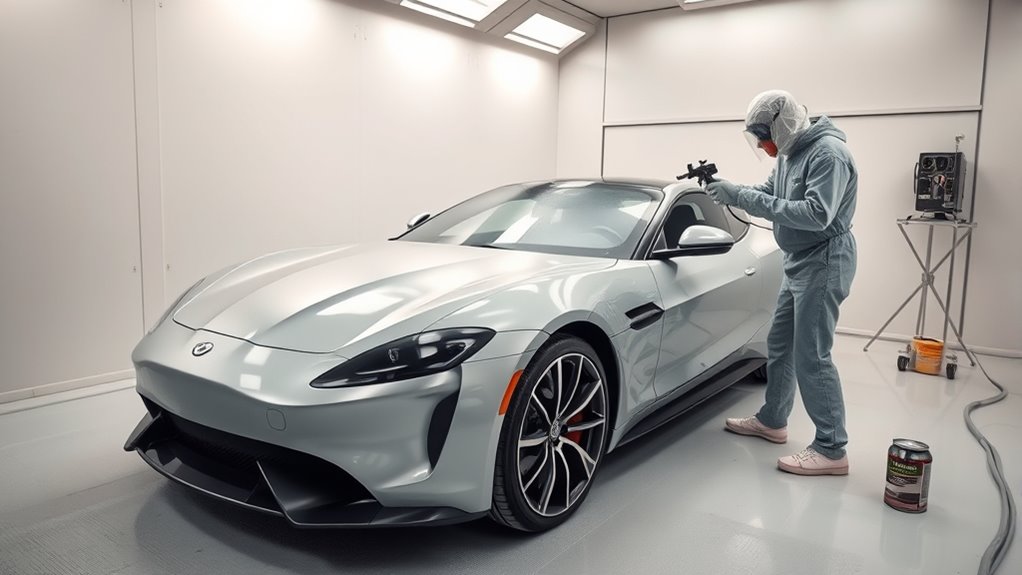
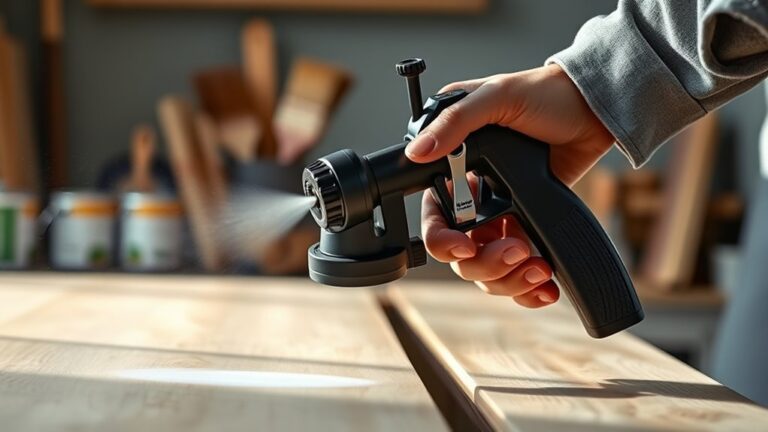
Once your car’s surface is prepped and masked, you can start applying primer to create a solid base for the paint. Use a spray gun to apply thin coats of primer, holding it 6-8 inches away. Allow 5-10 minutes of drying time between coats.
Start with thin primer coats using a spray gun, holding 6-8 inches away, and allow 5-10 minutes to dry between coats.
Next, spray the base coat with consistent speed and distance, overlapping lightly to avoid runs. After at least 24 hours of drying, sand the surface with 800-1000 grit paper to smooth imperfections.
Finally, apply multiple thin clear coat layers for a durable finish. Make sure to allow 24 hours of curing before handling.
- Apply primer in thin coats with proper drying time.
- Spray base coat evenly using steady passes.
- Sand base coat gently before clear coat application.
- Finish with clear coat layers for a glossy, durable finish.
Frequently Asked Questions
How to Spray Paint a Car for Beginners?
You’ll want to clean and sand the car first, then spray thin, even coats from 6-12 inches away.
Keep your motion steady, overlap passes, let each coat dry, and finish with a clear coat for shine.
It’s all about patience and making sure each layer is just right. Take your time, and your car will look great!
What Are the Steps to Respray a Car?
You start by prepping the surface, masking off areas, then apply primer.
Next, spray multiple thin base coats, followed by a clear coat.
Finally, wet sand and polish after curing to get that smooth, glossy finish.
Is 1 Gallon of Paint Enough to Paint a Car?
One gallon might cover a small car with a single coat, but you’ll likely need 2-3 gallons for full coverage, including primer and clear coats.
Thinner coats and prep work can help stretch the paint further.
What Are the Steps Involved in Spray Painting a Car?
You prep the surface by cleaning and sanding, then apply primer evenly. Next, spray multiple thin topcoat layers with drying time in between.
Then, finish with a clear coat. After that, wet sand, polish, and buff for a smooth shine. It’s all about patience and taking your time to get that perfect finish!
Conclusion
Now that you’ve prepped and sprayed your car, remember that about 80% of a flawless paint job comes from thorough surface treatment and primer application. Taking your time during these steps guarantees the paint adheres well and lasts longer.
By following each step carefully, you’ll achieve a professional finish that not only looks great but also protects your car for years. Keep practicing, and soon, spray painting will feel like second nature!
Spray painting a car is all about patience and attention to detail. When you master the prep work and primer, the paint job becomes smooth and durable. So, take your time, follow the steps, and you’ll be amazed at how great your car looks with a fresh coat of paint.