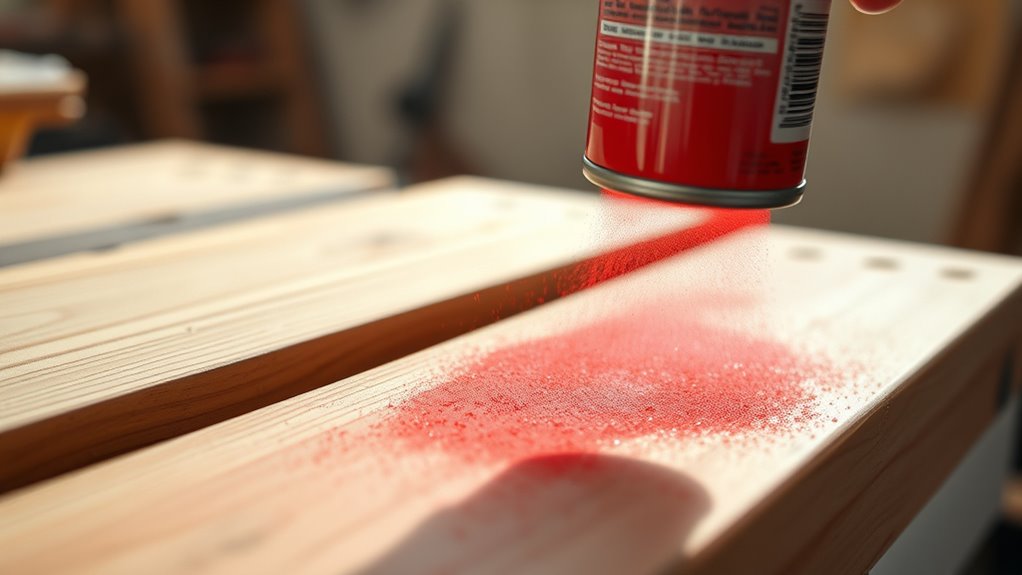
Can I Spray Paint Wood?
Yes, you can definitely spray paint wood, but the key to a great finish is proper preparation.
Start by sanding the wood smooth to remove any rough spots. Then, clean off all dust and grease to make sure the paint sticks well.
Make sure to protect the surrounding areas with drop cloths, and always work in a well-ventilated space.
Shake your spray paint can really well before you start. Hold the can about 10-12 inches from the wood surface, and apply light, even coats.
Let each coat dry completely before adding the next one. This helps you get a smooth, flawless finish.
Keep reading for more tips that will make your spray paint project on wood look durable and professional!
Key Takeaways
- Yes, wood can be spray painted after proper surface preparation like sanding and cleaning for smooth adhesion.
- Use a primer designed for wood to improve paint adhesion and provide a uniform base coat.
- Apply spray paint in light, even coats from 10-12 inches away to avoid drips and achieve smooth coverage.
- Allow each coat to dry 15-30 minutes and lightly sand between coats for a professional finish.
- Work in a well-ventilated area and protect surrounding surfaces with drop cloths to ensure safety and cleanliness.
Preparing Wood for Spray Painting
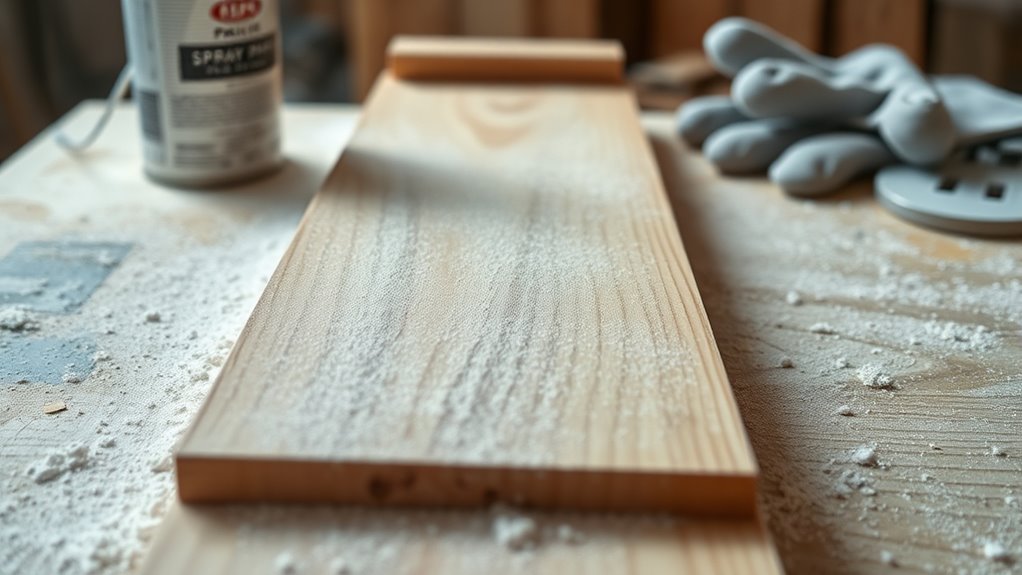
Before you begin spray painting, prepare the wood by lightly sanding it with 320-grit sandpaper to smooth rough spots and help the paint stick better. Start by removing any hardware or taping off areas you don’t want painted.
Next, thoroughly clean the surface using a degreaser or damp cloth to eliminate dust, grease, and dirt that could interfere with adhesion. After sanding, use a tack cloth or a barely damp, lint-free cloth to wipe away all sanding dust, ensuring a clean surface.
Proper prep is essential for a smooth finish. Protect your work area with drop cloths and work outdoors or in a well-ventilated space.
Best Practices for Applying Spray Paint on Wood
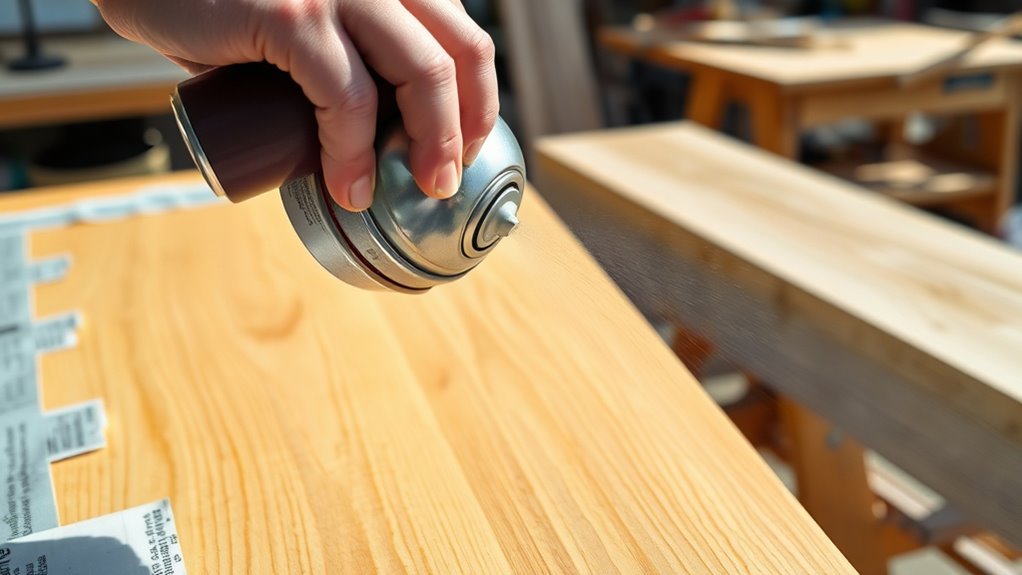
When you’re ready to apply spray paint, shake the can thoroughly for at least a minute to guarantee an even flow. Hold the can about 10-12 inches from the wood, and use a steady, even motion to spray light coats of spray. Avoid heavy coats that cause drips or uneven finishes.
If you’re painting furniture, start with a spray primer as a base coat to enhance adhesion. After each coat of paint dries—usually 15-30 minutes—lightly sand the surface with fine-grit sandpaper to smooth imperfections and improve paint bonding.
Repeat spray painting with light, even layers until you achieve the desired coverage. This process ensures your wood looks perfectly spray painted, with a durable, professional finish that lasts.
Frequently Asked Questions
Is It a Good Idea to Spray Paint Wood?
Yes, it’s a great idea if you prepare the wood properly. Sand, prime, then apply multiple light coats of spray paint.
You’ll get a smooth finish, and sealing with a clear topcoat will protect and extend its durability. It really makes a difference!
What Kind of Spray Paint Can I Use on Wood?
You can use oil-based spray paint for a durable finish or water-based spray paint for easier cleanup and environmental friendliness.
Make sure it’s formulated for wood and consider a primer to prevent tannin bleed-through.
A primer really helps the paint stick better and keeps the color looking fresh longer. Plus, it stops any dark stains from the wood from messing up your paint job.
What Happens if You Spray Paint Wood Without Primer?
If you spray paint wood without primer, you’ll likely see uneven coverage, blotches, and poor paint adhesion.
The paint may peel or chip sooner, and the natural wood color could bleed through, ruining the finish.
Can You Spray Paint Over Wood Without Sanding?
Yes, you can spray paint over wood without sanding, but your paint might not stick well or look smooth.
To avoid peeling and uneven texture, lightly clean and consider using a primer for better adhesion and finish.
It’s a simple step that really helps your paint last longer and look nicer. So, even if you skip sanding, don’t skip cleaning and priming!
Conclusion
When you spray paint wood, preparation is key—always clean, sand, and prime first.
Remember, “measure twice, cut once” applies here too: taking your time upfront saves you from mistakes later.
Apply thin, even coats and let each layer dry fully for the best finish.
With these steps, you’ll turn your wood project into a smooth, vibrant masterpiece.
So go ahead, grab that spray paint, and bring your vision to life! Spray painting wood can be easy and fun when you follow these simple tips. Proper preparation and patience make all the difference in achieving a professional-looking finish. Whether it’s furniture, décor, or a DIY craft, spray paint helps you transform wood quickly and beautifully.





One Comment