
How You Spray Wood Stain With a Paint Sprayer Step by Step
To spray wood stain with a paint sprayer, start by cleaning and sanding the wood to prepare the surface. This step is crucial because it helps the stain adhere better and ensures a smooth finish.
Set your sprayer to about 23 psi, using a 1 mm nozzle for even application.
Hold the sprayer 12-18 inches away from the wood, applying thin, overlapping coats while moving steadily. This technique prevents drips and uneven coverage.
After spraying, immediately back-brush to work the stain into the wood grain.
Then, let it dry for 2-4 hours before adding more coats. Remember, patience is key for achieving that rich, professional look.
Keeping these tips in mind will help you get a smooth, flawless finish—there’s plenty more to explore for perfect results!
Key Takeaways
- Clean and dry the wood thoroughly. Sand it lightly to smooth the surface, and don’t forget to mask any adjacent areas to protect them from overspray.
- Set your paint sprayer’s pressure to about 23 psi. Use a 1 mm nozzle to get an even atomization of the stain.
- Hold the sprayer about 12-18 inches away from the wood. Apply thin, overlapping coats with steady, consistent strokes for the best coverage.
- Right after spraying, back-brush or back-roll the stain. This helps work the stain deep into the wood grain.
- Let the stain dry for 2-4 hours before adding more coats if needed. And remember to clean your sprayer thoroughly after you’re done.
Preparing the Wood Surface for Staining

Before you begin staining, make sure you thoroughly clean the wood to remove dirt, mold, and any old finishes. This cleaning step is essential for preparing the wood surface and ensuring the stain adheres properly.
Thoroughly clean wood before staining to remove dirt, mold, and old finishes for proper stain adhesion.
After cleaning, let the wood dry completely—usually about 48 hours—to avoid trapping moisture under the stain. Next, inspect for rough areas and lightly sand them to smooth the surface and open the grain, which helps the stain penetrate better.
Remove any loose or peeling old finish to achieve an even look. As part of your prep work, don’t forget to mask adjacent areas like walls or plants to protect them from overspray during staining.
Proper preparation sets you up for a flawless finish. So, take your time with these steps—they really make a difference!
Setting Up and Using the Paint Sprayer

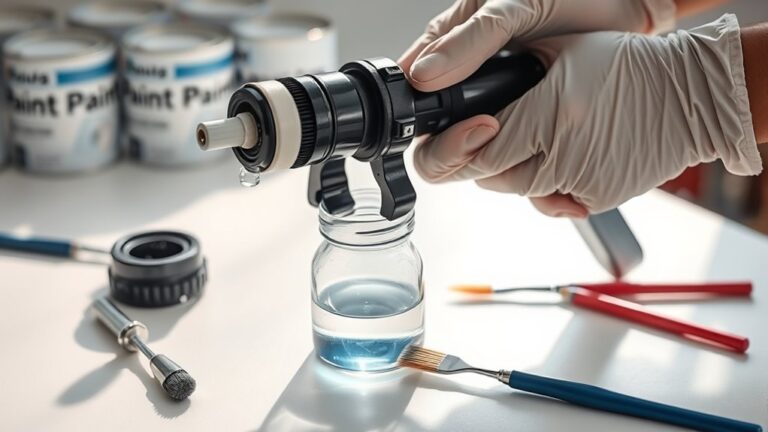
When you’re ready to apply the stain, start by choosing the right spray tip—typically a 1 mm nozzle—and set your pressure to about 23 psi for ideal atomization.
Begin setting up by adjusting the fluid flow: keep the needle fully closed, then slowly open it until you get a light, even coat. Maintain consistent air pressure throughout to ensure smooth application.
Hold the sprayer 12-18 inches from the wood, and test on scrap material to fine-tune your settings. Use steady, overlapping strokes with consistent speed and distance to avoid uneven coverage.
Applying and Finishing the Stain Coating

Although spraying the stain provides quick coverage, you’ll want to follow up with smooth, consistent passes while holding the sprayer 10-12 inches from the surface to guarantee even application. Use the spray gun’s tip to control the spray pattern, ensuring thin, overlapping coats to avoid runs.
Hold the sprayer 10-12 inches away, using smooth, overlapping passes to ensure even stain coverage without runs.
After spraying, back-brush or back-roll the stain to work it into the wood and prevent pooling. Once the first coat dries (typically 2-4 hours), apply a second coat if needed for deeper color.
Finally, use a pressure washer with wood cleaner to prep the surface before staining and finish with a light pass to even out streaks. Don’t forget to clean your spray gun thoroughly to maintain its performance.
- Maintain steady distance and overlap coats
- Back-brush or back-roll immediately
- Allow proper drying time between coats
- Finish with a light pass and clean equipment
Frequently Asked Questions
Can You Spray Wood Stain Through a Paint Sprayer?
Yes, you can spray wood stain through a paint sprayer. Just thin it properly and use a fine nozzle.
Make sure to strain the stain to avoid clogs, and adjust the pressure for a smooth, even application. You’ll get great results this way.
Does Stain Need to Be Thinned in a Sprayer?
Think of stain like syrup—too thick, and it clogs your sprayer.
Yes, you’ll need to thin it using the right solvent, following guidelines, so it sprays smoothly without runs or sputtering.
Test first!
What Is the Best Method to Apply Wood Stain?
You’ll want to spray a light, even coat while moving consistently along the wood grain. Thin the stain if needed, test on scrap, and back-brush immediately to prevent blotches and guarantee smooth, uniform coverage.
It’s all about keeping your strokes steady and your layer thin. That way, the stain soaks in evenly and looks great once it dries. Give it a try and see how much of a difference it makes!
Can You Use the Same Sprayer for Paint and Stain?
Of course, you can use the same sprayer for paint and stain—but only if you enjoy clogging and uneven finishes.
Just adjust tips, pressure, and clean thoroughly to avoid turning your project into a mess.
It’s totally doable, but skipping these steps? That’s when trouble starts.
Conclusion
Now that you know how to spray wood stain step by step, don’t worry if you think it’s too tricky or messy. With the right prep and a bit of practice, you’ll get smooth, even coverage without fuss.
Just take your time setting up the sprayer and keep a steady hand while applying. Soon, you’ll enjoy a beautiful, professional-looking finish that’s worth the effort—and maybe even impress your friends!
Spraying wood stain with a paint sprayer can seem daunting at first, but once you get the hang of it, it’s a game-changer. It’s all about patience, preparation, and steady application to achieve that flawless wood staining job. So go ahead, grab your sprayer, and transform your woodwork with ease!





One Comment