How Do You Have to Thin Paint for a Sprayer Step by Step
To thin paint for a sprayer, start by figuring out whether your paint is water-based or oil-based. This is important because it helps you pick the right thinner for the job. Using the wrong thinner can mess up your paint’s consistency and affect the finish.
Once you know that, pour the paint into a clean container. Add about 10% of the appropriate thinner and stir it well to mix everything evenly. This step is crucial because it makes sure the paint flows smoothly through the sprayer without clogs.
Next, strain the mixture to catch any lumps or debris that might block the nozzle. Then, do a test spray on a scrap piece of material to see how the paint covers and flows. If it’s too thick or uneven, add thinner in small amounts and test again until you get a smooth, consistent spray.
Keep these simple steps in mind, and you’ll soon master how to achieve the perfect paint consistency for your sprayer and project.
Key Takeaways
- Identify paint type and select the proper thinner: water for water-based, solvent for oil-based paints.
- Measure paint and add about 10% thinner, mixing thoroughly for a consistent blend.
- Strain the paint mixture to remove lumps and debris before testing.
- Perform a spray test on scrap material to check flow, coverage, and spray pattern.
- Adjust thinner incrementally and retest until the paint sprays smoothly without clogging or dripping.
Preparing Paint and Supplies for Thinning

Gathering your original paint, the right thinning agent, and necessary tools sets the foundation for successful thinning. First, identify the paint type to choose the proper thinning agent—water for water-based paint or solvent for oil-based.
Check the manufacturer instructions carefully for recommended thinning ratios, usually around 10%. Pour the paint into a clean container, then prepare the thinning agent separately.
Use a stir stick to mix the paint and thinning agent thoroughly, ensuring consistency. Have a test surface, like cardboard, ready to check the paint flow after mixing.
Before testing, strain the mixture through a clean sieve to remove lumps or debris. These preparations help you achieve the ideal paint consistency for spraying without clogging or uneven application.
Step-by-Step Process to Thin Paint for Spraying
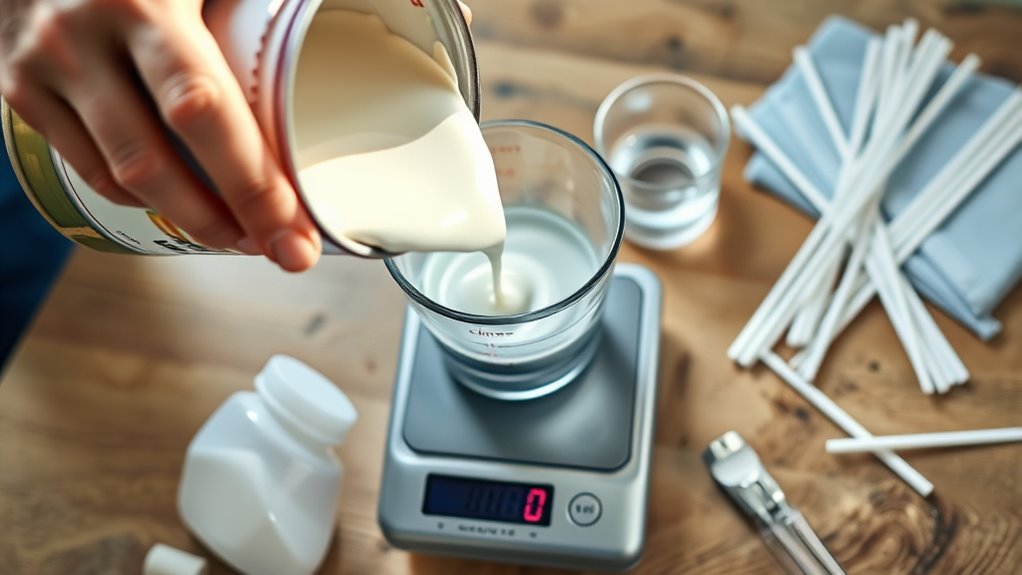
Once you know the proper thinning agent for your paint type, start by measuring your paint and adding about 10% thinner to the total volume. Stir the mixture thoroughly to combine it well.
Next, pour the paint through a paint strainer to remove lumps that could clog your spray guns. This step ensures you spray paint properly without interruptions.
After straining, perform a flow test by dipping a stir stick into the mixture; it should flow smoothly without dripping excessively.
| Step | Action | Purpose |
|---|---|---|
| Measure & Add Thinner | Add 10% thinner to paint | Achieve correct consistency |
| Stir & Strain | Mix thoroughly, strain paint | Remove debris, avoid clogs |
| Flow Test | Check flow on stir stick | Confirm proper thinning paint |
This method prepares your paint perfectly for spraying.
Testing and Adjusting Paint Consistency Before Use
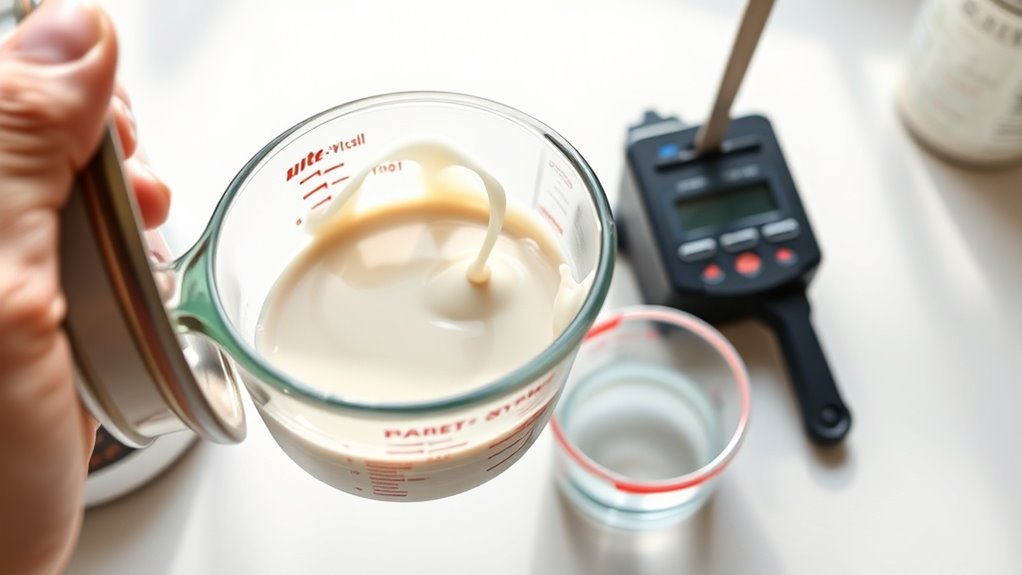
After straining and performing the initial flow test, you’ll want to verify the paint’s consistency by spraying a small test patch on cardboard or scrap material.
This testing helps you evaluate the spray pattern and determine if the thinning ratio needs modification. Follow these steps to guarantee optimal paint consistency:
- Observe the spray pattern for even coverage and smooth flow without heavy dripping.
- Note any clogging or spitting which indicates improper thinning or debris presence.
- Adjust the thinning ratio incrementally by adding small amounts of water or thinner.
- Retest the paint after each adjustment until the spray pattern is consistent and smooth.
Make sure to keep detailed notes on your thinning ratio and adjustments. That way, you can easily replicate the ideal paint consistency for your project later on.
Frequently Asked Questions
How to Properly Thin Paint for a Sprayer?
You start by adding about 10% water or thinner, stirring well. Then, test flow and strain the paint.
Spray a sample, adjust thinning gradually until you get smooth, even coverage without clogging your sprayer.
It’s all about finding that perfect balance so your sprayer works like a charm!
How Much Water Do You Add to Thin Paint for Sprayer?
How much water do you add to thin paint for a sprayer? Start with about 10% water—roughly 1 liter per 10 liters of paint.
Don’t forget to test and adjust to get the perfect flow. It’s all about finding that sweet spot so your paint sprays smoothly without clogging.
What Is the Ratio of Paint to Thinner for a Spray Gun?
You’ll want to mix about 10% thinner to paint for most spray guns.
For latex, use water up to 20%, while oil-based paints need 5-15% thinner.
Always check your paint’s instructions first. It’s the best way to make sure you get the right consistency for a smooth finish.
Can You Spray Paint Without Thinning?
You can spray paint without thinning if your sprayer supports thick paints, like airless models.
But with HVLP or similar, skipping thinning may cause clogging, uneven spray, and poor finish.
Always check your paint’s specs.
Conclusion
Now that you know how to thin paint for your sprayer, you’re set for a smoother, more even application. Did you know that properly thinned paint can reduce overspray by up to 30%? That means you save both material and cleanup time.
By following these steps and testing your mix, you’ll achieve professional results every time. Thinning paint correctly helps your sprayer work efficiently and gives your project a flawless finish.
Keep practicing, and your projects will look sharper and finish faster than ever before. Remember, mastering how to thin paint for a sprayer is key to better coverage and less waste. With a little patience, you’ll be spraying like a pro in no time!