
10 Steps to Paint House Exterior With Sprayer
Start by inspecting and repairing your exterior surfaces to ensure a smooth paint job. Next, thoroughly clean the walls with a pressure washer to remove dirt and grime. This prep work is crucial for a lasting finish.
Mask windows, doors, and nearby plants to protect them from overspray. Choosing the right paint sprayer is key, so pick one suitable for your project and prepare your paint properly. It’s always a good idea to practice spraying on scrap material first to get comfortable with the technique.
Begin by applying paint carefully to trim and eaves. Then, spray the main surfaces using overlapping strokes for even coverage.
Once you’re done, clean your equipment thoroughly and remove all protective coverings after the paint has dried.
Stick with these steps, and you’ll uncover more tips for achieving flawless, efficient exterior painting every time.
Key Takeaways
– Inspect and repair exterior surfaces, removing flaking paint and filling cracks before cleaning.
It’s important to get the surface ready so your paint job lasts longer.
– Clean the exterior with a pressure washer, allowing 24-48 hours to dry before painting.
Make sure everything is dry to avoid any issues with the paint sticking.
– Mask windows, doors, plants, and fixtures thoroughly to protect from overspray.
Covering these areas well saves you from extra cleanup later.
– Choose an appropriate airless paint sprayer, test spray patterns, and adjust pressure before starting.
This helps you get a smooth, even coat without wasting paint.
– Paint from top to bottom using overlapping sweeping motions, maintaining about 12 inches distance for even coverage.
Taking your time with this technique really pays off in the finish.
Inspect and Repair Exterior Surfaces

Before you start painting, carefully inspect your siding, trim, and other exterior surfaces for any damage, rot, or loose parts. This step is vital to guarantee your paint job lasts.
Look for cracked trim, peeling paint, or missing mortar. Replace or repair these areas to create a stable, even surface. Use scrapers or wire brushes to remove flaking paint so the new coat adheres properly.
You’ll also want to fill holes with exterior-grade filler, caulk cracks, and drive loose nails flush. Although cleaning with a pressure washer comes next, for now, focus solely on inspecting and repairing.
Addressing these issues beforehand prevents moisture problems and uneven finishes, setting you up for a smooth, professional-looking paint job on your exterior surfaces.
Clean the Exterior With a Pressure Washer

Once you’ve repaired all damaged areas, you’ll want to clean your exterior thoroughly using a pressure washer. Choose a model with at least 3000 PSI to effectively remove dirt, grime, and loose paint from the exterior surface.
Pick a cleaning solution that matches your siding material—this could be a mild detergent or a mildew remover. Apply it with the pressure washer, and remember to hold the spray wand consistently 12-18 inches from the surface. This helps avoid damage and ensures even cleaning.
Start power washing from the bottom of the wall and move upward. Doing it this way prevents streaking or missed spots.
After cleaning, let the exterior surface dry completely for 24 to 48 hours before painting. This step is super important because it guarantees the paint will stick properly and last longer.
Mask and Protect Surrounding Areas

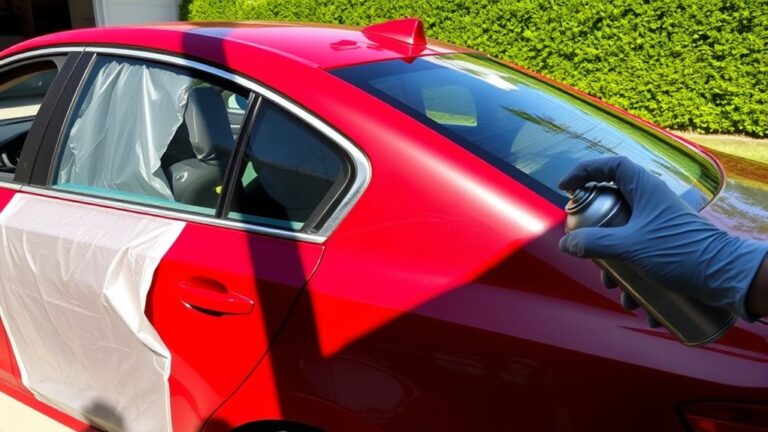
Before you start spraying, make sure to cover windows and doors with plastic sheeting and painter’s tape to block any overspray.
Don’t forget to shield your plants and shrubs with drop cloths or plastic to keep them safe from paint drips.
Finally, tape off fixtures like outdoor outlets and light covers to protect them and guarantee clean lines.
Cover Windows and Doors
How can you guarantee your windows and doors stay spotless during exterior painting? Start by masking the frames with painter’s tape to ensure sharp lines and prevent overspray. Then cover the surrounding siding or trim with plastic sheeting or drop cloths to protect against drips.
Don’t forget to remove or tape hardware and glass panes to avoid damage. Seal gaps tightly with painter’s tape and plastic sheeting for a full barrier. After the paint dries, carefully peel off the coverings to reveal clean edges.
| Step | Action |
|---|---|
| Mask frames | Use painter’s tape for crisp lines |
| Cover surfaces | Apply plastic sheeting on adjacent areas |
| Protect hardware | Remove or tape fixtures and glass panes |
| Seal gaps | Use tape and plastic to prevent overspray |
| Remove coverings | Peel off tape after paint dries |
Shield Plants and Shrubs
Why risk damaging your plants and shrubs when you can easily shield them during exterior painting? Start by covering all greenery and ground cover with plastic sheeting or painter’s plastic to block overspray. Secure the edges firmly with painter’s tape to prevent paint from seeping underneath.
For delicate plants, use a spray shield or cardboard for extra protection. Don’t forget to remove or cover outdoor furniture and garden ornaments nearby to keep them paint-free.
Throughout the job, regularly check your coverings and adjust them as needed to maintain full protection. Taking these simple steps ensures your landscaping stays intact while you refresh your home’s exterior, saving you time and effort on cleanup or repairs later.
Tape Off Fixtures
When you tape off fixtures, you protect windows, door frames, and trim from unwanted paint overspray. Use painter’s tape to mask these areas securely, pressing firmly along edges to prevent paint bleeding.
Make sure to remove or mask fixtures like light fixtures, house numbers, and shutters before spraying. Don’t forget to cover exterior outlets, vents, and utility boxes with painter’s tape or plastic covers.
For extra protection, apply plastic sheeting or drop cloths over shrubs, plants, and outdoor furniture nearby. This helps keep everything neat and paint-free.
| Area to Protect | Recommended Masking Method |
|---|---|
| Windows & Door Frames | Painter’s tape |
| Light Fixtures & Shutters | Remove or tape |
| Electrical Outlets & Vents | Painter’s tape or plastic cover |
| Plants & Furniture | Plastic sheeting or drop cloth |
Choose the Right Paint Sprayer and Accessories
Although selecting a paint sprayer might seem straightforward, choosing the right model and accessories can make a significant difference in your exterior painting project’s quality and efficiency.
Opt for a high-capacity airless paint sprayer like the Wagner Control Pro 170 to maintain consistent pressure on large surfaces. Look for adjustable pressure settings to tailor spray patterns based on your paint type and surface texture.
Choose a high-capacity airless sprayer with adjustable pressure for smooth, consistent coverage on large exterior surfaces.
Use compatible spray tips, such as 313 or 413, for detailed areas, and wider tips for broader coverage. Don’t forget essential accessories like extension hoses, filters, and nozzles to keep your sprayer running smoothly.
Also, consider a sprayer with HEA technology. It can reduce overspray by up to 55%, delivering a softer, more controlled finish.
Prepare Paint for Spraying
Before you load your paint sprayer, make sure to mix the paint thoroughly using a stirrer or drill attachment to achieve a consistent texture. If you’re using primer or paint, combine multiple containers in a large, clean bucket to ensure uniform color.
Strain the mixture through a fine mesh filter to remove lumps or debris that can clog the sprayer. Most paints and primers require thinning—usually adding 10-20% water or a recommended thinner—to improve sprayability and prevent nozzle blockages.
Always follow the manufacturer’s instructions for thinning ratios. Once mixed, test your prepared paint on a piece of cardboard to check spray consistency and adjust pressure or nozzle settings accordingly.
This prep guarantees smooth, even coverage and a professional finish when you start painting. It’s worth taking the time to get it right!
Set Up and Prime the Paint Sprayer
Before you start spraying, make sure to assemble your paint sprayer correctly by securely connecting the hose and filling the paint container to the right level.
Then, prime the pump by running paint through the nozzle until it flows smoothly without air bubbles.
Don’t forget to adjust the pressure settings and wear safety gear to protect yourself during this setup.
It’s all about getting everything ready so your spray job goes smoothly!
Sprayer Assembly Steps
When you assemble your paint sprayer, start by securely attaching the spray gun, hose, and paint container according to the manufacturer’s instructions. Proper sprayer assembly is essential for a smooth painting experience on your exterior walls.
After connecting everything, fill the paint container with your chosen paint mixture. Make sure it’s the right consistency for spraying.
Adjust the pressure settings, typically between 1500 and 2000 PSI, to suit exterior walls. Check all connections for leaks and confirm the spray tip is clean and properly installed.
Before you begin painting, test the sprayer on scrap material to verify the spray pattern. Make any needed adjustments to pressure or nozzle.
Following these steps helps guarantee your paint sprayer operates efficiently and delivers an even coat. It’s a simple way to get professional-looking results every time.
Priming Procedure Essentials
Once your sprayer is assembled and tested, it’s time to set up and prime it properly. Start by filling the reservoir with primer and securing the lid tightly to avoid leaks.
Next, follow the manufacturer’s instructions to prime the pump—usually opening the pressure valve and running the sprayer until the primer flows steadily. Adjust the pressure settings based on the primer type and surface to maintain an even flow and prevent clogs.
Before painting your house exterior, test spray on cardboard to check the spray pattern, pressure, and coverage.
Visualize the process:
- Reservoir filled with smooth primer, ready to go
- Pressure valve opened, primer flowing continuously
- Test spray creating an even, controlled mist
Stay attentive during priming to avoid air pockets or blockages for flawless coverage.
Practice Spraying Techniques on a Test Surface
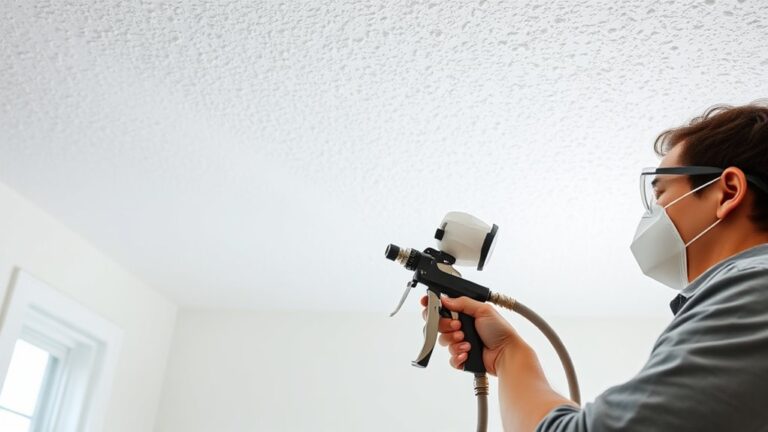
Although it might be tempting to start spraying your house right away, you should first practice on a large piece of cardboard or scrap plywood to get a feel for the sprayer’s flow and pattern.
Use this test surface to experiment with different spraying techniques, adjusting the pressure settings and spray tip to achieve even coverage without drips.
Keep the sprayer about 12 inches from the surface, moving in slow, sweeping horizontal or vertical passes. Overlap each pass by 50% to ensure uniform coverage.
Watch the spray pattern closely—thin, consistent coats are what you want. If you notice uneven coverage or drips, tweak your pressure or technique.
Mastering these basics on a test surface helps you avoid mistakes when you start painting your house.
Apply Paint to Trim and Eaves
Since trim and eaves require precise coverage, use a narrow spray tip like a 413 and keep the sprayer about 12 inches from the surface to prevent drips and uneven paint.
Maintain a steady hand and overlap each pass by 50% to ensure even coverage without missed spots. Using a spray extension or wand helps you reach high areas safely and accurately.
Before starting, practice on scrap material to adjust your pressure and technique.
Keep these tips in mind:
- Use a narrow spray tip for detailed areas.
- Overlap spray passes by half to avoid streaks.
- Hold the sprayer consistently about 12 inches from trim and eaves.
This approach guarantees clean, uniform paint coverage on those delicate exterior features.
Spray Paint the Main Exterior Surfaces
When you spray paint the main exterior surfaces, choosing the right spray tip size is essential. It needs to match your paint type and surface texture.
Make sure the tip’s hole size doesn’t surpass your sprayer’s capacity. This helps achieve a smooth application.
Mix your exterior paint thoroughly in a 5-gallon bucket. This keeps the color and texture consistent throughout.
Start spraying from the top of the wall and work your way downward. Overlap each pass by about 50% to ensure even coverage.
Hold the spray gun roughly 12 inches from the surface. Keep it perpendicular to avoid uneven layers.
Use a controlled, sweeping motion as you spray. And don’t forget to spray directly into corners and edges for a clean, professional finish.
This method ensures your exterior paint goes on evenly and looks great.
Perform Clean-Up and Remove Protective Coverings
Before you start removing tape and plastic, make sure the paint is completely dry to keep your lines sharp. Peel off coverings carefully to avoid smudges or damage to windows, doors, and plants.
Once that’s done, clean your sprayer thoroughly to keep it in good shape for your next project. It’ll save you time and hassle later on.
Drying Time Importance
Although it can be tempting to remove protective coverings right after painting, you should wait at least 24 to 48 hours to let the exterior paint dry completely.
Proper drying time is essential to guarantee paint curing and maintain a flawless finish. If you rush this step, you risk smudging or peeling the fresh paint.
Keep in mind that waiting allows you to achieve crisp lines without smears or pulls. It also helps prevent dirt and debris from sticking to wet paint.
Plus, you’ll avoid damaging the surface when removing protective coverings. So, take your time and let that paint set perfectly!
Tape and Plastic Removal
Since the paint has fully dried, you can carefully remove the painter’s tape to prevent smudges or peeling. Peel the tape slowly and at a low angle for the best results.
Next, gently take down the plastic sheeting from windows, doors, and fixtures, starting at one corner to avoid damage. Don’t forget to remove all protective coverings from plants and landscaping carefully to prevent tearing or contamination.
Once everything is cleared, reinstall any hardware like shutters, house numbers, or fixtures that you removed before painting. Finally, dispose of or recycle the used painter’s tape and plastic sheeting according to your local regulations.
This tidy clean-up ensures your freshly painted exterior looks its best without any leftover mess.
Sprayer Cleaning Steps
With the protective coverings removed and your exterior looking clean, it’s time to focus on cleaning your paint sprayer. Proper sprayer cleaning guarantees your paint sprayers last longer and perform well next time.
Follow the manufacturer’s instructions carefully and prioritize proper safety throughout the process.
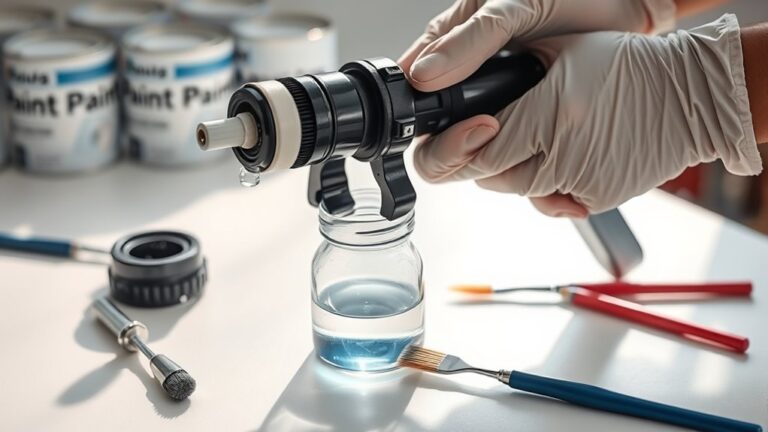
Start by flushing the sprayer’s lines with water or solvent to clear out any leftover paint. Then, disassemble removable parts like nozzles, filters, and the paint cup for detailed cleaning.
Finally, dry and store your sprayer in a safe, dry spot.
Here’s a quick checklist to visualize the process:
- Flush gun, hose, and filters with appropriate solvent
- Take apart and clean nozzles and paint container
- Store sprayer properly after drying and reattaching covers
This routine protects your equipment and keeps your work efficient. Easy, right? Just a little effort now saves you a lot of hassle later!
Frequently Asked Questions
In What Order Do You Paint the Exterior of a House?
You start painting the exterior from the top, like the eaves or gables, then move downward covering walls and siding.
Finish with less visible areas first, then trim, window frames, and corners for a neat finish.
What Are the Most Common Mistakes When Using Spray Paint?
Did you know 70% of homeowners struggle with overspray? You’re likely to make mistakes like using too wide a tip, spraying too close or far, skipping practice runs, or ignoring wind and masking.
Avoid these for smooth results! Just take your time and prep properly. It makes all the difference.
Is It Better to Roll or Spray Exterior House Paint?
It’s better to spray if you want faster coverage on large, flat surfaces. But roll if you need precision, less overspray, or are working on detailed, textured areas.
Choose based on your project’s needs. It really depends on what you’re painting and how much detail you want.
How Long Does It Take to Paint a House Exterior With a Sprayer?
Painting your house exterior with a sprayer is like flying through a breeze—it usually takes 1 to 3 days, depending on your home’s size and prep.
You’ll finish way faster than with brushes or rollers. It’s pretty efficient, really!
Conclusion
Now that you’ve danced through these steps, your home’s exterior will wear its fresh coat like a crisp new suit, ready to face the elements with confidence. With your sprayer in hand and technique sharpened, you’ve transformed a formidable task into an artful performance.
Remember, a well-painted home isn’t just protected—it’s a vibrant canvas that reflects your care and style. Using a paint sprayer for the house exterior not only speeds up the job but ensures an even, smooth finish that brush or roller can’t match.
So step back, admire your masterpiece, and let your walls tell their renewed story. Painting the exterior with a sprayer is a smart, efficient way to boost your home’s curb appeal and safeguard it for years to come.



One Comment