How You Paint Spray Foam Insulation Step by Step
To paint spray foam insulation, you first need to let it fully cure for 24–48 hours. This curing time is crucial because it ensures the foam hardens properly and is ready for painting.
Once cured, inspect the surface for any imperfections and clean it thoroughly.
Next, lightly sand the foam with fine-grit sandpaper to smooth out any rough spots. After sanding, make sure to remove all the dust to get a clean surface. This step helps the paint stick better and creates a nice finish.
After preparing the surface, apply a foam-compatible primer. This primer improves paint adhesion and protects the foam.
When choosing paint, go for water-based latex paint, which works well on spray foam.
Spray 2–3 thin coats rather than one thick coat, keeping your spray distance consistent. Make sure you have proper heat and ventilation in the area to help the paint dry evenly.
For an even smoother finish, lightly sand between coats.
By following these simple tips, you can master painting spray foam insulation and achieve a professional-looking result every time. Just take your time and be patient with each step!
Key Takeaways
- Allow spray foam insulation to fully cure for 24–48 hours before starting any painting process.
- Lightly sand the cured foam with 120–220 grit sandpaper and clean off all dust for smooth surface preparation.
- Apply a foam-compatible primer evenly to improve paint adhesion and prevent peeling.
- Use water-based latex paint, applying 2–3 thin coats with proper drying time and light sanding between coats.
- Paint only in temperatures above 50°F with good ventilation to ensure proper drying and a durable finish.
Preparing Spray Foam Insulation for Painting

Make sure the spray foam insulation has fully cured by waiting at least 24 to 48 hours before preparing it for paint. First, conduct a thorough inspection of the foam surface to spot any dust, dirt, or debris.
Clean the foam carefully to guarantee ideal adhesion. Next, lightly sand the spray foam using fine-grit sandpaper (120-220 grit) to smooth imperfections and improve paint bonding.
After sanding, clean off the dust to keep the surface clean. Applying a primer specifically formulated for foam insulation is essential; it enhances paint adhesion and prevents peeling or bubbling.
Also, avoid painting when temperatures drop below 50°F, as cold conditions can disrupt curing and adhesion. Proper preparing sets a strong foundation for a flawless paint finish on your spray foam insulation.
Applying Paint to Spray Foam Insulation

Once your spray foam insulation has fully cured and you’ve prepped the surface with sanding and primer, you’re ready to apply the paint. To paint spray foam insulation effectively, use water-based latex paint for excellent paint compatibility and durability.
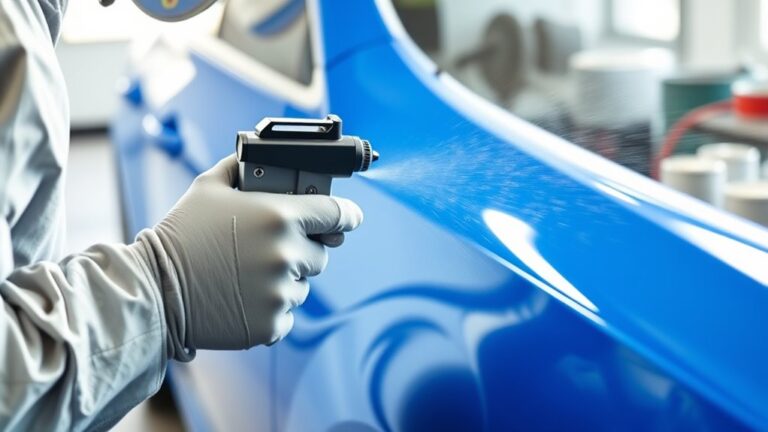
Always apply thin coats to avoid drips and ensure smooth adhesion and finishing. Use a spray gun or aerosol to maintain an even coat at 8–12 inches distance. Remember to do light sanding between coats to improve foam surface preparation and overall finish.
Also, paint only when temperature and ventilation conditions are ideal—above 50°F with good airflow—to ensure proper drying.
- Apply 2–3 thin coats with drying time in between
- Use fine-grit sandpaper (120–220 grit) for light sanding between coats
- Maintain even spray distance with spray gun or aerosol
- Ensure proper temperature and ventilation during application
Frequently Asked Questions
Can Spray Foam Insulation Be Painted?
Yes, you can paint spray foam insulation once it’s fully cured. Use water-based paints for the best results.
Make sure to prep the surface by cleaning it and sanding lightly. Then, apply thin coats of paint. Let each layer dry completely to avoid peeling or damage.
How Long to Let Spray Foam Dry Before Painting?
You’ll want to wait at least 24 to 48 hours before painting spray foam—it’s like waiting for a tiny superhero to fully power up.
Rushing it risks peeling and weak adhesion, so be patient for the best results.
What Kind of Paint Will Stick to Spray Foam?
You’ll want to use water-based acrylic or latex paints since they stick well without harming the foam. Avoid oil-based paints because they can melt the foam.
Applying a compatible primer helps your paint adhere better. It’s a simple step that makes a big difference!
How to Paint Over Spray Foam Insulation?
Worried paint won’t stick? Wait 24–48 hours for the foam to cure properly.
Next, clean and lightly sand the surface to help the paint adhere better.
Then, apply 2–3 thin coats of water-based acrylic or latex paint.
You’ll get a smooth, durable finish every time. Easy, right?
Conclusion
Now that you know how to prep and paint your spray foam insulation, don’t you feel ready to transform your space with confidence? Painting not only enhances the look but also protects the foam, making your work last longer.
Just follow the steps carefully, take your time, and enjoy the process. With a little effort, you’ll achieve a smooth, durable finish that makes your insulation both functional and visually appealing.
Ready to get started? Remember, painting spray foam insulation is key to boosting its durability and appearance. So grab your materials, follow the step-by-step guide, and give your spray foam insulation a fresh, protective coat that stands the test of time.