

How to Use a Wagner Paint Sprayer in 3 Easy Steps
To use your Wagner paint sprayer in three easy steps, start by preparing your workspace. Clear the area and cover any items nearby with plastic to protect them from overspray. This helps keep your project neat and mess-free.
Next, fill the sprayer reservoir with the right type of paint for your job. Adjust the nozzle to match your desired spray pattern. It’s a good idea to test the sprayer on a scrap surface first to make sure the paint flows smoothly and evenly.
Finally, hold the sprayer about 6-12 inches from the surface you’re painting. Use steady, overlapping passes to ensure even coverage without streaks or drips. Keep practicing these steps, and you’ll get a flawless finish in no time!
Key Takeaways
– Prepare your workspace by clearing items, covering furniture, and ensuring proper ventilation and lighting.
It’s all about setting the stage right before you start.
– Fill the sprayer reservoir with the correct paint type and adjust the nozzle for the desired spray pattern.
Make sure you get that just right so the paint comes out how you want.
– Test spray on a scrap surface to fine-tune paint flow and air pressure settings for even coverage.
This little test run saves a lot of headaches later.
– Hold the sprayer 6-12 inches from the surface and use steady, overlapping vertical and horizontal passes.
Keep your hand steady and move smoothly for the best results.
– Maintain consistent speed and distance while moving the sprayer smoothly to achieve a professional, streak-free finish.
Patience here really pays off with a flawless look.
Preparing Your Workspace and Materials

Before you start spraying, clear your workspace by removing furniture and decorations. Then cover any remaining items with painter’s plastic and tape to protect them from overspray.
Properly preparing your workspace means ensuring good lighting and ventilation. This helps keep visibility clear and maintains safety while you work.
Ensure your workspace has good lighting and ventilation to maintain clear visibility and safety during painting.
Next, gather all the necessary tools: your paint sprayer, paint, masking tape, painter’s plastic, and safety gear. If you’re working on higher areas, set up a stable ladder on a flat, level surface to avoid accidents.
Finally, prepare your paint by mixing or thinning it according to the manufacturer’s instructions. This helps achieve the right spray consistency.
Setting Up and Adjusting the Paint Sprayer
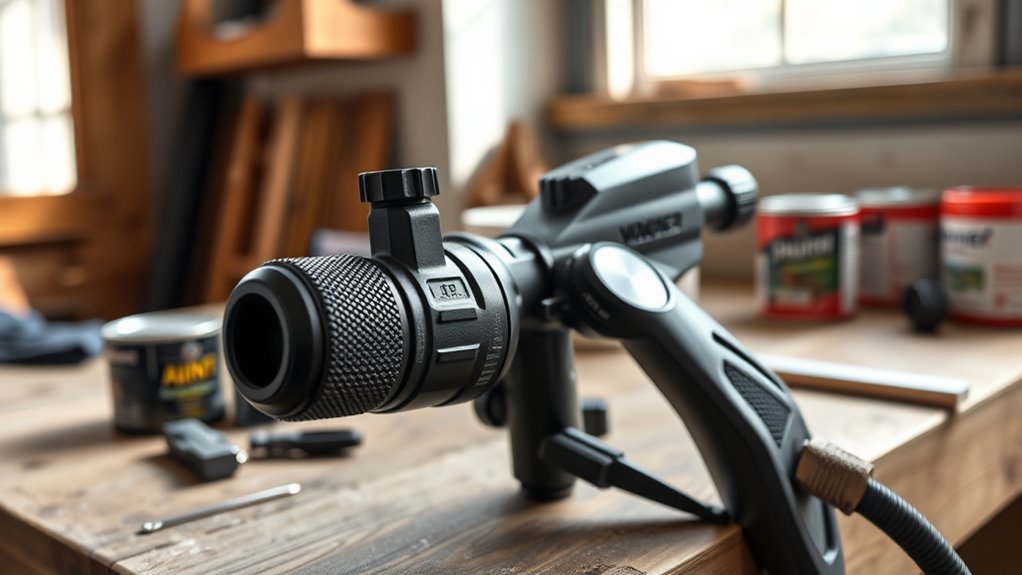
Once you’ve prepared your workspace and materials, fill the paint reservoir with the correct type of paint, whether unthinned latex or oil-based.
Next, adjust the spray nozzle to control your spray pattern—vertical or horizontal—tailoring it to your project.
For the best setting, experiment with the dial on the spray gun, usually numbered 1 to 12, to find the ideal paint flow.
Don’t forget to adjust the air pressure switch on top of the sprayer to optimize atomization, which helps prevent drips and overspray.
If you’re using HVLP paint, these adjustments are essential to achieve smooth, even coverage.
Always test on a scrap surface to fine-tune how paint from your paint reservoir sprays before starting your main project.
Applying Paint With Proper Technique

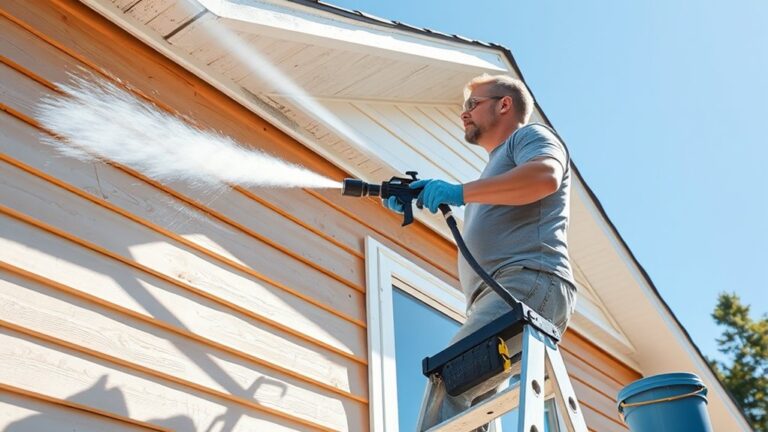
When you start applying paint, keep the sprayer 6 to 12 inches from the surface to guarantee even coverage. Maintaining this spray distance is essential for consistent surface coverage and smooth paint application.
Use a steady spraying technique with smooth, overlapping passes in both vertical and horizontal directions to avoid streaks and uneven layers. Keep the spray tip moving at a uniform speed to prevent drips and runs.
Adjust the spray pattern and flow settings depending on the paint type and surface texture for ideal results. Before tackling your project, practice your technique on scrap material to build confidence and steady your hand.
Following these steps ensures your paint application is professional and flawless every time. You’ll be surprised how much of a difference these simple tips make!
Frequently Asked Questions
Do I Need to Dilute Paint for Wagner Sprayer?
You don’t always need to dilute paint for your Wagner sprayer, but thinning it about 10-20% with water or solvent helps improve flow and prevents clogging.
Always test your mixture before spraying to guarantee smooth coverage. It’s a simple step that can save you a lot of hassle later on.
How to Use a Paint Sprayer for Beginners?
Don’t worry about complexity—you’ll get the hang of it fast. Start by practicing on cardboard, adjust settings for your paint, keep a steady distance, and spray in smooth, overlapping strokes while wearing protective gear for safety.
You’ll find it easier once you get a feel for the sprayer. Just take it slow at first, and before you know it, you’ll be painting like a pro!
How Do I Get a Smooth Finish With Wagner Sprayer?
To get a smooth finish with your Wagner sprayer, keep a steady 6-12 inch distance. Move the sprayer slowly and evenly to avoid drips and uneven coverage.
Also, adjust the nozzle to match the type of paint you’re using. It helps to practice on scrap material before starting your actual project. That way, you get the hang of the spray pattern and flow.
What Are the Most Common Mistakes When Using Spray Paint?
You often spray too close, move unevenly, or neglect testing the pattern first.
You might skip masking, use the wrong nozzle, or improperly thin paint.
These mistakes cause drips, streaks, clogs, and overspray issues.
Conclusion
Now that you’ve got your Wagner paint sprayer set up and know the right technique, you’re ready to transform your space faster than a telegram in the old days. Just prep well, adjust carefully, and spray smoothly.
With these simple steps, your painting project will feel less like a chore and more like a quick brush with modern magic. So grab your sprayer and watch your walls come to life in no time!
Using a Wagner paint sprayer makes painting easier and faster. By prepping your area properly and adjusting the sprayer settings, you’ll get smooth, even coats every time. Whether you’re painting walls, furniture, or fences, this tool helps you finish your project efficiently. So don’t hesitate—start your next painting job with a Wagner paint sprayer and enjoy a professional-looking finish without the hassle!




4 Comments