How to Use an Airless Paint Sprayer for Exterior in 5 Easy Steps
To use an airless paint sprayer for exterior projects in five easy steps, start by thoroughly cleaning and repairing your surface. This creates a smooth base that helps the paint adhere better and last longer. Taking the time to prep your walls or siding can really improve the final look.
Next, set up the sprayer. Fill the paint container, attach the right tip, and prime the system so it’s ready to go. Make sure everything is secure before you start spraying.
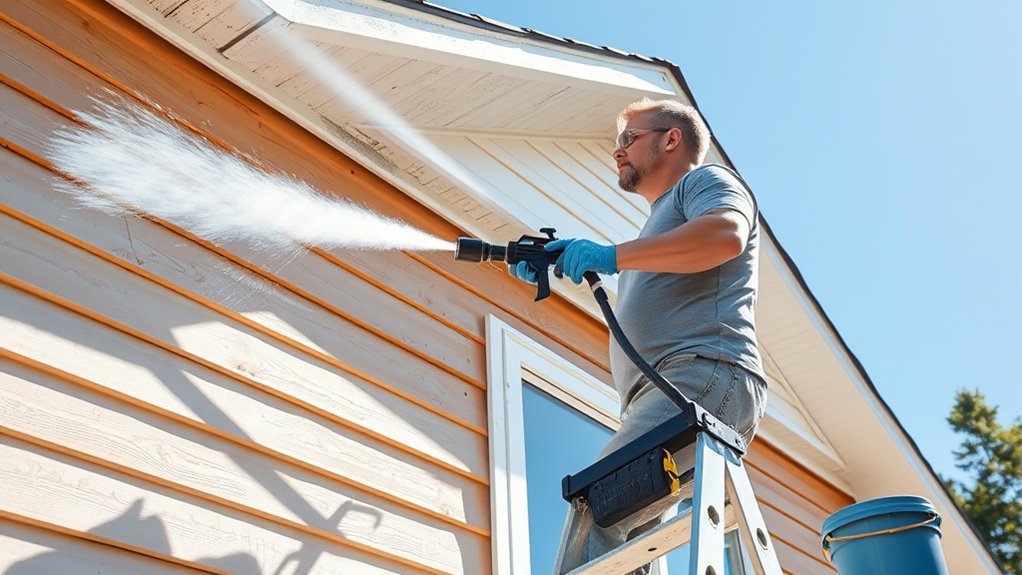
When you’re ready to paint, hold the gun steady about 10-12 inches from the surface. Move your whole arm evenly to avoid drips and overlap each spray pass slightly for full coverage.
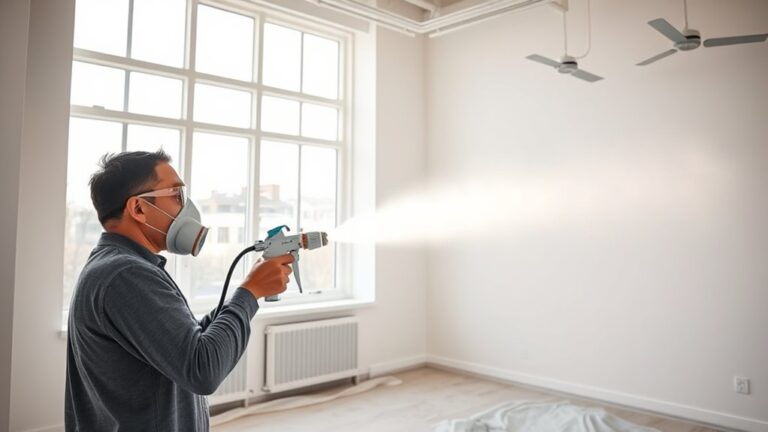
Don’t forget safety! Always wear protective gear like goggles and a mask, and cover nearby items to keep them paint-free.
Finally, clean the sprayer immediately after use. This helps maintain the equipment and ensures it works perfectly next time. Keep reading for expert tips to perfect your technique and cleanup!
Key Takeaways
- Thoroughly clean and repair the exterior surface, making sure it’s dry before you start painting. Don’t forget to caulk any gaps to get a smooth finish.
- Next, set up your sprayer. Fill it with paint, attach the tip, and prime the system. It’s a good idea to test the spray flow to make sure everything’s working right.
- When spraying, hold the gun about 10-12 inches from the surface. Move it steadily using your whole arm, not just your wrist, and overlap each pass by about 50% to avoid streaks.
- Always wear protective gear and ensure good ventilation while spraying. Also, cover nearby items to protect them from overspray, and be sure to follow all safety guidelines.
- Once you’re done, clean the sprayer and accessories thoroughly. Let the paint dry completely, then carefully remove any tape and restore the area to its original state.
Preparing the Exterior Surface

Before you start painting, make sure you’ve thoroughly cleaned the exterior surface using a pressure washer and an appropriate cleaning solution. Then, let it dry completely.
Power washing helps remove dirt, mildew, mold, and peeling paint. This sets the foundation for a flawless application of exterior latex paint.
Next, repair damaged siding and trim to ensure the surface is sound. Drive loose nails flush and sand any rough spots to create a smooth finish.
Don’t forget to caulk gaps around windows, doors, and siding. This helps prevent moisture intrusion and promotes even paint coverage.
Setting Up Your Airless Paint Sprayer
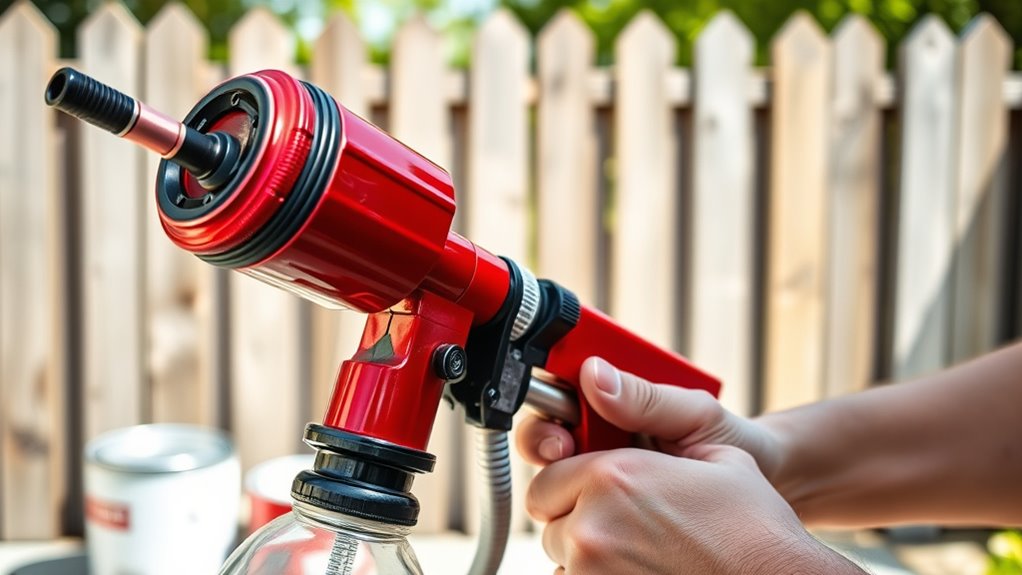
When you’re ready to begin, start by filling the paint reservoir and connecting the suction tube to your paint container. Make sure the return tube stays above the paint level.
Next, attach the spray tip suited for your project, securing it firmly to the spray gun.
Attach the appropriate spray tip securely to your spray gun for optimal project results.
To prime the system, turn the spray and prime knob to the priming position. Then, gradually adjust the pressure until paint flows smoothly through the tip.
Before spraying, turn off the sprayer and remove the safety lock. Double-check that all connections are tight.
Finally, test the sprayer on a scrap surface to check the paint flow and spray pattern. This setup ensures you’re ready for a smooth, even exterior paint job with your airless sprayer.
Mastering the Spraying Technique

Although it might seem straightforward, mastering the spraying technique is essential for achieving a smooth, even finish with your airless paint sprayer. Hold the spray gun about 10-12 inches from the surface and maintain a steady motion as you move across the area.
When pulling the trigger, avoid flicking your wrist; instead, use your whole arm to keep the spray pattern consistent. Be sure to overlap your spray passes by roughly 50% to prevent streaks and ensure full coverage.
Start at the top and work your way down to avoid drips. Adjust your speed and distance as needed based on the surface texture and paint type.
This control will help you achieve professional-looking results every time.
Managing Safety and Coverage
Since airless paint sprayers can release fine mist and fumes, you’ll want to wear protective gear like masks, goggles, and gloves to keep yourself safe. Always follow the manufacturer’s safety guidelines to avoid accidents.
Make sure you have proper ventilation by opening windows and doors. This helps dissipate harmful vapors and keeps the air fresh.
To control overspray, cover nearby plants, furniture, and surfaces with plastic sheeting or drop cloths. This prevents unwanted paint from settling where it shouldn’t.
Also, turn off and unplug any electrical appliances or outdoor equipment nearby to reduce electrical hazards. By managing safety and coverage carefully, you’ll protect yourself and your surroundings while achieving an even, professional-looking paint job.
Cleaning and Post-Painting Care
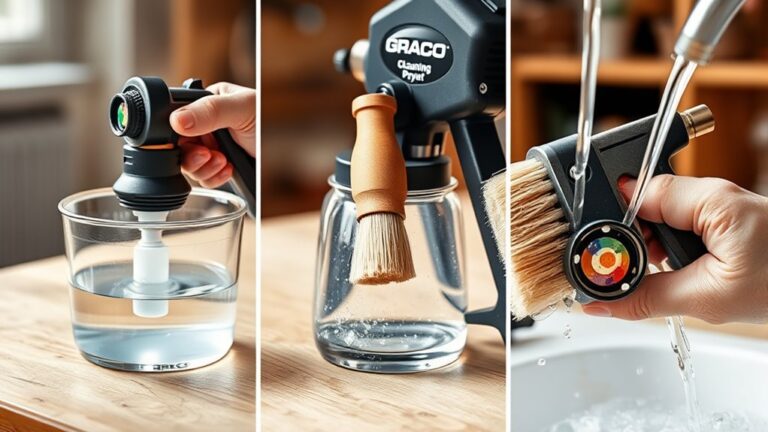
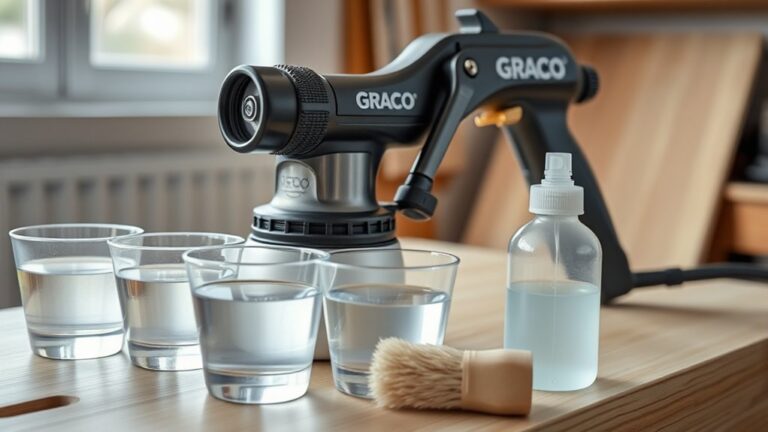
After you finish painting, flush the sprayer with water or the recommended solvent to prevent clogs and keep it in good working order. Proper cleaning of spray tips, filters, and hoses is vital to avoid clogging and extend your paint sprayer’s lifespan.
Make sure to allow sufficient drying time before removing painter’s tape. This helps ensure crisp, clean lines without smudging.
Once dry, carefully peel off tape and coverings. Then, go ahead and reinstall hardware and move furniture back into place.
| Task | Action |
|---|---|
| Flush sprayer | Use water or recommended solvent |
| Clean parts | Spray tips, filters, hoses |
| Drying | Wait before removing tape |
| Final steps | Remove coverings, replace items |
Frequently Asked Questions
How to Paint the Exterior of a House With an Airless Sprayer?
You’ll choose the right tip, mix paint evenly, then start spraying from the top on flat surfaces.
Use an extension for high spots, overlap passes by 50%, and aim into corners for smooth, even coverage.
What Is the Number One Rule When Using Airless Spray Guns?
You might worry about accidents, but the number one rule is simple: always keep your finger off the trigger until you’re ready to spray.
This prevents accidental discharge and keeps you and others safe while painting.
Do I Need to Dilute Paint for an Airless Sprayer?
You don’t usually need to dilute paint for an airless sprayer, but if it’s too thick to spray smoothly, add 10-20% water or thinner gradually.
Always test first to avoid clogging or uneven spray.
It’s better to add a little at a time and check how it sprays before deciding if you need more.
What Are the Common Problems With Graco Airless Paint Sprayers?
Clogs can choke your Graco sprayer like a blocked river, caused by thick or unfiltered paint.
You’ll face pressure dips from worn pumps, leaks at loose seals, drips if you hold the trigger too long, and inconsistent spray patterns.
These issues can be frustrating, but knowing what to look for helps you fix them faster.
Conclusion
Now that you’ve got the hang of using your airless paint sprayer, you’re ready to transform your exterior with ease. Just like a painter’s brush dances on canvas, your sprayer will glide smoothly over surfaces, delivering even coverage and vibrant color.
Remember to prep well before you start, spray smart as you go, stay safe during the process, and clean your equipment thoroughly afterward. These simple steps will help you achieve professional-looking results every time.
With your airless paint sprayer, your home’s exterior will shine beautifully. It will turn heads with its fresh, vibrant look and stand strong against the elements. Following these tips ensures a smooth, efficient painting job that protects and enhances your home’s curb appeal. So go ahead, spray confidently, and enjoy the stunning transformation!