3 Steps to Clean Graco Paint Sprayer With Dried Paint
First, turn off and unplug your Graco paint sprayer. Then, carefully disassemble the spray tip, nozzle, hose, and pump while draining any leftover paint.
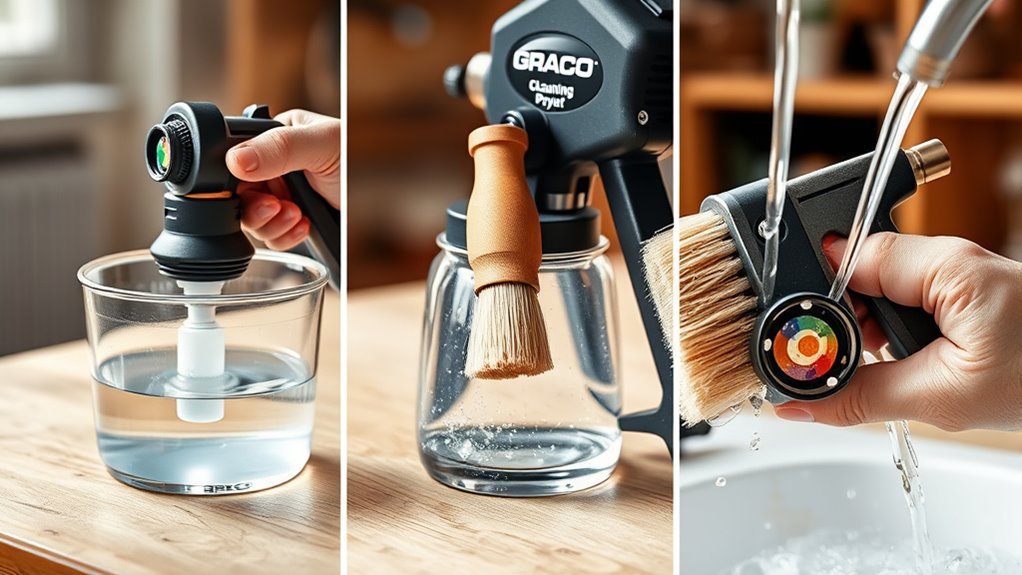
Next, soak all paint-covered parts overnight in warm, soapy water. This helps soften the dried paint, making it easier to remove.
After soaking, gently scrub away any remaining residue using a soft brush or cloth.
Finally, flush the sprayer thoroughly with clean water. Take time to clean each individual component well before reassembling everything securely.
Once done, test your sprayer to ensure it’s working perfectly.
Keeping your Graco paint sprayer clean guarantees better performance and a longer lifespan. Stick around to uncover more helpful tips and maintenance tricks that will keep your sprayer in top shape for all your painting projects!
Key Takeaways
- Turn off and unplug the sprayer, then disassemble the tip, nozzle, hose, and pump components to access dried paint areas.
- Soak removable parts overnight in warm water with Murphy’s Oil Soap to soften dried paint without damaging surfaces.
- Gently scrub softened paint off parts using a soft brush or paper towel, then thoroughly rinse and dry each component.
- Flush the sprayer with clean water or a suitable cleaner until clear, then reassemble all parts securely.
- Test the sprayer with water to ensure smooth operation, check for leaks, and store it properly for future use.
Prepare and Disassemble the Sprayer

Before you begin cleaning your Graco paint sprayer, make sure to turn it off and unplug it to guarantee safety. Once powered down, carefully remove the spray tip, nozzle, and hose, noting their positions so you can reassemble them correctly later.
Next, dismantle the pump and internal components by following the manufacturer’s guidelines—this lets you access areas where dried paint may have built up. Don’t forget to drain any leftover paint or cleaning solution from the container and lines to avoid spills.
As you disassemble, inspect each part for hardened paint buildup. Set aside removable components for soaking or further cleaning. Taking these careful steps will prepare your paint sprayer for a thorough cleaning without causing damage or confusion during reassembly.
Soak and Remove Dried Paint
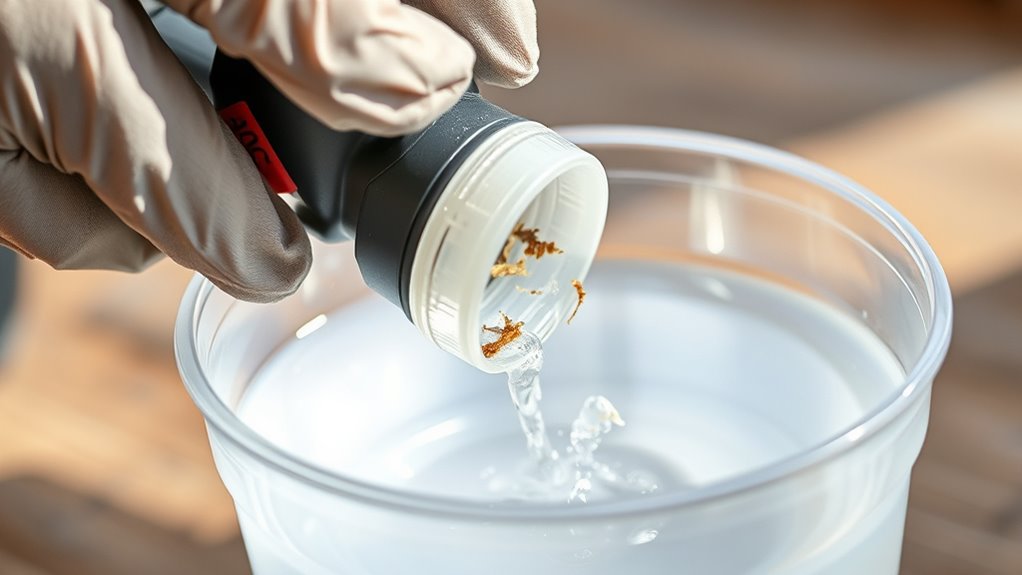
Once you’ve carefully disassembled your Graco paint sprayer and identified parts with dried paint, it’s time to soak them. Submerge all paint-covered components—including nozzles, filters, and the cylinder—in warm water mixed with Murphy’s Oil Soap or washing-up liquid.
Leave these parts soaked overnight to soften stubborn dried paint. This step is super important for keeping your airless sprayers in good shape.
The next day, grab a soft brush or paper towel and gently remove the loosened paint. Be careful not to damage any delicate surfaces while you’re at it.
After that, rinse each part thoroughly with clean water to wash away any soap residue. Make sure all parts dry completely before moving on.
This soaking process is key to restoring your sprayer’s efficiency and making it last longer.
Flush and Reassemble for Optimal Performance

To keep your Graco paint sprayer working at its best, flush it thoroughly with clean water or a proper cleaning solution until the liquid runs clear. This removes any leftover dried paint inside.
Next, disassemble the spray tip, nozzle, and other removable parts to clean them individually. Use a brush or cleaning tool to gently scrub all internal components, loosening any stubborn paint residue.
After cleaning, carefully reassemble the sprayer, making sure every part is aligned and securely connected to avoid leaks. Finally, test the sprayer by running clean water through it to confirm smooth operation.
Following these steps helps maintain ideal performance and extends the life of your Graco paint sprayer. That way, it’s ready for your next project without any hiccups.
Frequently Asked Questions
How to Clean Dry Paint Out of a Paint Sprayer?
You’ll need to disassemble the sprayer first. Then, soak the parts in a solvent to loosen the dried paint.
Next, scrub any stubborn areas with a brush. After that, rinse everything thoroughly.
Make sure to dry all the parts completely. Finally, reassemble your paint sprayer so it’s ready for smooth use again.
What Dissolves Dried Spray Paint?
When your sprayer’s stubborn paint throws a tantrum, you’ll find lacquer thinner, acetone, or lye-based cleaners gently persuade it to loosen up.
Soaking parts overnight with dish soap also works wonders without harsh confrontations.
How Do You Clean a Paint Sprayer After Using Oil-Based Paint?
You flush the sprayer with mineral spirits to dissolve oil-based paint, then disassemble and soak parts in mineral spirits.
Scrub stubborn paint, rinse with soapy water, dry completely, and reassemble for best performance.
It’s pretty straightforward once you get the hang of it. Just take your time to make sure everything is clean and dry before putting it back together.
How Long Can I Leave Paint in My Graco Sprayer?
You shouldn’t leave paint in your Graco sprayer for more than 24 hours to avoid drying and clogging.
For safe storage, flush and clean it thoroughly to keep the sprayer working well and avoid damage.
It’s a good habit to clean your sprayer right after you’re done using it. This way, you can prevent any leftover paint from hardening inside the system.
Conclusion
By prepping properly, soaking stubborn spots, and swiftly flushing your Graco sprayer, you’ll save yourself stress and secure smooth spraying next time.
Don’t let dried paint dull your device—dedicate a little daily diligence to disassemble, dissolve, and do a deep clean. This simple sequence safeguards your sprayer’s strength and saves you from costly setbacks.
Stay sharp, stay spotless, and keep your painting projects perfectly polished every time! Regular cleaning of your Graco paint sprayer not only extends its life but also ensures your equipment works efficiently. Remember, tackling dried paint early prevents clogs and keeps your sprayer in top shape. So, invest a few minutes after each use to clean thoroughly, and you’ll enjoy hassle-free, flawless finishes on all your painting jobs.