

How to Thin Latex Paint for Sprayer in 7 Easy Steps
To thin latex paint for your sprayer, start by gathering clean containers, stir sticks, and room-temperature water. It’s important to have everything ready before you begin to make the process smooth and quick.
Open the paint and stir it thoroughly to break up any lumps and get a consistent texture.
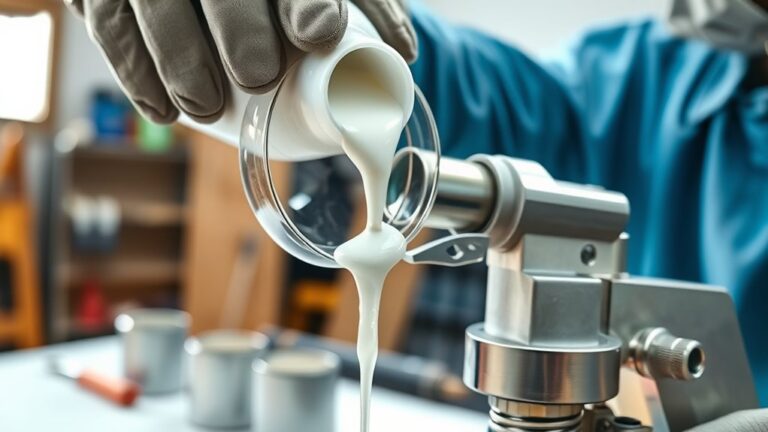
Next, pour the paint into a separate container. Slowly add 10-15% water to the paint, mixing well each time you add water. This helps achieve the right consistency for spraying without thinning it too much.
Test the flow by running the paint on a stick. You want it to run smoothly and evenly without sputtering or dripping.
Once the consistency feels right, filter the paint through a fine mesh to remove any debris or clumps.
Follow these simple steps, and you’ll get a smooth, clog-free spray every time. With a little practice, you’ll perfect your technique and make your latex paint sprayer work like a pro!
Key Takeaways
- Stir the latex paint thoroughly for 2-3 minutes to break up lumps and ensure uniform consistency before thinning.
- Pour the desired paint amount into a clean container and add 10-15% room-temperature distilled water gradually.
- Mix water and paint slowly, stirring well after each addition, and wait 10-15 minutes to check viscosity.
- Test paint flow on a stir stick; it should flow smoothly without sputtering or dripping thickly.
- Filter the thinned paint through a fine mesh filter to remove debris and prevent sprayer clogging before use.
Gather Necessary Tools and Materials

Before you begin thinning latex paint, gather all the necessary tools and materials to guarantee a smooth process. First, get clean, empty containers or buckets for mixing paint and water. You’ll need a high-quality stir stick or mechanical mixer to blend the paint thoroughly before thinning.
A fine mesh filter or strainer is essential to remove lumps and debris, ensuring your paint sprayer won’t clog. Prepare a clean cup of room-temperature water—distilled works best if your tap water is hard or contaminated.
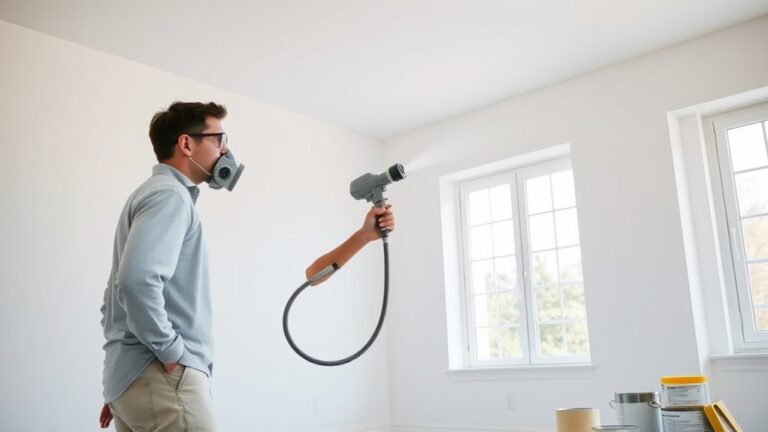
Finally, make sure you have the right spray equipment, such as an HVLP or airless paint sprayer, compatible with thinned latex paint. Having these tools ready will help you thin your paint efficiently and achieve a flawless finish.
Open and Stir the Paint Thoroughly

Open the paint can completely and give the latex paint a thorough stir to break up any settled pigments and lumps. You’ll want to achieve a smooth, consistent texture before thinning to make sure of even application.
Taking this step seriously helps prevent clumps and keeps your paint flowing just right. It’s a simple trick but makes a big difference!
Importance of Thorough Mixing
Although thinning paint can improve its application, you’ll want to stir the paint thoroughly first to make certain a smooth, even consistency. Thorough mixing is essential to achieve uniform paint consistency and proper pigment dispersion.
When you stir well, you ensure that pigments, binders, and additives blend evenly, preventing clumps and uneven textures. It’s a simple step that makes a big difference.
Here’s why thorough mixing matters:
- It breaks up clumps for a smooth finish.
- It evenly distributes pigments for consistent color.
- It guarantees additives are uniformly blended for peak performance.
- It allows water added during thinning to integrate seamlessly.
Use a clean stick or mechanical mixer and stir for 2-3 minutes. This step sets the foundation for a flawless spray application.
Trust me, taking the time to mix well pays off in the final look of your paint job.
Removing Paint Settling
When you lift the lid off your latex paint can, you’ll want to give it a good stir to break up any settled pigments and solids. Open the can fully to avoid trapping air pockets and use a clean paint stir stick to mix thoroughly.
Stir in a circular motion, scraping the sides and bottom to reincorporate any settling that’s occurred. Keep stirring for at least 2 to 3 minutes until the color and consistency become uniform.
Watch for lumps or thick areas—if you spot any, keep stirring until the paint flows smoothly without clumps. Proper stirring ensures your latex paint is evenly mixed, making it easier to thin and apply smoothly with a sprayer.
Ensuring Consistent Texture
Before you begin thinning your latex paint, make sure you stir it thoroughly to achieve a consistent texture. Proper stirring ensures the pigments are evenly distributed, preventing clumps that can clog your sprayer.
When thinning latex for an airless sprayer, follow these steps:
- Open the paint can and use a clean stir stick or mechanical mixer.
- Stir for 2-3 minutes until the paint flows smoothly off the stick in a continuous stream.
- Check for lumps or streaks; the paint should be uniform before adding water.
- Keep stirring as you thin to maintain an even texture and avoid separation.
Consistent texture is key to a smooth spray finish and ideal sprayer performance when thinning latex paint. So, take your time with the stirring—it really makes a difference!
Prepare a Separate Mixing Container

Since thinning latex paint requires careful mixing, start by preparing a clean, empty container that’s large enough to hold the amount of paint you plan to thin. This prevents contamination and gives you enough room to stir without spilling.
Pour the desired amount of paint into this separate container rather than thinning the original can. If you’re working with multiple paints, label each container clearly to avoid confusion.
Keep the container accessible so you can add water gradually during the thinning process. Using a dedicated mixing bucket ensures you maintain control over the consistency and quality of your paint, making the thinning step easier and more precise.
This simple preparation sets you up for a smooth thinning experience. It might seem like a small step, but it really makes a difference!
Add Water Gradually to the Paint
Although it might be tempting to add water all at once, you should pour it in small increments—about 10-15% of the paint volume each time—to avoid over-thinning. Gradually adding water lets you control the consistency better and prevents ruining your paint.
Follow these steps:
- Pour 10-15% water into the paint container.
- Use a clean stir stick to blend the water smoothly into the paint.
- Wait 10-15 minutes to let the paint reach a consistent viscosity.
- Repeat the process until you get a sprayable consistency.
Mix the Paint and Water Completely
You’ll want to stir the latex paint thoroughly to keep the pigments and additives evenly distributed before adding any water.
Add water slowly, about 10-15% at a time, stirring completely after each addition to blend everything well.
This careful mixing guarantees the paint’s consistency stays smooth and ready for your project.
Stir Thoroughly for Uniformity
A clean stir stick or mechanical stirrer helps you mix latex paint and water thoroughly, guaranteeing an even consistency. Stir the mixture carefully to avoid lumps or separation, which can affect your sprayer’s performance.
Use an up-and-down motion to prevent air bubbles and blend the ingredients smoothly. This way, you get a nice, even mix without any surprises.
Follow these steps for uniformity:
- Use a clean stir stick or mechanical stirrer.
- Stir in an up-and-down motion to reduce air bubbles.
- Guarantee water is evenly distributed throughout the paint.
- Continue stirring for 2-3 minutes until smooth and consistent.
Gradual Water Integration
Once your paint and water are stirred thoroughly for uniformity, start adding water gradually to avoid over-thinning. Begin by pouring about 10-15% water relative to the total paint volume into a clean container separate from your original paint can.
Use a clean stir stick or mechanical mixer to blend the water and paint completely after each addition. Stir with an up-and-down motion to evenly distribute the water without creating bubbles or foam.
Keep adding water bit by bit, mixing thoroughly each time, until the paint flows smoothly in a steady, continuous stream down the stir stick. This consistent flow shows you’ve reached the proper thinning level.
That means your latex paint is ready for spraying without messing up coverage or finish quality.
Test Paint Consistency on a Stir Stick
Although thinning latex paint is essential, testing its consistency guarantees you’ve achieved the right balance. To check if your paint is ready for spraying, use a stir stick to observe how it flows.
Dip the stir stick into the thinned paint and lift it out slowly. Watch for a continuous, even stream flowing smoothly down the stick.
Make sure the paint forms a steady line without breaking or dripping excessively. If the paint drips thickly or sputters, add more water and test again.
Repeat this process after each water addition until the paint glides in a single, smooth flow. That way, you’ll know it’s properly thinned for spraying.
Filter the Thinned Paint Before Spraying
Why risk clogging your sprayer with lumps? Always strain the thinned latex paint through a fine mesh filter before pouring it into your sprayer. This step removes debris and lumps that could block spray tips and cause uneven finishes.
Use a dedicated paint filter designed for latex paints and filter the paint right after thinning and mixing. Remember to clean or replace the filter regularly to keep the flow smooth and avoid contamination.
| Step | Purpose | Tip |
|---|---|---|
| Use fine mesh filter | Remove lumps and debris | Prevent spray tip clogging |
| Filter after thinning | Ensure smooth paint consistency | Filter immediately before use |
| Clean/replace filter | Maintain peak flow | Regular maintenance is key |
Frequently Asked Questions
How to Thin Out Latex Paint for a Spray Gun?
You thin latex paint by adding about 10-15% water gradually, stirring well each time.
Test the flow with your spray gun, adjusting until the paint sprays smoothly without sputtering or dripping.
Just take it slow and keep checking the consistency. You’ll get the hang of it quickly!
What Is the Best Thing to Thin Latex Paint With?
You might guess a solvent, but the best thing to thin latex paint is actually clean, room-temperature water.
It keeps the paint smooth and spray-ready without ruining its adhesion—just add it gradually and stir well.
How Much Water to Thin Latex Paint for Spraying?
You’ll want to add about 10-15% water to your latex paint—around 1/8 to 1/4 cup per gallon. Add water slowly, stirring and testing the flow to avoid over-thinning and make certain of smooth spraying.
Just take it easy and add a little at a time. That way, you can check how it sprays and adjust as needed without messing it up.
What Can I Use to Thin Paint for a Sprayer?
Sure, you could try unicorn tears, but honestly, just use clean, room-temperature water to thin your latex paint for spraying.
It’s safe, effective, and won’t turn your masterpiece into a sticky disaster.
Conclusion
Now that you know how to thin latex paint for your sprayer, you’re all set to tackle your project like a pro. Remember, patience is key—don’t rush adding water, or you might end up with a paint disaster.
Follow these simple steps, and you’ll get a smooth, even finish every time. With the right prep, the sky’s the limit on what you can achieve.
So go ahead, give it a shot! Thinning latex paint correctly ensures your sprayer works efficiently and your paint job looks flawless. Keep these tips in mind, and your next painting project will be easier and more enjoyable than ever.




3 Comments