How You Can Spray Paint Cabinets Step by Step
You start by sanding your cabinets lightly and cleaning them thoroughly to remove dust and grease. This step is crucial because it helps the paint adhere better and ensures a smooth finish.
This step is also important for preparing the surface for painting. Tape off areas you don’t want painted and cover nearby surfaces carefully to protect them from overspray.
Next, adjust your sprayer with the right nozzle and strain your paint to avoid clogs. This makes spraying easier and keeps your finish looking flawless.
Apply several thin coats of primer and paint, letting each dry fully between layers. Thin coats prevent drips and give you a professional-looking result.
Don’t forget to clean your sprayer regularly for smooth results and to keep your equipment in good shape.
Keep going, and you’ll get tips on perfecting your technique for a flawless finish. With patience and the right steps, spraying cabinets can be a rewarding DIY project!
Key Takeaways
- Lightly sand cabinets and clean surfaces with a TSP solution. Then, remove hinges and label doors for easy reinstallation.
- Mask off cabinet insides, countertops, adjacent walls, and nearby furniture with painter’s tape and plastic sheeting. This helps protect all surfaces from paint.
- Set sprayer to high air pressure. Strain the primer and paint to avoid clogs. Hold the sprayer 6-8 inches from the surface for even coverage.
- Apply multiple thin coats of primer and paint. Make sure each coat dries fully before applying the next one. This ensures a smooth finish.
- Clean sprayer parts regularly to keep everything working well. Check for drips after each coat, and follow proper drying and curing times before reassembling cabinets.
Preparing and Masking Cabinets for Spray Painting

Before you start spray painting, make sure to lightly sand the cabinet surfaces with high-grit sandpaper so the paint will adhere better. Proper cabinet preparation includes sanding and thorough surface cleaning to remove dust and grease.
Lightly sanding cabinets ensures paint sticks well—prep with sanding and cleaning for best results.
Use a diluted TSP solution for dust removal and confirm all surfaces are dry. Next, perform hinge removal carefully, labeling each door to keep track for reinstallation.
Set up your spray booth by masking off the insides of cabinets, countertops, and adjacent walls using painter’s tape and plastic sheeting. Don’t forget to cover nearby furniture and floors with protective coverings like plastic or drop cloths to prevent paint overspray.
This careful masking and preparation will help you achieve a smooth, professional-looking finish while keeping your workspace clean and protected. It really makes a difference!
Applying Primer and Paint With a Sprayer

When you start applying primer and paint with a sprayer, adjust the air pressure to high and use a fine finish nozzle to get smooth, even coverage.
Before you fill your paint sprayer, strain the primer or spray paint. This helps keep the flow consistent and prevents clogs.
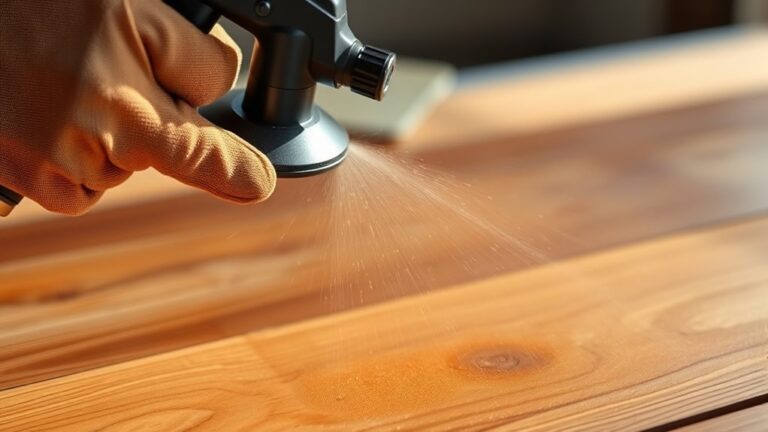
Hold the sprayer about 6-8 inches from the surface. Use a steady, overlapping motion to make sure you cover everything properly.
It’s better to apply multiple thin coats instead of one heavy layer. Let each coat dry fully to avoid drips or uneven texture.
Don’t forget to pause occasionally and clean the nozzle and other sprayer parts. This keeps your sprayer working great throughout the job.
Following these steps ensures a flawless finish and helps your sprayer last longer.
Frequently Asked Questions
What Is the Best Way to Spray Paint Cabinets?
The best way to spray paint cabinets is to prepare surfaces thoroughly, use a high-quality HVLP sprayer, keep a steady 6-8 inch distance, apply multiple thin coats, and let each dry fully for a smooth, professional finish.
Start by cleaning and sanding the cabinets well. This helps the paint stick better and gives you a smoother look.
Next, use an HVLP sprayer—it offers great control and reduces overspray. Keep the sprayer about 6-8 inches away from the surface as you paint.
Apply several thin coats rather than one thick one. This prevents drips and helps the paint dry evenly.
Make sure to let each coat dry completely before applying the next. Patience here really pays off with a flawless, professional finish.
Is It Better to Spray or Brush Paint Cabinets?
It’s better to spray paint cabinets because you’ll get a smoother, more even finish and reach detailed areas easily.
Brushing works for small touch-ups but often leaves brush marks and takes more time. So, if you want a professional look without the hassle, spraying is usually the way to go.
Can I Spray My Kitchen Cabinets Myself?
Yes, you can spray your kitchen cabinets yourself if you prepare properly. Clean, sand, and mask surfaces first. Practice spraying on scrap wood to get the hang of it.
Make sure you use a quality sprayer. Patience and safety are key—they help you get professional results. Just take your time, and you’ll do great!
Is Spraying Kitchen Cabinets a Good Idea?
Spraying cabinets is like wielding a magic wand, giving your kitchen a sleek, flawless glow. If you prep well and handle equipment wisely, you’ll save time and enjoy a durable, professional-looking finish you’ll love.
It’s really about the prep work. Sanding, cleaning, and taping off areas carefully makes all the difference. Plus, using the right sprayer can make the process smooth and even.
You’ll want to work in a well-ventilated space, too. That way, the finish dries nicely without any hiccups. And when you’re done, you’ll have cabinets that look brand new—just like a pro did it!
Conclusion
By prepping and masking your cabinets carefully, you set yourself up for a smooth spray painting process.
Remember, applying primer and paint evenly with your sprayer makes all the difference in achieving a professional finish.
For example, Sarah transformed her outdated kitchen cabinets by following these steps, turning them from dull to stunning without hiring a pro.
With patience and attention to detail, you can get similar results and refresh your space beautifully.
Spray painting cabinets is a fantastic way to breathe new life into your kitchen or bathroom without the expense of full replacement. Just take your time with preparation, use quality primer, and maintain an even coat with your spray gun.
This method ensures a durable, sleek finish that can last for years. So, grab your sprayer and get ready to transform your cabinets into a beautiful focal point in your home!