How to Thin Chalk Paint for Sprayer Step by Step
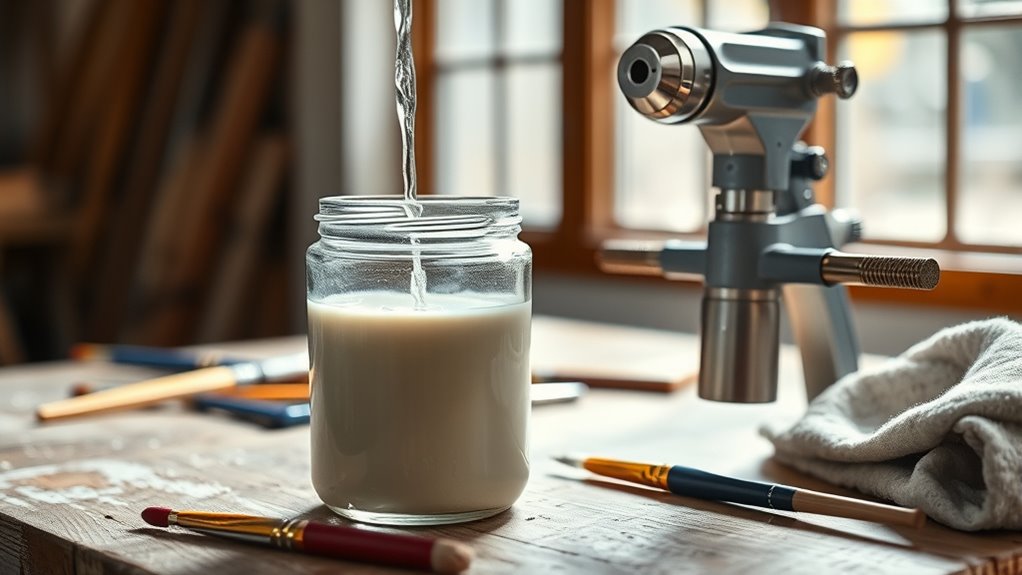
To thin chalk paint for spraying, start by transferring a small amount into a clean container. This step is crucial because it allows you to control the consistency more easily before loading your sprayer.
Add about 1/2 teaspoon of water per 1/3 cup of paint, stirring thoroughly after each addition. Keep adding water gradually until the paint is smooth, lump-free, and flows evenly when you lift the stir stick.
Testing the flow is key. Make sure it sprays without splattering or clogging your sprayer.
Follow these steps carefully, and you’ll get a flawless paint finish with perfect spray consistency every time.
Key Takeaways
- Transfer measured chalk paint to a clean container before starting the thinning process.
- Add about 1/2 teaspoon of water per 1/3 cup of paint gradually, stirring thoroughly each time. Mix until the paint is lump-free and flows smoothly when lifting the stir stick.
- Test the paint flow by observing dribble and performing a test spray to ensure even coverage.
- Keep adding water slowly until the paint sprays evenly without splattering or running. It’s all about finding that perfect consistency!
Preparing Chalk Paint for Spraying
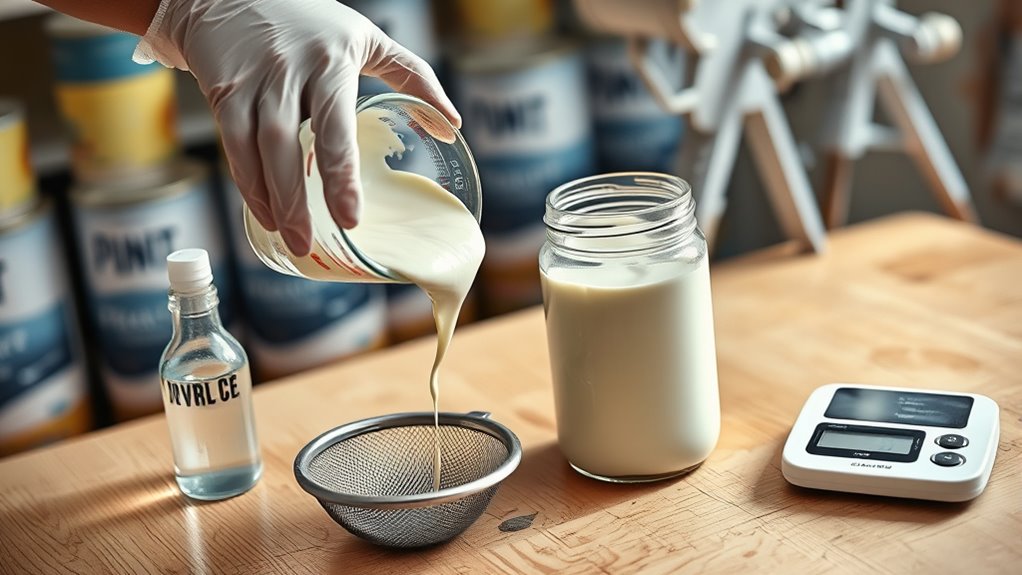
Before you begin thinning chalk paint for spraying, transfer a measured amount into a clean container to avoid contamination. Proper paint preparation guarantees your chalk paint sprays smoothly without clogging the paint sprayer.
Start by moving a measured amount of chalk paint into a clean container to ensure smooth spraying and prevent clogs.
Start thinning chalk paint by gradually adding water—about 1/2 teaspoon per 1/3 cup of paint works well. After each addition, focus on stirring paint thoroughly to achieve an even paint consistency free of lumps or worm casts.
To test paint flow, lift the stir stick and watch how the paint dissipates; it should blend back smoothly without streaks or drips. Keep adding water in small increments, stirring paint each time, until you reach the ideal thinness.
This careful process helps you spray chalk paint evenly and prevents issues during application. It might take a few tries, but patience really pays off here!
Step-by-Step Guide to Thinning Chalk Paint

When you want to thin chalk paint effectively, start by transferring a measured amount into a clean container to keep the original paint pure. Begin the paint thinning process by adding water gradually—about 1/2 teaspoon per 1/3 cup of paint—while mixing chalk paint thoroughly to ensure even water addition.
Stir after each increment to maintain a smooth finish and monitor paint consistency. Aim for a pourable texture without clumps or worm casts, which is ideal for spray application.
Check the viscosity by lifting your stirring stick; the paint should blend back smoothly without stringiness. This careful chalk paint preparation ensures ideal flow when applying with sprayer or spray gun, helping you achieve a flawless coat with ease.
Testing and Adjusting Paint Consistency

After you’ve added water to your chalk paint and mixed it thoroughly, it’s important to test its flow to confirm the consistency is just right. Use a separate container for your paint test to avoid contaminating the original can.
Lift your stirring stick and observe the paint’s dribble; it should flow smoothly without forming worm-like casts. If the paint is too thick or clumpy, add water gradually—about ½ teaspoon per 1/3 cup of paint—and stir thoroughly after each water addition.
Perform a test spray to check the thinning ratio and adjust thickness as needed. Keep fine-tuning until the paint flows evenly with a smooth flow, perfect for spraying chalk paint without splattering or running.
This way, you ensure the paint consistency is ideal for your project.
Frequently Asked Questions
How to Thin Chalk Paint for Spraying?
You thin chalk paint by gradually adding small amounts of water, stirring well, and testing its flow.
Keep adding water until it’s runny enough to spray smoothly, ensuring even consistency to avoid clogging your sprayer.
Just take it slow and check the texture as you go. This way, you get the perfect spray without any hassle!
Can You Spray Chalk Paint With a Sprayer?
You can spray chalk paint with a sprayer—it’s like turning a brush into a magic wand. Just thin it properly, test first, and adjust your sprayer to get that smooth, flawless finish you want.
It’s pretty simple once you get the hang of it. Just remember to keep your strokes even and don’t rush the process. You’ll be amazed at how professional your project looks!
How Much Water to Add to Chalk Paint for Spraying?
You should add about 1 to 2 ounces of water per quart of chalk paint.
Start small, mix thoroughly, and test the consistency before adding more. This helps you avoid over-thinning and guarantees smooth spraying.
What Can I Use to Thin Out Chalk Paint?
You can only use water—nothing else! Imagine trying to mix oil with water; it just won’t blend.
Stick to filtered or distilled water to thin chalk paint perfectly, ensuring smooth spraying without clumps or mess.
Conclusion
Thinning chalk paint for your sprayer isn’t as tricky as it seems—think of it like tuning a guitar, where the right tension creates perfect harmony. By carefully preparing, thinning step-by-step, and testing your paint’s consistency, you’ll achieve a smooth, even spray every time.
With practice, you’ll master the flow, turning your painting project into a breeze. So grab your sprayer and get ready to watch your walls come alive with flawless color!
Remember, the key to perfect results is patience and attention to detail when you thin chalk paint for sprayers. Start with small amounts of water or thinner, mix well, and test frequently. This step-by-step approach ensures your paint sprays evenly without clogging or dripping.
Once you get the hang of it, thinning chalk paint for sprayers will feel natural, helping you achieve that professional finish effortlessly every time.