How to Paint Kitchen Cabinets With a Sprayer in 7 Easy Steps
To paint your kitchen cabinets with a sprayer, start by removing and labeling all the doors, drawers, and hardware. This step helps keep everything organized and makes reassembly easier later on.
Next, clean and sand every surface thoroughly. This ensures the paint adheres well and gives you a smooth finish. Don’t rush this part—it really makes a difference!
Now, prepare your workspace by covering nearby areas to protect them from overspray. Then, apply a primer to seal the wood. This step is key for durability and a professional look.
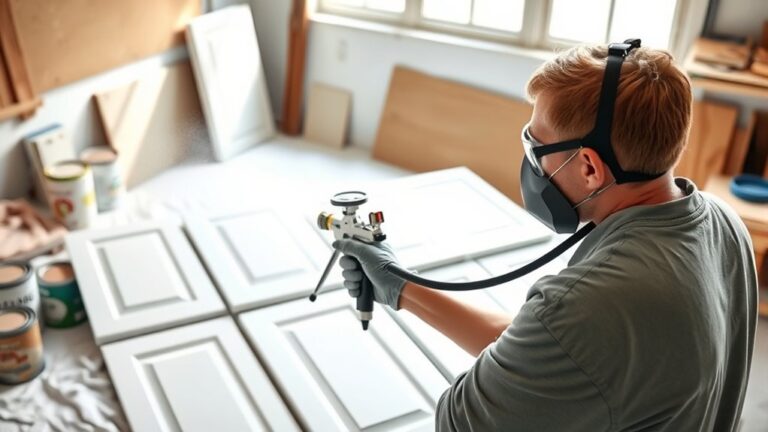
Once your primer is dry, load and adjust your sprayer for even coverage. Apply multiple thin coats, letting each dry and lightly sanding between them for the best results.
Finally, securely reattach all hardware and doors to complete your kitchen cabinet makeover. Keep going to uncover detailed tips for each step, so your cabinets look amazing with that sprayer finish!
Key Takeaways
- Remove cabinet doors, drawers, and hardware, labeling each for easy reassembly. Protect your workspace with drop cloths.
- Clean and sand all surfaces thoroughly to ensure smooth paint adhesion. Wipe away dust before priming.
- Apply a bonding primer in thin, even coats. Allow full drying between layers for optimal paint adherence.
- Load water-based paint into the sprayer, adjust pressure and spray pattern. Test on scrap for even application.
- Apply 2-3 thin coats of paint, sanding lightly between coats. Then reattach hardware once fully dry for a professional finish.
Remove and Label Cabinet Doors, Drawers, and Hardware

Before you start painting, remove all cabinet doors, drawers, and hardware to make sure you reach every surface and avoid damage. This essential prep work guarantees your paint job looks professional and smooth.
Use a screwdriver to carefully detach hinges and handles without harming the cabinet surfaces. Label each piece with painter’s tape and a marker to make reassembly easier—don’t forget to keep hardware in labeled containers or bags to prevent loss. Taking photos during disassembly can help you remember where everything goes.
Carefully remove hardware with a screwdriver, label pieces, and snap photos to ensure easy reassembly and no lost parts.
Lay down drop cloths to catch any drips when you use your airless paint sprayer later. Prep time like this is vital before applying new paint. Make sure you choose the right paint and know when it’s time to prime for maximum adhesion.
You’ll want to flush out any dust or debris before painting. This way, your paint will stick better and look smoother. Trust me, taking these steps will save you a lot of headaches down the road!
Clean and Sand Cabinet Surfaces

Once you’ve removed and labeled everything, clean your cabinet surfaces thoroughly with a degreaser to eliminate oil, grease, and dirt. This step guarantees the primer will adhere properly. For smaller jobs, you can focus on individual cabinet faces or drawer fronts.
Next, use medium to fine grit sandpaper to lightly sand all surfaces, removing the old finish and creating a smooth base for your paint. Don’t forget detailed areas and corners—these need even sanding too.
After sanding, wipe down every surface with a tack cloth or damp cloth to remove dust and debris. Make sure everything is completely dry before moving on to priming. Proper cleaning and sanding set the foundation for a professional-looking finish.
Prepare the Workspace and Protect Surrounding Areas

Before you start painting, clear the area around your cabinets to give yourself plenty of space to work and protect nearby surfaces from damage.
Use painter’s tape and plastic sheeting to cover countertops, walls, and floors. Drape drop cloths over any furniture or appliances.
Taking these steps will keep your workspace clean and prevent unwanted paint splatters. It makes the whole process much easier and less stressful.
Clear and Clean Area
Although painting kitchen cabinets can be a rewarding project, you’ll want to start by clearing and cleaning the area to safeguard your surroundings and guarantee a smooth process.
Begin by removing any clutter and moving furniture away from the cabinets to create ample workspace. Proper lighting is essential so you don’t miss spots or apply uneven coats.
Also, make certain good ventilation by opening windows or using fans to disperse fumes and dust. Remember to protect hardware and fixtures by removing or taping them off.
Focus on these key preparation steps:
- Clear clutter and move furniture for safe, easy access.
- Maintain good lighting and ventilation.
- Remove or tape off hardware and fixtures to avoid unwanted paint coverage.
This sets the stage for a clean, efficient painting job.
Cover Surfaces Properly
To protect your kitchen and keep your paint job clean, you’ll want to cover all nearby surfaces thoroughly. Start by laying painter’s plastic or drop cloths over countertops, floors, and adjacent walls to shield them from overspray and drips.
Use painter’s tape to mask off edges, trim, and any areas you want to keep paint-free, ensuring sharp, clean lines. Remove or cover hardware, hinges, and handles so paint won’t stick to them.
Don’t forget to protect appliances and nearby cabinetry with paper or plastic sheeting to avoid accidental splatters. Finally, clear the workspace of clutter and open windows or use fans for good ventilation.
This preparation keeps your kitchen safe and makes painting smoother and more efficient. It might seem like a lot, but it really pays off in the end!
Prime Cabinets for Better Paint Adhesion
Since proper paint adhesion starts with a solid foundation, you’ll want to apply a high-quality bonding primer to your kitchen cabinets. This step guarantees the paint sticks well, especially on bare or stained wood. It also seals knots and imperfections to prevent bleed-through.
Before priming, clean and sand the cabinets thoroughly to remove grease, dirt, and old finishes. This prep work helps create a smooth surface. Use a water-based or oil-based bonding primer designed for wood, applying it in thin, even coats with a brush or sprayer.
Remember to let each coat dry fully before adding another. Taking your time here really pays off in the long run. To recap, focus on these essentials:
- Clean and sand cabinets before priming
- Use a quality bonding primer suited for wood
- Apply primer evenly in thin coats and allow drying time
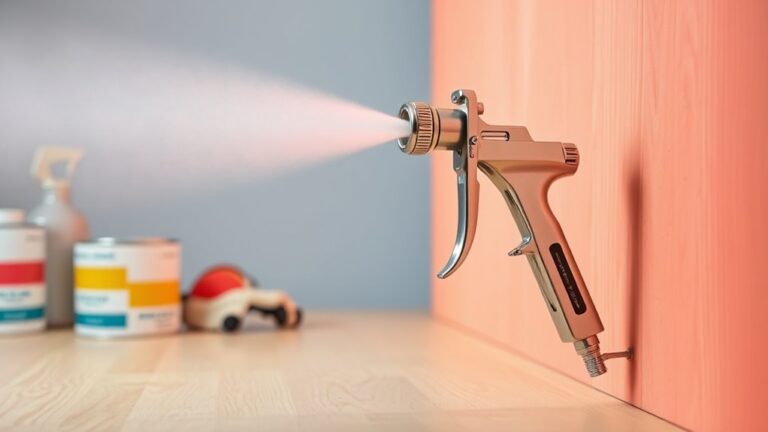
Load and Adjust Your Paint Sprayer
Before you start spraying, make sure you fill your paint sprayer’s reservoir with your chosen water-based paint. Don’t overfill it though, to avoid spills.
Next, adjust the spray pressure by following the manufacturer’s guidelines. Usually, it’s between 1500-3000 PSI for cabinets.
Set the spray pattern to a narrow or medium fan. This helps you get better control and precision on your cabinet surfaces.
Before you begin, check that the nozzle is properly installed and clean. This prevents clogs or uneven paint application.
Finally, test the sprayer on a scrap piece or cardboard. Adjust the flow and pattern until you get a smooth, even spray.
Taking these steps makes sure your sprayer is ready for a flawless paint job on your kitchen cabinets.
Apply Multiple Thin Coats of Paint
Although it might be tempting to cover your cabinets in one thick coat, applying multiple thin layers guarantees a smoother, more even finish without drips or runs. Thin coats dry faster and cure more evenly, which helps prevent peeling or cracking later on.
To get the best results, aim for 2-3 thin coats, sanding lightly between each to remove imperfections and improve adhesion.
Keep these tips in mind:
- Build color gradually for better control and a professional look.
- Lightly sand between coats to ensure smoothness.
- Allow proper drying time to avoid trapping moisture.
Reattach Hardware and Complete Final Assembly
Once your cabinets are fully dry, you can reattach the hardware to complete the final assembly. Start by using a mounting guide and painter’s tape to align the hardware holes accurately before drilling.
Mark the exact locations on the cabinet doors with a pencil or masking tape to make reinstallation easier. If you’re updating the look, consider swapping old hardware for new satin nickel pulls for a modern, cohesive finish.
When attaching the hardware, tighten all screws evenly to avoid damage or misalignment. Finally, double-check that every piece is securely fastened and properly aligned.
This careful reattachment will ensure your kitchen cabinets look polished and professional, perfectly complementing your fresh paint job.
Frequently Asked Questions
How to Spray Kitchen Cabinets for Beginners?
You’ll want to practice spraying first, keep a steady 12-inch distance, and use smooth overlapping passes.
Apply thin coats gradually, and be sure to clean the spray tip regularly.
This approach helps you achieve an even, professional finish on your cabinets.
Trust me, taking it slow and steady makes all the difference!
What Is the Number One Rule When Using an Airless Spray Gun?
You never want to start spraying blindly—always test your spray pattern and pressure first on scrap material. This makes certain of even coverage and avoids surprises.
That way, your project turns out flawless from the very first stroke. It’s a simple step that saves you a lot of headaches down the line.
Is It Better to Paint Cabinets With a Brush or Sprayer?
You’ll get smoother, faster results with a sprayer for cabinets. It delivers even coats without brush marks, which is great for a clean look.
Brushes, on the other hand, work best for small, detailed areas where precision matters. So, use a sprayer for a professional, sleek finish. It just makes the whole job easier and quicker!
What Not to Do When Painting Cabinets?
Don’t skip cleaning and sanding, and avoid thick coats. Never paint without masking.
Also, don’t forget to sand between coats. And definitely don’t rush drying or reassemble cabinets too soon.
These mistakes can ruin your finish and cause damage. Taking your time really pays off!
Conclusion
Now that you’ve tackled painting your kitchen cabinets with a sprayer, you know that patience and preparation pay off—after all, Rome wasn’t built in a day. By following these steps, you’ll achieve a smooth, professional finish that transforms your kitchen.
Remember, applying multiple thin coats and taking your time guarantees lasting beauty. So, roll up your sleeves and enjoy the satisfaction of a fresh, stunning kitchen you did yourself! Painting kitchen cabinets with a sprayer not only saves time but also gives you that flawless look you’re aiming for.
With the right technique, your kitchen will shine like new, making all your effort truly worth it.