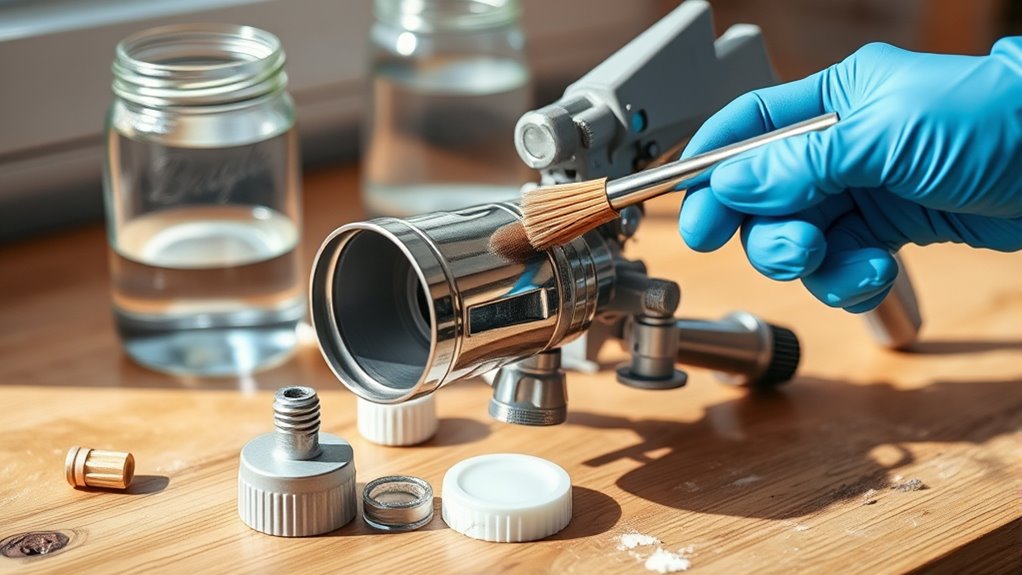
How Do You Clean a Paint Sprayer in 5 Easy Steps
To clean your paint sprayer in five easy steps, start by releasing excess paint at low pressure to avoid splattering. This simple first step helps keep your work area tidy and prepares the sprayer for a thorough cleaning.
Then, wipe down the exterior to remove any drips and buildup.
Next, flush the system thoroughly with clean water or a suitable cleaner until clear fluid flows. This ensures all paint residues are washed out from inside the sprayer.
After that, remove and soak the spray tip to clear any clogs. Scrub gently if needed to get it back to perfect working condition.
Finally, flush with storage fluid and store the sprayer in a dry place. Following these steps guarantees your sprayer stays ready for the next job.
For more detailed tips, keep exploring.
Key Takeaways
- Release excess paint at low pressure to clear the system without splattering. This helps avoid messes and gets things flowing again.
- Wipe the sprayer’s exterior thoroughly to remove paint drips and buildup. A clean outside means less chance of clogs later on.
- Flush the sprayer with clean water or cleaning fluid until clear fluid flows. Keep going until you see no more paint coming out.
- Soak and scrub the spray tip to remove dried paint, then rinse and inspect. Make sure it’s spotless so your next project goes smoothly.
- Fill the system with storage fluid and store the sprayer dry in a heated area. This keeps everything in good shape until you need it again.
Remove Excess Paint With Low Pressure
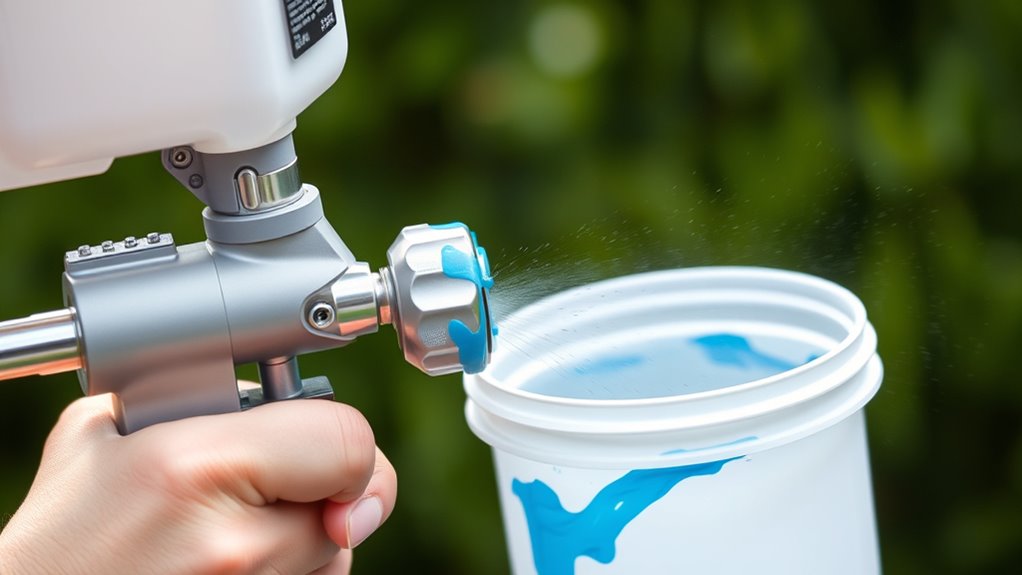
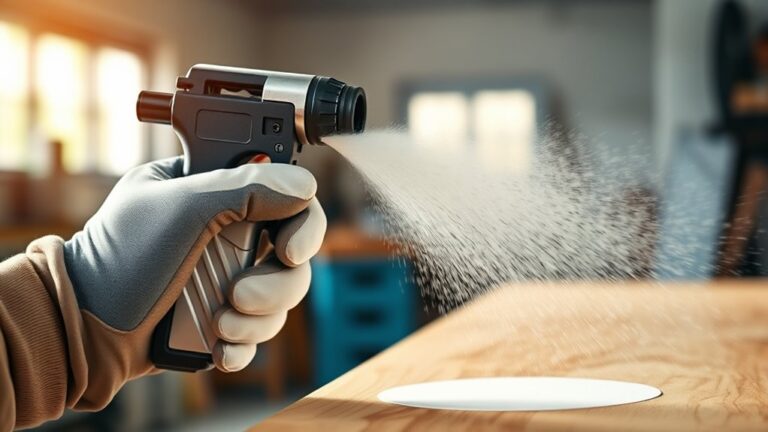
Before fully cleaning your paint sprayer, start by removing excess paint at low pressure to prevent splattering. Make sure you push the trigger gently to release any remaining paint until the flow diminishes.
Lowering the pressure helps control the paint flow and keeps the process neat. Use the spray gun to push out excess paint into a waste container or a designated area.
Continuously move the spray gun across a scrap surface or container to expel residual paint smoothly, avoiding buildup. Always wear protective gear like gloves and goggles to shield yourself from paint splashes.
Wipe Down Exterior Parts
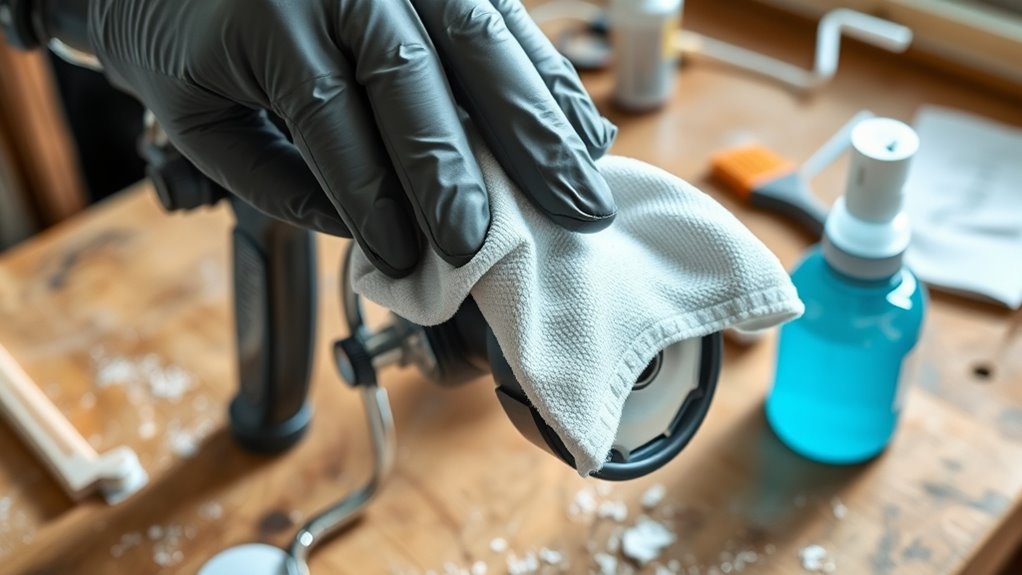
Once you’ve cleared out the excess paint at low pressure, take a clean cloth or rag to wipe down all exterior parts of your paint sprayer. Focus on removing any paint splatters or drips from the sprayer’s body, handle, and nozzle area.
If you encounter stubborn paint spots, dampen the cloth with water or an appropriate cleaning solution before wiping. Regularly inspecting and cleaning the exterior helps prevent paint buildup, which can affect both the appearance and operation of your paint sprayer.
Flush the System Thoroughly
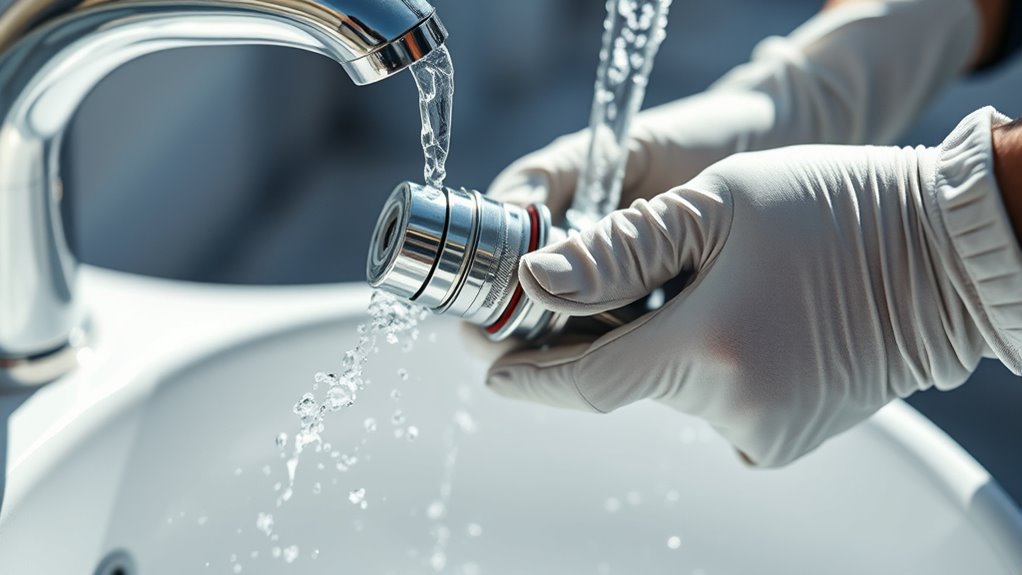
Although you’ve wiped down the exterior, you still need to flush the system thoroughly to remove all residual paint. This step is vital to keep your sprayers in top condition and prevent clogs.
Follow these easy steps:
Follow these easy steps to thoroughly flush your sprayer and keep it running smoothly.
- Turn the sprayer to full pressure and run it for 20 to 30 seconds to flush out leftover paint.
- Hold the hose firmly and move it quickly in different directions to clean the pump walls thoroughly.
- Use clean water or an appropriate cleaning fluid, like windshield washer fluid, to rinse hoses and components.
Keep flushing until clear blue fluid flows from the gun and return hose, confirming the system is clean. Don’t forget, avoid leaving water inside to prevent rust or damage.
Clean the Spray Tip
Because paint buildup can clog your sprayer and affect its performance, you’ll want to remove the spray tip and soak it in water or a cleaning solution to loosen any dried paint. After soaking, use a soft brush or a small wire brush to carefully scrub away any paint buildup from the tip’s orifice and nozzle.
Rinse the spray tip thoroughly with clean water to remove all residual paint. Check the tip opening for clogs or damage—if you spot any issues, replace the tip to maintain a proper spray pattern.
Finally, reinstall the cleaned spray tip securely onto your sprayer, ensuring it’s properly seated. Properly cleaning sprayers including the spray tip helps keep your equipment working smoothly and extends its lifespan.
Prepare the Sprayer for Storage
Before storing your paint sprayer, you should flush the entire system with water or a suitable cleaning fluid to remove any leftover paint. This step is vital for keeping your airless sprayer in top condition.
Next, fill the system with a storage fluid like pump armor, mineral spirits, or windshield washer fluid. Let it circulate through all components to protect the internal parts.
Finally, clean the spray tip and filters thoroughly to prevent clogging.
To prepare your airless sprayer for storage, follow these steps:
- Wipe down external surfaces and inspect hoses for damage or leaks.
- Store the sprayer in a heated, dry environment to avoid freezing and rust.
- Make sure all parts are dry and properly reassembled before storage.
Frequently Asked Questions
Can I Run Water Through My Paint Sprayer to Clean It?
Yes, you can run water through your paint sprayer to clean it if you used water-based paint. Just set it to full pressure and flush clean water for 20-30 seconds to remove any leftover paint effectively.
It’s pretty straightforward. This method helps keep your sprayer in good shape and ready for the next job.
What Can I Soak My Paint Sprayer in to Clean It?
Did you know 70% of paint sprayer clogs come from improper cleaning?
You can soak oil-based parts in mineral spirits or water-based components in warm, soapy water. Just avoid harsh solvents on plastic parts to prevent damage.
Do You Have to Clean a Paint Sprayer After Every Use?
Yes, you should clean your paint sprayer after every use to prevent clogs and buildup. Doing so keeps it working smoothly and extends its lifespan.
Plus, it guarantees your next project will have consistent spray quality without any color contamination. It’s a quick step that really pays off in the long run.
How Do You Get Dried Paint Out of a Paint Sprayer?
Like opening a stubborn door, you’ll soak the tip in solvent, then scrub with a brush or needle to loosen dried paint.
Heat softens buildup, and flushing clears debris—don’t forget to reassemble afterward for smooth spraying.
Conclusion
Cleaning your paint sprayer can be quick and convenient if you follow these five simple steps.
By removing residues, wiping worn parts, flushing fluids, cleaning the vital tip, and prepping for proper storage, you’ll preserve performance and prolong the life of your sprayer.
Stay sharp, stay speedy, and save yourself stress by sticking to this straightforward spray sprayer scrub-down.
Remember, regular routine repair and rinsing really revitalize your reliable tool!
Keeping your paint sprayer clean not only ensures smooth operation but also extends its lifespan significantly.
By routinely flushing out paint and debris, wiping down parts, and inspecting for wear, you maintain peak performance every time you use your sprayer.
This simple maintenance routine helps avoid clogs and uneven spraying, saving you time and frustration on your projects.
Investing just a few minutes after each use to clean your paint sprayer is a small effort that pays off with long-lasting reliability and professional results.
So, stick to these easy cleaning steps and enjoy hassle-free painting with your trusty sprayer!