
How You Can Paint a Car With an Airless Sprayer Step by Step
To paint a car with an airless sprayer, you’ll want to start by thoroughly cleaning the surface. Make sure to remove all dirt and grease, then sand and prime it for good adhesion. This prep work is key to getting that smooth, long-lasting finish.
Next, adjust your sprayer to a fine-finish tip—something like a 310 or 410 works great. Before you dive in, test spray on scrap material to get consistent pressure and a nice spray pattern. This step helps avoid surprises once you’re painting the car itself.
When you’re ready, apply an epoxy primer followed by the basecoat. Do this in several thin coats, letting each layer dry properly between applications.
Finally, finish off with multiple clearcoat layers, keeping a steady overlap and distance for an even finish. Stick to these basics, and you’ll be ready to explore expert techniques for a flawless paint job.
Key Takeaways
- Prepare the car by cleaning, sanding, priming, and feathering repaired areas for smooth paint adhesion. This step is crucial to make sure the paint sticks well and looks even.
- Select a fine-finish tip (310 or 410) and adjust the airless sprayer pressure. You want an even, consistent spray pattern to avoid drips or uneven spots.
- Apply epoxy primer and a high-build surfacer first. Then, spray 2-3 thin basecoat layers, allowing proper flash time between coats for the best finish.
- Spray 2-3 wet clearcoat coats using steady passes. Keep a distance of 10-12 inches from the surface and overlap each pass by about 50% to get full coverage.
- After spraying, inspect the paint for coverage and any defects. Fix any imperfections, let the paint cure properly, and clean your equipment thoroughly when you’re done.
Preparing Your Vehicle and Equipment for Airless Spraying
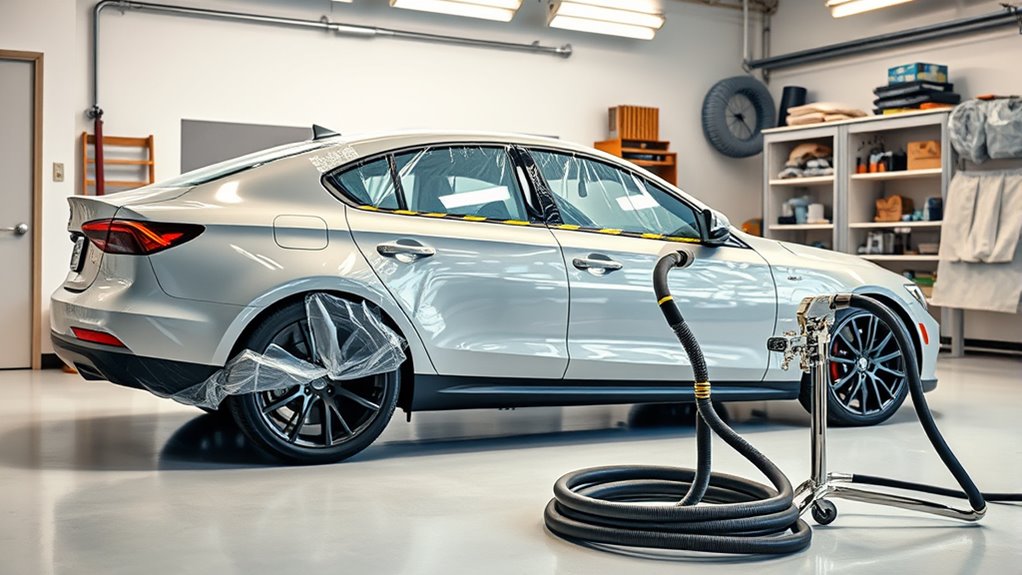
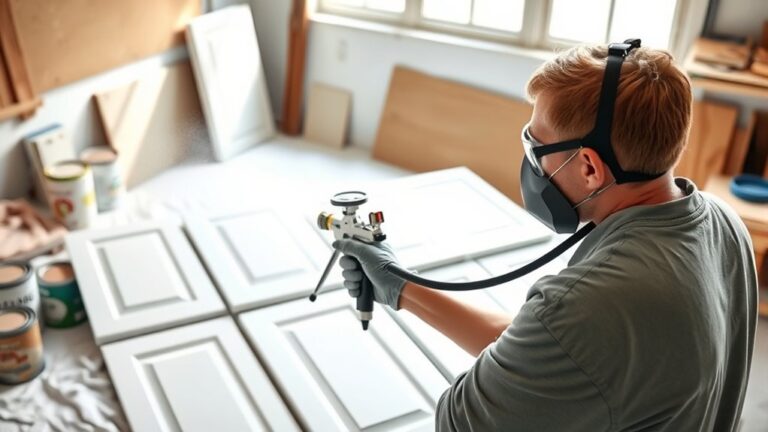
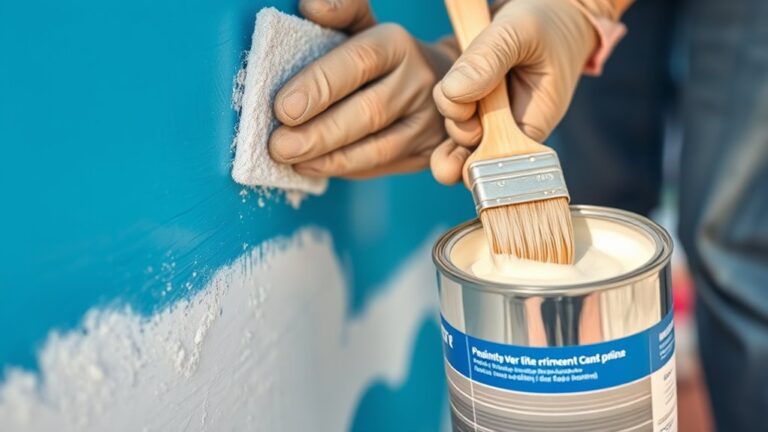
Before you start spraying, you need to prepare your vehicle and equipment thoroughly. Proper surface preparation is vital; clean, sand, and apply primer to guarantee paint particles adhere well and create a smooth base.
Use epoxy primer on bare metal for corrosion resistance and a high-build surfacer to fill imperfections. Feather-edge repaired areas to avoid visible halos and ensure a seamless finish.
During prep work, maintain a clean, dust-free workspace for minimal overspray and excellent results. Although selecting the right spray tip size is essential, focus now on making sure your spray pattern is consistent and your equipment is clean.
This groundwork sets you up for a flawless paint job with precise atomization and even coverage. You’ll thank yourself later for taking the time to get it right at the start!
Adjusting Sprayer Settings and Selecting the Right Tip
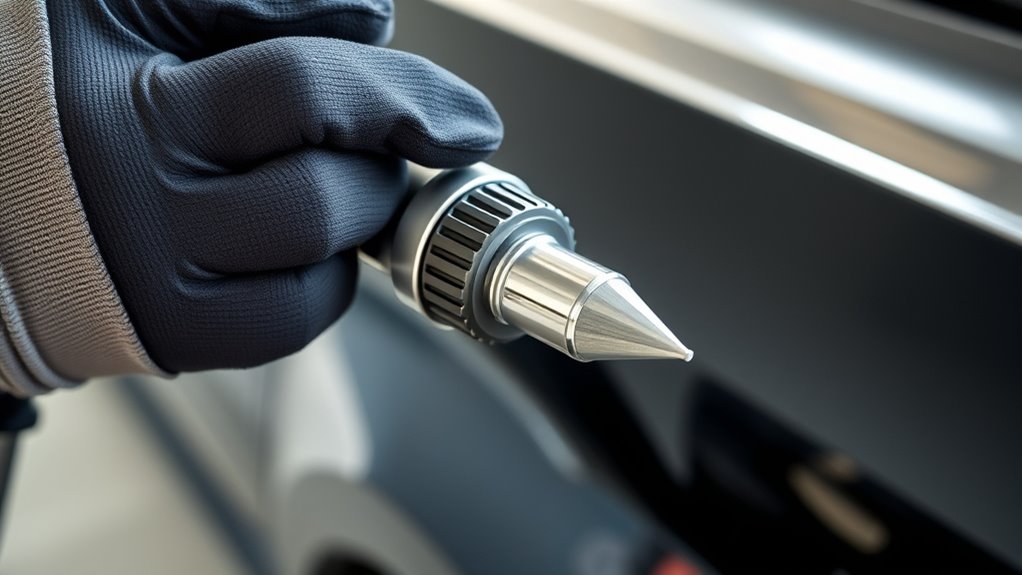
Once your vehicle and equipment are prepped, focus on dialing in your sprayer settings and picking the right tip for a flawless finish. Proper tip selection and adjusting sprayer settings are vital for smooth atomization and even coverage.
Here’s what you should do:
- Choose a fine-finish tip like 310 or 410 with a small orifice (.010 or .013) designed for automotive paints.
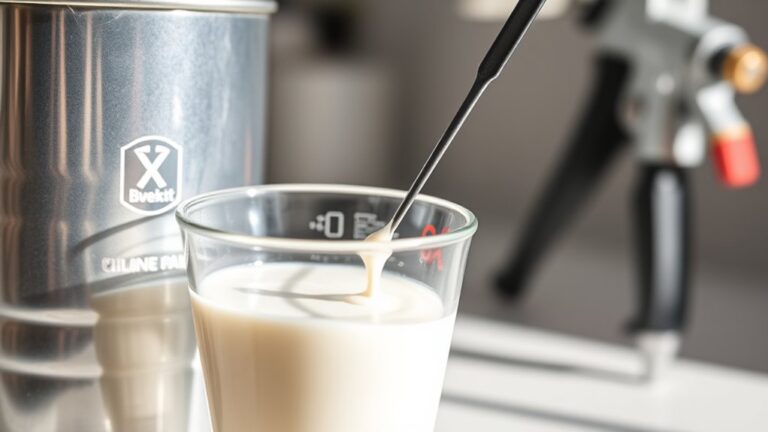
- Use a viscosity cup to check paint thickness, thinning it to a drip-free, smooth flow.
- Gradually adjust pressure control, starting low and increasing until you get a consistent, full spray pattern without overspray—usually between 1500-2500 PSI.
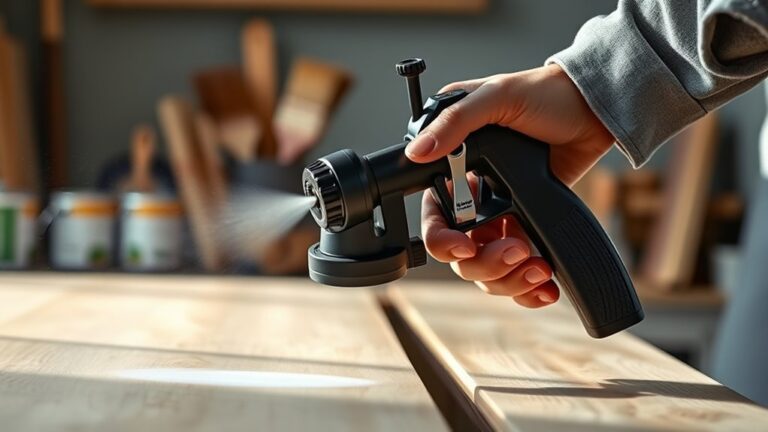
- Test on scrap panels, tweaking tip size and pressure to perfect atomization and pattern uniformity.
This guarantees your paint sprayer delivers a professional-level finish. Just take your time here—it really makes a difference!
Applying Primer, Basecoat, and Clearcoat With Proper Technique

Although prepping your surface thoroughly is essential, applying primer, basecoat, and clearcoat with the right technique guarantees a durable, flawless finish.
With airless systems, start by applying primer—use epoxy primer followed by a high-build surfacer to fill imperfections and guarantee adhesion.
Next, apply basecoat in 2-3 thin, even coats, allowing proper flash time between layers to achieve consistent color and metallic effects.
Finally, spray 2-3 wet, heavier coats of clearcoat, maintaining steady distance and 50% overlap for a glossy, protective finish.
Hold the spray gun 10-12 inches from the surface, set pressure per manufacturer guidelines, and avoid excessive buildup to prevent runs and sags.
Mastering this technique ensures your paint job looks professional and lasts.
Frequently Asked Questions
Can You Use an Airless Paint Sprayer to Paint a Car?
You can use an airless paint sprayer to paint a car, but it’s not ideal. You’ll struggle with control, overspray, and uneven finishes.
What Is the Best Airless Paint Sprayer for Cars?
You’ll want a Graco Magnum or Titan Impact with fine-finish tips like 310 or 410 FFLP. They offer adjustable pressure and smooth atomization, perfect for applying thick primers and topcoats evenly on your car’s surface.
These sprayers really help you get that flawless finish. Plus, they’re reliable and built to handle the demands of automotive painting.
Can You Use a Graco Sprayer for Automotive Paint?
Sure, you can use a Graco sprayer for automotive paint—if you love chasing runs and overspray!
But realistically, you’ll want an HVLP or dedicated gun for smooth, professional finishes without the nightmare cleanup.
How Much Psi Is Needed to Spray a Car?
You’ll want to set your airless sprayer between 1500 and 3000 PSI for spraying a car.
Around 2000 PSI usually gives you the best balance of control and atomization. This helps you get smooth, even paint coverage without too much overspray.
Conclusion
Now that you’ve transformed your car from dull to dazzling with an airless sprayer, imagine the smooth, even coat drying under the warm sun—like silk wrapping your ride.
From prepping the surface to adjusting the sprayer’s settings, each careful step contrasts the chaos of uneven paint jobs you’ve seen before.
With patience and technique, you’ve turned a messy task into a sleek, professional finish that shines as brightly as your effort.
Using an airless sprayer to paint your car ensures a flawless, smooth coat with less overspray and faster application. By following the step-by-step process, from surface prep to the final spray, you guarantee a durable and attractive finish.
So, whether you’re a DIY enthusiast or just want to save on auto body costs, painting a car with an airless sprayer delivers a professional look that lasts. Your car’s new paint job will definitely turn heads and protect your investment for years to come.


One Comment