How to Use Wagner Paint Sprayer 350 in 10 Easy Steps
To use your Wagner Paint Sprayer 350 effectively, start by gathering all your safety gear. Make sure you have goggles, gloves, and a mask to protect yourself.
Then, assemble the sprayer components securely, following the instructions carefully.
Next, prepare your paint by thinning it to the right consistency. Use a viscosity cup to test the thickness and ensure it flows smoothly through the sprayer.
Once your paint is ready, fill the container and secure it properly.
Before you start painting, practice your spray technique on some scrap material. This helps you get a feel for the sprayer and adjust the settings if needed.
When you’re ready, apply even coats using steady, overlapping strokes to avoid streaks or uneven coverage.
After finishing your project, clean and disassemble the sprayer thoroughly. Proper cleaning keeps your Wagner Paint Sprayer 350 in top condition and ready for the next job.
Keep exploring different tips and techniques to master the sprayer and achieve perfect results every time.
Key Takeaways
- Wear safety gear, prepare paint by thinning appropriately, and ensure a well-ventilated workspace before starting the sprayer.
- Assemble the sprayer by attaching the spray gun, selecting the spray pattern, and securely filling the paint container.
- Adjust spray pattern and flow rate, maintain a 6-12 inch distance, and use steady, overlapping strokes for even coverage.
- Test spray on scrap material to fine-tune settings and maintain consistent application throughout the project.
- Clean all parts immediately after use with warm soapy water, dry thoroughly, and store the sprayer properly for longevity.
Gather Necessary Safety Gear and Materials

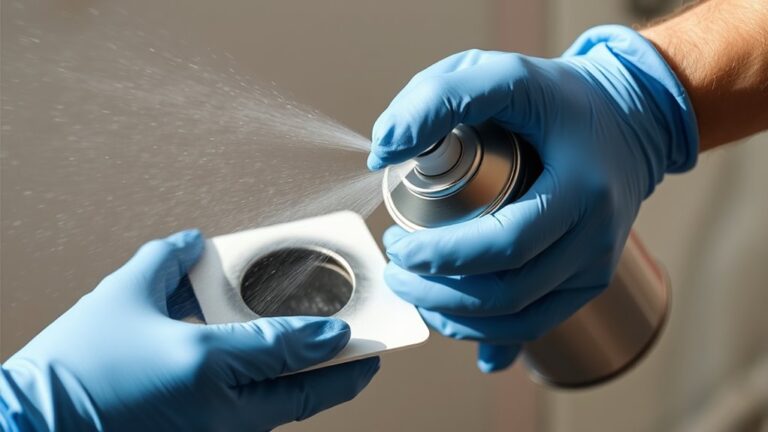
Before you start using the Wagner Paint Sprayer 350, make sure you gather all the necessary safety gear and materials. You’ll want to wear a mask and goggles to protect your eyes and lungs from paint fumes and splatters.
Gather safety gear like a mask and goggles before using the Wagner Paint Sprayer 350 to protect yourself from fumes and splatters.
Gloves are essential to keep your skin safe from paint and cleaning chemicals during setup and cleanup. Put on protective clothing or an apron to avoid stains on your clothes and skin while spraying.
Make sure your workspace is well-ventilated to reduce inhalation risks. Also, keep a fire extinguisher nearby since paint fumes are flammable—avoid open flames or sparks.
Having the right safety gear ready guarantees a smooth, safe painting experience without unnecessary risks or interruptions. It’s always better to be prepared!
Assemble the Wagner Paint Sprayer Components

Once you have your safety gear and materials ready, start assembling the Wagner Paint Sprayer 350 by attaching the spray gun to the main unit. Align the nozzle with the unlock/lock mechanism and twist it until you hear a click. This ensures a secure connection.
Next, select and secure your preferred spray pattern—horizontal, vertical, or circular—using the adjustable pattern knob on the nozzle. Fill the paint container with your prepared paint and firmly attach it to the sprayer base. Make sure the dip tube is properly immersed.
Finally, connect the power cord to a grounded outlet and verify all connections are tight. Adjust the spray flow and pattern settings with the control knobs to complete your setup. Double-check that all components are correctly assembled before you begin painting.
Prepare and Thin the Paint for Spraying

Although you may be enthusiastic to start spraying, you need to prepare and thin your paint properly to guarantee a smooth finish. Start by mixing your leftover paint or primer with water in a 3:1 ratio (paint to water).
Stir thoroughly to avoid clogs and filter the mixture through a fine mesh strainer to catch debris. Proper thinning ensures even coverage and prevents sprayer blockages.
| Paint Type | Water Ratio (Paint:Water) | Purpose |
|---|---|---|
| Primer | 3:1 | Base coat thinning |
| Latex Paint | 4:1 | Smooth spraying |
| Oil-Based Paint | 5:1 | Ideal flow |
Adjust water based on your paint’s flow to get the best results with your Wagner Paint Sprayer 350.
It’s all about finding the right balance so your paint sprays evenly without clogging up the sprayer. Just take your time prepping, and you’ll see the difference in your finish!
Test Paint Viscosity With the Viscosity Cup
How do you know if your paint is ready for spraying? Testing its viscosity with a viscosity cup is key. First, fill the cup with well-mixed paint or primer.
Lift it and let the paint drain through the small opening while you time it. You’re aiming for a run-out time between 25 and 40 seconds. If the paint takes longer than 40 seconds, add water to thin it out.
If it drains too quickly, below 25 seconds, you’ll need to thicken it. After adjusting, repeat the test to confirm the viscosity is just right.
Proper viscosity guarantees smooth spraying without clogging or drips, making your Wagner Paint Sprayer 350 perform at its best.
Fill the Paint Container and Secure It
Before attaching the paint container to your Wagner Paint Sprayer 350, make sure it’s clean and ready to use. Remove the container from the Wagner sprayer, then fill the paint container with your prepared, thinned paint.
Avoid overfilling to prevent spills. Next, align the paint container with the sprayer’s locking mechanism. Turn it until you hear a click, indicating it’s securely attached.
Double-check that the container is firmly locked in place to ensure proper paint flow during use.
| Step | Action | Tip |
|---|---|---|
| 1 | Clean paint container | Remove old paint residue |
| 2 | Fill paint container | Avoid overfilling |
| 3 | Secure paint container | Listen for locking click |
Adjust Spray Pattern and Flow Settings
When you’re ready to start spraying, adjust the spray pattern by turning the nozzle to choose horizontal, vertical, or circular modes using the pattern control dial. Make certain to lock the nozzle in place after selecting your desired spray pattern to avoid accidental shifts during use.
Next, control the flow rate by turning the adjustable knob on the spray gun, which regulates how much paint is released. Fine-tune both the spray pattern and flow settings to match your project’s needs; this helps ensure even coverage and the best finish.
Although you’ll test on a scrap surface later, feel free to make small adjustments during your work to maintain consistent results and achieve the exact spray effect you want.
Practice Spray Technique on a Scrap Surface
Before you start your project, practice spraying on a scrap surface to get comfortable with the spray pattern and flow rate. Choose the spray pattern that fits your task—vertical, horizontal, or circular.
Keep the sprayer 6-12 inches from the surface for even coverage. Adjust the flow control as needed while maintaining smooth, steady strokes to avoid drips and make sure a consistent coat.
Select Appropriate Spray Pattern
Although selecting the right spray pattern is essential, you’ll want to start by attaching the adjustment knob to choose horizontal, vertical, or circular modes based on your project’s needs.
Once set, practice spraying on a scrap surface like cardboard or wood to see how the spray pattern performs. Adjust the spray flow by turning the control knob until you get a smooth, even spray without drips or runs.
Move the sprayer steadily with overlapping strokes to avoid streaks or uneven coating. Regularly testing your spray pattern and flow on scrap material guarantees you achieve consistent coverage before moving on to your main project.
This step helps you master the spray pattern and get a flawless finish every time.
Maintain Consistent Distance
To achieve even coverage with your Wagner Paint Sprayer 350, keep the spray gun consistently 6 to 12 inches from the surface. Start by practicing on a scrap piece of wood or cardboard. This helps you develop a steady, uniform motion.
Keep your wrist and arm movements smooth and steady to maintain that constant distance. Overlap each pass by about 50% to avoid streaks or dry spots. Regularly check the spray pattern to catch any uneven application early.
| Tip | Action |
|---|---|
| Distance | 6 to 12 inches from surface |
| Motion | Smooth, steady wrist and arm |
| Coverage | Overlap strokes by 50% |
Mastering this technique ensures your spray gun delivers flawless, even coats every time. You’ll be amazed at how much better your finish looks!
Adjust Spray Flow Rate
When you adjust the spray flow rate on your Wagner Paint Sprayer 350, start by turning the adjustable knob to a low setting and gradually increase it while testing on a scrap surface. This helps you observe how the paint disperses and guarantees smooth application.
Keep a consistent distance of 6-12 inches from the surface to maintain even coverage. Use the spray pattern controls to switch between horizontal, vertical, and circular patterns, adjusting the flow rate to complement each style.
Fine-tune the flow rate based on the paint’s viscosity and your desired coverage, aiming for a steady, controlled spray with minimal drips or splatters. Practicing this technique on scrap material lets you perfect your settings before tackling your actual project.
Apply Even Coats to Your Project Surface
Keep your sprayer about 6 to 12 inches from the surface to make certain the paint goes on evenly. Control the spray pattern and adjust the flow rate to fit the texture of your project.
This helps you apply smooth, consistent coats without streaks or missed spots. Just take your time and keep a steady hand!
Maintain Consistent Distance
Although it might seem simple, maintaining a consistent distance of about 6 to 12 inches between the spray nozzle and your project surface is crucial for even coverage.
Keep the spray pattern level and perpendicular to the surface to avoid uneven application. Move the sprayer steadily to prevent drips and overlapping. Regularly check your distance to guarantee uniform coats.
| Distance (inches) | Spray Pattern Position | Coverage Result |
|---|---|---|
| 4-5 | Too close | Too thick, runs |
| 6-12 | Ideal | Even, smooth coats |
| 13-15 | Too far | Thin, uneven spots |
Control Spray Pattern
Since proper spray pattern control directly affects your paint’s finish, you’ll want to adjust the spray pattern knob to match your surface—horizontal, vertical, or circular. Make sure to maintain a steady distance of 6 to 12 inches for even coverage.
With your Wagner paint sprayer, start by testing the settings on a piece of cardboard. This helps guarantee the spray pattern distributes paint evenly.
Use smooth, overlapping passes to avoid streaks and achieve uniform coverage. Don’t forget to control the flow rate by adjusting the knob to prevent excess buildup or drips.
Clean the Sprayer After Use
After you finish painting, clean your Wagner Paint Sprayer 350 promptly to prevent clogs and guarantee smooth operation next time. Start by removing the nozzle and rinsing it thoroughly with warm water right away.
Clean your Wagner Paint Sprayer 350 immediately after use by removing and rinsing the nozzle with warm water.
Pour any leftover paint back into its container to avoid waste and reduce clogging. Next, fill the sprayer with warm, soapy water and run it through the gun, spraying into a waste container to flush out any residual paint.
This step ensures the internal passages stay clear. Follow the manufacturer’s instructions to disassemble the spray components, cleaning each carefully.
Finally, let all parts dry completely before reassembling. This prevents mold growth and damage, keeping your sprayer ready for your next project.
Disassemble and Store the Paint Sprayer Properly
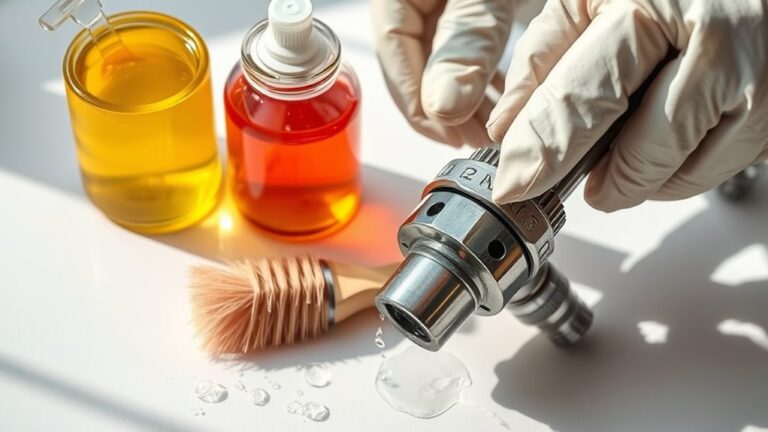
When you’re done cleaning, take apart the spray nozzle and all detachable components to give them a thorough wash with warm, soapy water. Disassemble the spray gun carefully, making sure to clean the internal parts to remove any paint residue.
Empty any leftover paint from the container and rinse it out well to prevent clogs or hardened paint. Once all parts are clean, dry them completely to avoid rust or mold during storage.
After drying, reassemble or keep the parts separated, depending on your storage method. Store the disassembled sprayer in a cool, dry place, protecting all components from dust and damage.
Proper disassembly and storage will keep your Wagner Paint Sprayer 350 in top condition for your next project.
Frequently Asked Questions
Do I Need to Dilute Paint for Wagner Sprayer?
Yes, you’ll usually need to dilute water-based paint about 25-30% with water for your Wagner sprayer.
Be sure to measure carefully, stir well, and strain the paint to avoid clogs and guarantee smooth spraying.
This helps the paint flow better through the sprayer and gives you a nice, even coat.
Just take your time and prep the paint right—the results will definitely show!
How to Use the Wagner Paint Sprayer?
You can cover up to 350 square feet per hour with your Wagner sprayer. Just assemble it, thin your paint properly, and fill the container.
Adjust the settings, spray evenly, and clean thoroughly after. Easy and efficient painting awaits!
How to Use and Prime Wagner Control Pro 350M?
Fill the container with thinned paint and connect the spray gun. Set the pressure around 60-80 PSI to get started.
Next, spray on a test surface while adjusting the flow until the paint sprays smoothly. If the flow sputters or clogs appear, you’ll want to re-prime the system before continuing.
How Do I Get a Smooth Finish With Wagner Sprayer?
To get a smooth finish, you’ll want to thin your paint just right and keep the sprayer 6-12 inches away.
Don’t forget to spray light, overlapping coats and test on cardboard first for perfect results.
Doing a quick test spray helps you avoid mistakes and ensures your finish looks great. Just take your time and be patient with each coat!
Conclusion
Now that you know how to use the Wagner Paint Sprayer 350 in just 10 easy steps, you’re ready to achieve smooth, professional results.
Did you know that using a paint sprayer can cut your painting time by up to 75% compared to brushes or rollers?
With a little practice and proper cleaning, you’ll save time and get a flawless finish every time.
So, gear up and enjoy the effortless painting experience ahead!
Using the Wagner Paint Sprayer 350 not only speeds up your project but also helps you achieve an even coat with less mess.
Remember, the key to success is following the steps carefully and maintaining your sprayer after each use.
Once you get the hang of it, painting walls, furniture, or fences becomes quick and fun.
Give it a try, and you’ll see why the Wagner Paint Sprayer 350 is a game-changer for DIY painting projects!