
How to Spray Paint Fabric Step by Step
To spray paint fabric, start by washing and drying it thoroughly. This step removes any dirt or oils that might prevent the paint from sticking properly.
After that, iron the fabric to get rid of wrinkles and create a smooth surface for painting.
Next, lay your fabric flat on a protected surface. Placing cardboard inside the fabric helps prevent paint from bleeding through to the other side.
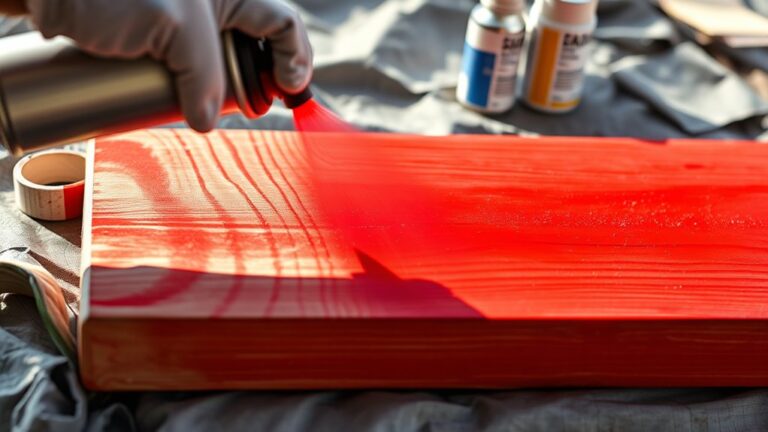
Hold the spray can about 6 to 12 inches away from the fabric.
Use smooth, overlapping strokes to apply light, even coats of paint. This technique helps avoid blotches and ensures good coverage.
Let each layer dry for about 30 minutes before adding another.
Once you’ve finished, let the fabric dry completely so the paint sets well.
Keep reading if you want to learn tips on using stencils and how to make your painted design last longer. It’s easier than you might think!
Key Takeaways
- Wash, dry, and iron your fabric first. Pop a piece of cardboard inside to stop any paint from soaking through while you’re working.
- Lay the fabric out flat on a protected surface in a well-ventilated area. It’s a good idea to test the spray paint on a hidden spot just to see how it looks.
- Hold your spray can about 6 to 12 inches away from the fabric. Use smooth, back-and-forth strokes and apply light, overlapping coats for even coverage.
- If you’re using stencils, spray lightly to avoid paint bleeding underneath. Keep your distance consistent, and take off the stencils once the paint is dry.
- Finally, let the fabric dry completely. Give it several hours or even overnight before you handle it so the paint sets well and stays vibrant.
Preparing Fabric and Materials for Spray Painting

Before you start spray painting, make sure to wash and completely dry your fabric. This helps remove any dirt or oils that could prevent the paint from sticking properly. It’s a simple step but super important for good results.
Next, insert a cardboard piece inside the fabric. This stops the paint from bleeding through and gives you a nice, firm surface to paint on. Also, iron your fabric to smooth out any wrinkles. A flat surface makes it way easier to get an even spray paint finish.
Don’t forget to protect your workspace! Lay down something like drop cloths or newspaper to catch any overspray. Lastly, test your spray paint on a small, hidden area of the fabric first. It’s the best way to check the spray pattern and make sure the color looks right before you dive in.
Following these steps will give you a clean, dry fabric that’s perfect for spray painting. Plus, it helps avoid the usual problems that can pop up during your project.
Techniques for Applying and Setting Fabric Spray Paint

When you start spray painting fabric, hold the can 6 to 12 inches away to avoid drips and guarantee even coverage. Use smooth, continuous back-and-forth strokes, overlapping slightly with each pass to make certain of uniform application.
Hold the spray can 6 to 12 inches away, using smooth, overlapping strokes for even fabric coverage without drips.
Apply light coats of spray paint instead of heavy layers to prevent blotches and uneven drying. Allow about 30 minutes of drying time between each coat to help the paint adhere properly.
If you’re using stencils, spray carefully around or over them. Then, remove the stencils once the paint is dry to reveal sharp, clean edges.
After the final coat, let the fabric dry completely for several hours or overnight. This setting process prevents smudging and ensures your spray paint design stays vibrant and even on your fabric.
Frequently Asked Questions
What Are the Common Mistakes to Avoid When Using Fabric Spray Paint?
You shouldn’t apply thick coats or skip prepping the fabric. Spraying too close or too far can also cause problems.
And don’t rush drying between layers or move stencils after spraying. These mistakes lead to drips, uneven coverage, smudges, and cracking in your design.
Taking your time and prepping properly really makes a difference!
How Do You Paint Fabric Without It Getting Stiff?
You want to spray paint fabric like you’re misting morning dew—light and gentle. Apply thin coats using fabric spray paint with textile medium.
Let each dry fully, and avoid over-saturating to keep it soft, not stiff. It’s all about layering lightly and giving it time to set.
What Kind of Spray Paint Works Best on Fabric?
You’ll want to use fabric-specific spray paint because it stays flexible and won’t crack. These paints contain textile mediums that keep the fabric soft and durable, making your colors last longer and feel comfortable.
Trust me, regular spray paint just won’t cut it here. It tends to stiffen the fabric and can even peel off over time. So, sticking with fabric spray paint is definitely the way to go!
What Is the Difference Between Fabric Paint and Fabric Spray Paint?
Fabric paint sits on the surface, making fabric stiff, while fabric spray paint soaks into fibers, keeping it soft and flexible.
You’ll get even coverage and a natural look with spray paint, perfect for detailed or large projects. It’s great when you want your fabric to stay comfy and easy to move in.
Conclusion
Now that you know how to spray paint fabric step by step, you’re ready to transform any piece with vibrant color and creativity.
Did you know over 60% of DIY enthusiasts say spray painting fabric instantly refreshes their wardrobe? With simple prep and proper techniques, you can achieve professional-looking results at home.
So grab your spray paint, protect your workspace, and watch your fabric come to life with every spray! Spray painting fabric is an easy and fun way to give old clothes or fabric pieces a fresh, personalized touch. Just follow the steps carefully, and you’ll be amazed at how vibrant and durable your designs turn out. Ready to get creative? Let’s make your fabric pop with color!



One Comment