How to Thin Exterior Paint for Sprayer in 7 Easy Steps
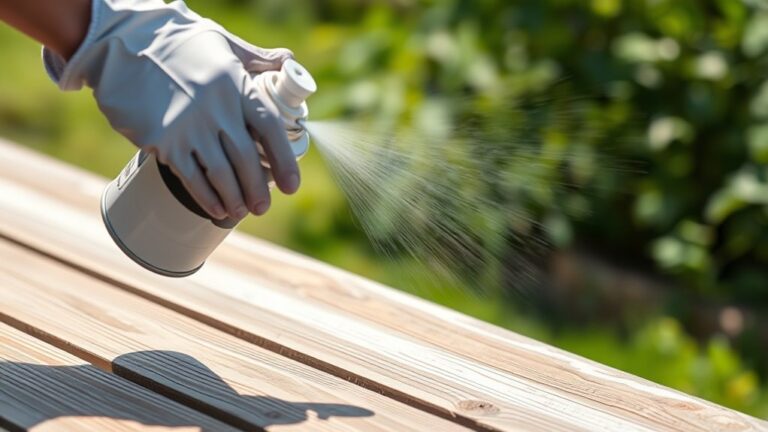
To thin exterior paint for your sprayer, start by selecting the right paint and primer that are suited specifically for spraying. Preparing your workspace is key to a smooth job—make sure it’s clean and well-ventilated.
Next, carefully open the paint cans and pour the paint into a clean container. Stir it thoroughly to ensure the paint mixes evenly.
Gradually add small amounts of water while stirring continuously. Keep testing the consistency frequently with a stir stick to get it just right for spraying.
Before loading your sprayer, filter the paint to remove any lumps or debris that might clog the nozzle.
Following these simple steps helps you achieve a smooth, even finish every time.
Stick with these tips, and you’ll be able to perfect the thinning process, making your exterior paint sprayer work like a charm!
Key Takeaways
- Choose water-based exterior paint that works well with your sprayer. Don’t forget to use a quality primer too; it helps with better adhesion and a smoother finish.
- Stir the paint thoroughly. This breaks up any pigments that have settled and makes sure the consistency is nice and even before you start thinning.
- Add water slowly, just a little at a time. Stir well after each addition so you get a smooth paint that sprays easily.
- Give it a test spray on a scrap piece to see how the pattern looks. If it’s not quite right, tweak the thinning until the flow feels just right.
- Before you load the paint into your sprayer, filter it. This step helps prevent clogs and keeps the spray quality consistent.
Select the Right Paint and Primer for Spraying

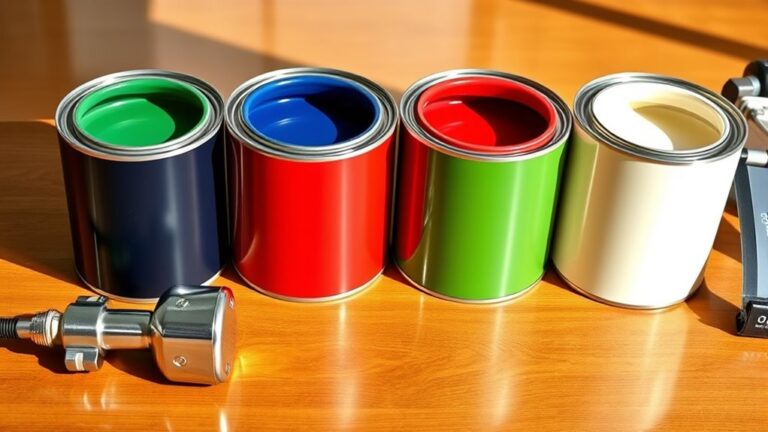
Before you begin thinning paint for your sprayer, make sure you select the right paint and primer designed for spraying. Choose water-based exterior paints and primers compatible with HVLP spray systems to get the best finish. Always check the manufacturer’s label to confirm the paint or primer is suitable for spray application.
Opt for high-quality primers made specifically for exterior surfaces; these improve adhesion and durability of the paint. Select the correct type of paint, like latex or acrylic, based on your surface and climate conditions.
Avoid thick or oil-based paints unless you plan to thin them properly, as they can clog your sprayer. Picking the right paint and primer ensures smooth spraying and a long-lasting exterior finish.
Prepare Your Workspace and Tools
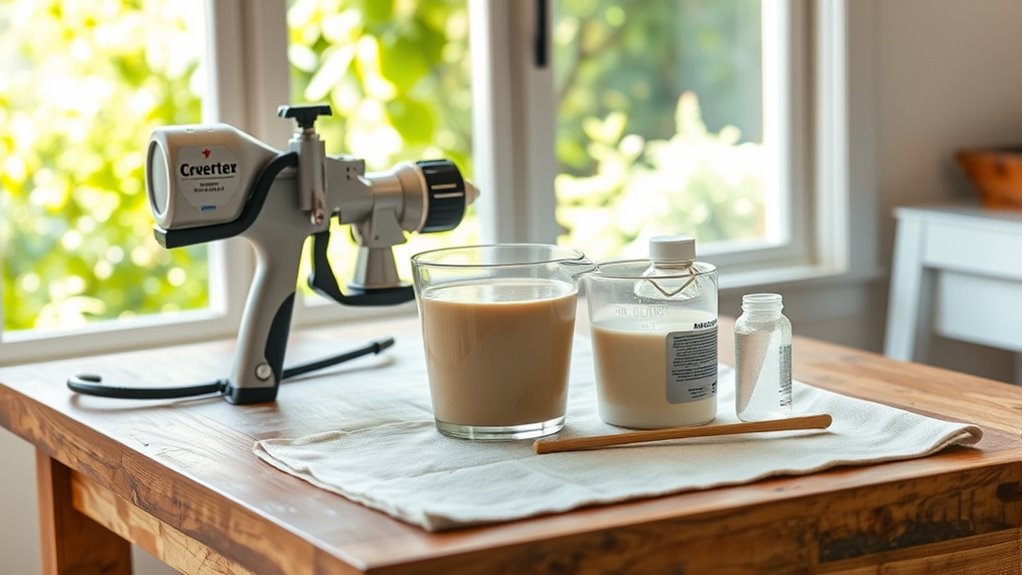
After choosing the right paint and primer, make sure your workspace is clear and well-ventilated to keep the process safe and efficient. Proper preparation sets the stage for a smooth thinning and spraying experience.
Start by removing clutter and covering nearby surfaces with drop cloths or plastic sheeting to prevent overspray damage. Next, gather all your tools in one place: a clean paint bucket, stir sticks, mesh filters, and water for thinning. Organizing these items within easy reach helps keep your workflow steady and efficient.
Clear your area and prep tools like buckets, stir sticks, and filters for smooth, efficient paint thinning and spraying.
Don’t forget to check your spray equipment—make sure it’s clean and ready for use. Here’s a quick checklist for your workspace and tools preparation:
- Clear, ventilated workspace with protective coverings
- All thinning and mixing tools assembled
- Clean, accessible spray equipment ready to go
Open Paint Cans Carefully and Pour Into Mixing Container
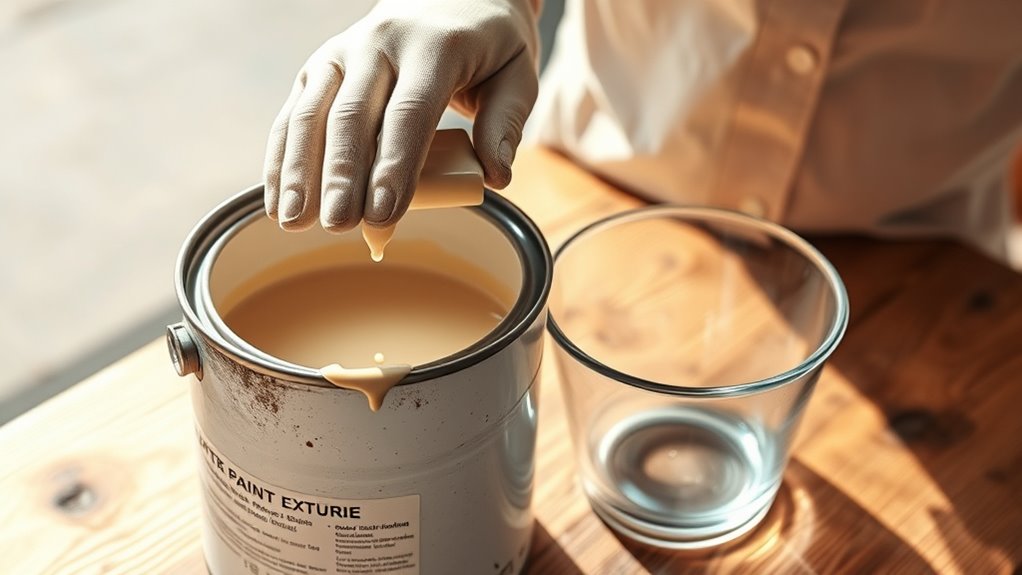
When you’re ready to open your paint cans, use a disposable paintbrush to gently pry the lid off without damaging the seal. This careful approach helps keep your paint can reusable and prevents spills.
Before pouring, inspect the paint can for any dried paint or chunks. Remove these with a stir stick or filter to avoid clogging your sprayer.
Pour the paint into a clean, designated mixing container instead of directly into the sprayer. This step ensures better control during mixing and prevents debris from entering your spray system.
Remember to protect your workspace with drop cloths to catch any drips or spills while pouring. Taking these precautions will make your thinning process smoother and keep your equipment clean.
Stir Paint Thoroughly Before Thinning
Before you thin your paint, make sure to stir it thoroughly to get a uniform mix. Use a clean stir stick or mechanical mixer to break up any settled pigments and avoid separation.
This step guarantees a smooth consistency, so your sprayer performs at its best. It’s a simple thing that makes a big difference!
Importance of Uniform Mixing
Because pigments, binders, and additives can settle unevenly, you need to stir your exterior paint thoroughly before thinning to guarantee a consistent mixture. Proper mixing ensures the paint’s consistency is uniform, which is vital for a smooth spray and even color coverage.
When the paint is mixed well, you avoid issues like uneven thinning, clogs, and inconsistent spray patterns.
Here’s why uniform mixing matters:
- Ensures pigments and additives are evenly distributed throughout the paint
- Prevents lumps and air bubbles for a smoother application
- Maintains consistent texture and color across the entire can
Stirring Tools and Tips
A clean, dry stir stick or mechanical stirrer plays an essential role in mixing your exterior paint thoroughly before thinning. Using proper stirring tools ensures you achieve a uniform consistency, which is critical for a smooth thinning process.
Stir the paint vigorously for at least 2-3 minutes to break up any settled pigments or additives. After stirring, lift the stick to check if the paint flows smoothly—if it looks streaky or uneven, keep mixing until it’s consistent throughout.
Proper stirring helps prevent clumps and guarantees the paint thins evenly, making your spray application much easier and more effective. Taking the time to stir correctly sets a solid foundation for the entire thinning process and ultimately improves your paint’s finish.
Avoiding Paint Separation
If you want to avoid paint separation during thinning, you need to stir your exterior paint thoroughly to keep pigments and additives evenly distributed. Proper stirring ensures uniformity, preventing clumping and pigment settling that can ruin your sprayer’s performance.
Use a clean stir stick or mechanical mixer to blend the paint for at least 2-3 minutes. Check that the pigment and paint layers mix evenly without breaking apart into clumps.
To avoid paint separation: stir until color and consistency are uniform throughout the can. Make sure to incorporate settled particles at the bottom before thinning.
Keep an eye out for clumping or uneven layers; if you see any, just stir a bit longer. Thorough stirring preserves the paint’s properties and guarantees smooth, consistent spraying results.
Add Water Gradually While Stirring
When thinning exterior paint for your sprayer, add water gradually—just one to two tablespoons at a time—while stirring constantly to keep the consistency even. Use a clean stir stick or mechanical stirrer to mix the water thoroughly into the paint.
This steady stirring prevents uneven thinning and paint separation. After each addition of water, observe how the paint flows; you want it to coat the stir stick smoothly without breaking apart.
Keep checking the consistency as you add water, stopping once the paint flows freely in a single, continuous stream. Adding water slowly while stirring ensures you don’t over-thin the paint, which could cause poor spray performance.
This careful approach helps maintain a perfect spray-ready consistency every time.
Test Paint Consistency Using a Stir Stick
Since achieving the right paint consistency is essential for smooth spraying, you’ll want to test it frequently using a stir stick. To test paint consistency, dip your stir stick into the thinned paint and lift it out to observe the paint flow.
The paint should flow steadily along the full length of the stick before dripping off. If it drips too slowly or stops, it’s too thick; if it runs too fast, it’s too thin. Adjust the water gradually and retest until you get a smooth, continuous stream.
Keep these tips in mind when you test paint consistency with a stir stick: look for a steady, even paint flow without breaks. Also, make sure the paint runs fully down the stir stick before dripping.
And remember, adjust thinning gradually for the best results. Taking it slow will help you get that perfect spray every time.
Filter Paint Before Loading Into the Sprayer
After you’ve achieved the ideal paint consistency, the next step is to filter it before loading it into your sprayer. Use a fine mesh filter to strain out debris, chunks, or skin that can clog the sprayer tip.
Always use a clean, damp mesh filter and attach it securely to the sprayer’s paint inlet or funnel. This catches any particles during pouring and ensures a smooth spray.
| Action | Reason |
|---|---|
| Use fine mesh filter | Prevents tip clogs |
| Remove debris | Ensures smooth paint flow |
| Use dedicated filter | Avoids cross-contamination |
Make sure to regularly clean or replace your filter. This helps maintain proper flow and keeps your spray quality consistent.
Frequently Asked Questions
How to Thin Exterior Paint for a Spray Gun?
You thin exterior paint by slowly adding water into a clean bucket, stirring thoroughly until it flows smoothly down a stick in a steady stream.
Make sure to filter it through a mesh before spraying. This helps avoid clogs and guarantees even coverage.
What Is the Ratio of Paint to Thinner for a Spray Gun?
You’ll typically thin paint at a 4:1 ratio for water-based paints and 2:1 for oil-based ones.
Always check your paint’s instructions and test the mixture in your sprayer to guarantee smooth flow and coverage.
It’s a good idea to start with these ratios and adjust if needed, depending on the consistency you want. Just take it slow and make sure everything sprays evenly!
What Is the Best Paint Thinner for a Spray Gun?
The best paint thinner for your spray gun is like a key fitting its lock—it depends on your paint type. Use water for water-based paints and mineral spirits for oil-based ones.
This will guarantee smooth spraying and flawless coverage. It’s really about matching the thinner to the paint to get the best results.
Can Exterior Paint Be Thinned With Water?
Yes, you can thin exterior paint with water if it’s latex-based. Just add water gradually, about 10-20%, and stir well.
Don’t over-thin, or the paint’s durability might suffer. Test spray for smooth flow.
Conclusion
So, you’ve learned how to thin exterior paint for your sprayer—who knew it wasn’t just about shaking the can and hoping for the best? Now that you’re armed with the “magic” steps, your paint will glide on smoothly instead of splattering everywhere like a toddler’s art project.
Follow these tips, and you might even enjoy the process. Or at least, avoid turning your walls into a Jackson Pollock masterpiece. Easy, right?
Thinning exterior paint for sprayers is a simple yet crucial step to get that perfect finish. By following these easy steps, you ensure your paint flows evenly, reduces clogging, and saves you time and effort. So, next time you’re prepping your paint sprayer, remember these tips for thinning exterior paint—they’ll make your painting project smoother, cleaner, and more professional-looking.