
How to Get Spray Paint to Dry in Cold Weather
To get spray paint to dry in cold weather, you need to take a few extra steps to ensure good results. First off, clean and lightly sand your surface so the paint sticks better. Cold temperatures can slow down drying, so warming your spray paint cans in hot water before use really helps.
Apply thin, even coats rather than thick ones. This allows the paint to dry faster and prevents drips. Once painted, keep your object warm and boost airflow using fans or ventilation. This speeds up the drying process significantly.
Also, avoid painting on damp surfaces because moisture can interfere with drying. It’s best to pick paints specially designed for low temperatures to get the best finish.
Want more tips to optimize your spray painting in chilly weather? Keep reading and you’ll be a pro in no time!
Key Takeaways
– Warm spray paint cans in hot water before use to improve spray quality and speed up drying time.
This little trick helps the paint flow better, especially when it’s chilly outside.
– Apply thin, even coats to prevent runs and promote faster evaporation in cold conditions.
Thick layers just take forever to dry, so keep it light and steady.
– Use spray paints formulated specifically for low-temperature environments for better adhesion and curing.
These paints are designed to work their magic even when the mercury drops.
– Increase airflow with fans or ventilation to help solvents evaporate and accelerate drying.
A breeze, even if it’s indoor air movement, really helps the paint dry quicker.
– Keep painted objects indoors or near a heat source to maintain a warm drying environment.
If you can, bring your project inside or close to something warm while it dries.
Preparing Your Surface and Materials for Cold Weather Painting

Before you start painting in cold weather, make sure you clean the surface thoroughly with alcohol or a degreaser to remove dust, grease, and any glossy finishes. Proper surface preparation is key to achieving a smooth, lasting finish.
Lightly sand the surface with fine-grit sandpaper to improve paint adhesion, especially on glossy areas. Next, apply a primer designed for cold weather; this helps the paint bond better and boosts durability.
Store both your spray paint and the item indoors at room temperature until just before painting to avoid cold exposure, which can affect drying. Finally, verify the surface is completely dry and free from moisture or condensation, as these can interfere with adhesion and disrupt the drying process.
Techniques to Speed Up Spray Paint Drying in Low Temperatures
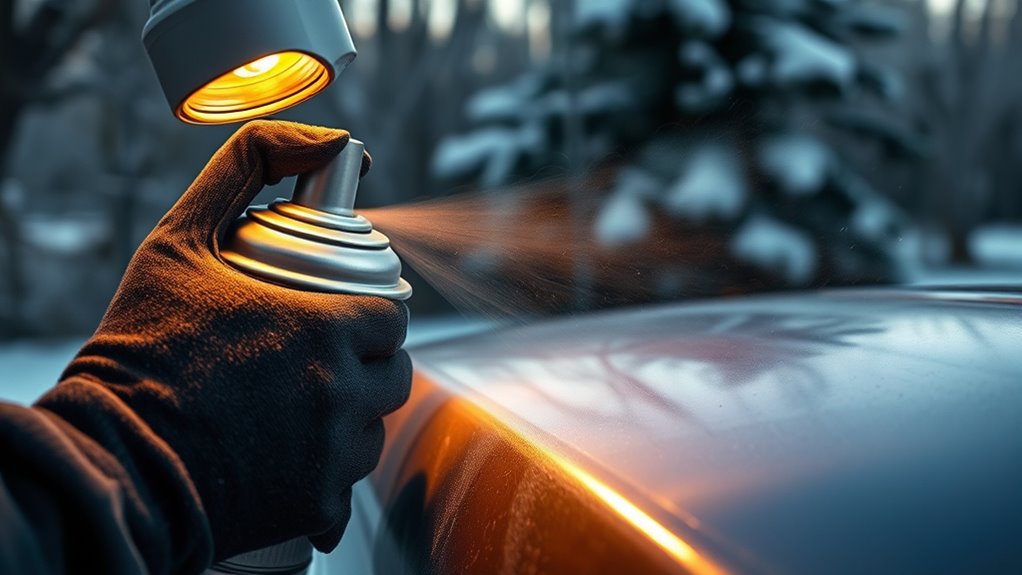
When temperatures drop, drying spray paint can take much longer, but you can speed up the process by applying thin, multiple coats instead of heavy layers. This approach prevents runs and promotes quicker drying in low temperatures.
Try warming your spray paint can in hot water around 120°F before use; it improves atomization and helps the paint dry faster. Also, increase airflow around your project by using fans or ventilation to accelerate solvent evaporation.
Keep the painted object warm with space heaters or indoor warming methods during and after application to maintain steady drying conditions. For best results, choose a fast-drying spray paint formulated specifically for low-temperature environments.
These techniques together ensure your spray paint dries effectively despite the cold. Give them a shot next time you’re working in chilly weather!
Frequently Asked Questions
Is There a Way to Speed up Spray Paint Drying?
Yes, you can speed up spray paint drying by applying thin coats. This helps the paint dry faster and more evenly.
Increasing airflow with a fan also makes a big difference. Keeping the area warm speeds things up too.
You might want to use quick-dry paint if you’re in a hurry. Or try gently warming the surface with a heat lamp or hairdryer on a low setting. Just be careful not to overheat it!
What Temperature Is Too Cold to Spray Paint?
Think of spray paint like a delicate flower—it wilts below 50°F. You shouldn’t spray when it’s colder than that, or your paint will struggle to stick.
It’ll dry slowly and leave a blotchy, cracked finish behind. So, if it’s chilly out, it’s best to wait for a warmer day. Your paint job will thank you!
Will Tacky Paint Eventually Dry?
Yes, tacky paint will eventually dry if you give it enough time. Just keep it in a well-ventilated, warmer spot, apply thin coats, and be patient.
Cold slows evaporation, but the paint will harden eventually. So, hang in there!
How Long Does It Take for Paint to Dry in 45 Degree Weather?
At 45°F, spray paint usually takes 2 to 4 times longer to dry.
Acrylic paint can take 4-6 hours to cure but may need up to 48 hours to fully harden, especially if the coat is thick.
Conclusion
Think of spray paint drying in cold weather like a flower blooming in early spring—slow but steady. You’ve prepped your surface like warming the soil, and used clever techniques to coax the petals open despite the chill.
With patience and care, your paint will transform from wet to dry, just as frost melts away to reveal vibrant colors. Keep nurturing your project, and soon it’ll shine bright, no matter the cold.
Remember, getting spray paint to dry in cold weather takes time and the right approach. Make sure your workspace is as warm and dry as possible, and use thin coats to help the paint dry evenly. With these tips, your spray paint will dry beautifully, even when it’s chilly outside.


One Comment