How You Can Spray Paint Clothes Step by Step
To spray paint clothes effectively, start by choosing fabric-specific spray paint. This ensures the paint adheres well and remains flexible.
Next, prep your workspace with protective coverings to avoid unwanted stains.
Wash and dry your fabric first. Then, insert a piece of cardboard inside the garment to prevent the paint from bleeding through to the other side.
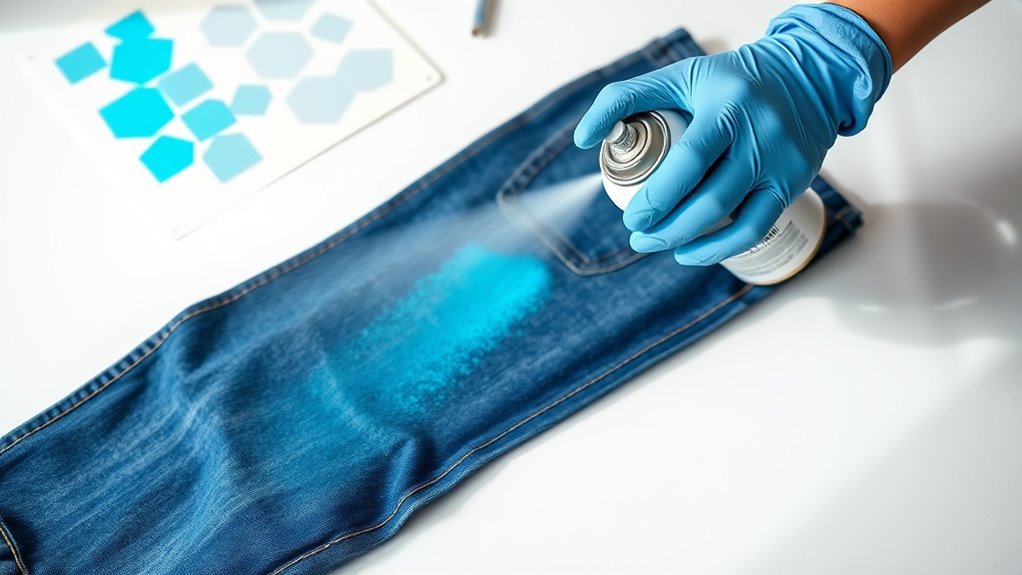
Shake the spray can thoroughly. Hold it about 6-8 inches from the fabric, and apply light, even coats using overlapping strokes. This helps achieve a smooth, consistent finish.
Let each coat dry for about 30 minutes before applying the next. Usually, 3-4 layers will give you vibrant, lasting results.
After painting, allow ample curing time to make sure the design stays durable.
If you want to perfect your technique, keep exploring more tips and tricks. It’s all about practice and patience!
Key Takeaways
- Prepare fabric by washing and drying it first. Then, place a piece of cardboard inside the clothing to prevent the paint from bleeding through.
- Use fabric-specific, washable spray paint. It’s a good idea to test the paint on a scrap piece of fabric before you start on your clothes.
- Shake the spray can well before use. Apply light, even coats from about 6-8 inches away, using overlapping strokes for the best coverage.
- Let each coat dry for about 30 minutes. You’ll want to apply 3 to 4 coats to get a vibrant, even finish.
- After spraying, allow the fabric to cure for 24 to 72 hours. If the paint instructions recommend it, heat-set the fabric before washing or handling.
Materials and Preparation for Spray Painting Clothes
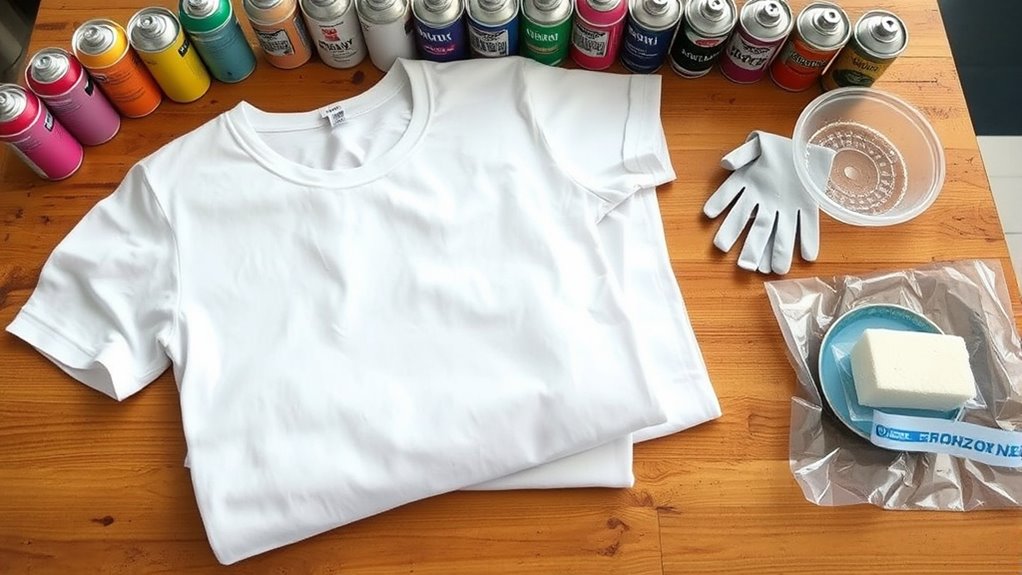
Before you begin spray painting clothes, gather fabric-specific spray paint that’s both permanent and washable to guarantee your design lasts.
Start by preparing your workspace with protective materials like newspapers or a drop cloth to catch overspray. Insert foam boards or cardboard inside the fabric to prevent paint bleed-through and keep your layers crisp.
Prepare your workspace with protective layers and use foam boards inside fabric to prevent paint bleed-through.
Always test spray paint on a scrap piece of fabric first to check the color and spray effect. Remember to wear gloves and a mask, and work in a well-ventilated area to stay safe from fumes.
If your paint lacks fabric medium, mix it in to ensure better adhesion and flexibility. These steps help you get your materials ready and protect your space, setting you up for a smooth, successful spray painting project.
Step-by-Step Spray Painting Process

Once your materials are ready and your workspace is protected, you can start preparing the fabric itself. Begin by washing and drying the fabric, then insert a protective layer like cardboard inside to prevent bleed-through.
Shake the spray paint can well and hold it 6-8 inches from the fabric. Use light, even strokes in a steady motion, overlapping slightly with each pass for consistent coverage.
Work on one section at a time to avoid pooling. After applying each coat, let the paint dry for at least 30 minutes before adding the next.
Typically, 3-4 coats give vibrant results. Once finished, allow the fabric to cure for 24-72 hours and heat-set if recommended.
This technique guarantees durable application and long-lasting protection. So, take your time and enjoy the process!
Frequently Asked Questions
What Is the Best Way to Spray Paint Clothes?
The best way to spray paint clothes is to use fabric-specific paint, hold the can 6-8 inches away, and apply thin coats.
Make sure to insert cardboard inside the clothing to prevent paint from bleeding through. It’s a good idea to test on scrap fabric first to see how the paint behaves.
Also, let each coat dry completely before washing. This helps the paint set better and last longer on your clothes.
What Spray Paint Will Stay on Clothes?
You want fabric spray paint labeled permanent and washable—it clings like a second skin, resisting wash and wear.
Choose that, heat-set it properly, and your design won’t fade, peel, or crack over time.
What Kind of Spray Paint Can I Use on Clothes?
You should use fabric-specific spray paints labeled permanent, washable, and flexible. These paints keep your clothes soft and durable, unlike regular spray paints that can stiffen or peel.
Always check the label for fabric safety. It’s super important to make sure the paint is meant for clothes so your project turns out great!
How Long Does Spray Paint Dry on Clothes?
Spray paint usually dries to the touch in 30 minutes to an hour on clothes, but it takes about 24 to 72 hours to fully cure.
So, it might feel dry pretty quickly, but it’s still setting underneath. Avoid washing or heavy use for at least a week to guarantee durability.
This gives the paint enough time to really stick and last longer on your fabric.
Conclusion
Now that you’ve mastered the steps, imagine your plain clothes transforming right before your eyes—vibrant colors blending, shapes emerging, your unique style coming alive.
The moment you lift the stencil or step back from your creation, you’ll feel the thrill of making something truly your own. Ready to turn heads and spark conversations?
Grab your spray paint, and let your creativity explode—your next masterpiece is just a spray away. Spray paint clothes with confidence, and watch how easy it is to customize your wardrobe in a fun and artistic way!