10 Easy Steps to Set Up Your Airless Paint Sprayer
Before you start, turn off and unplug your airless paint sprayer for safety. This is the first and most important step to prevent any accidents while setting up your equipment.
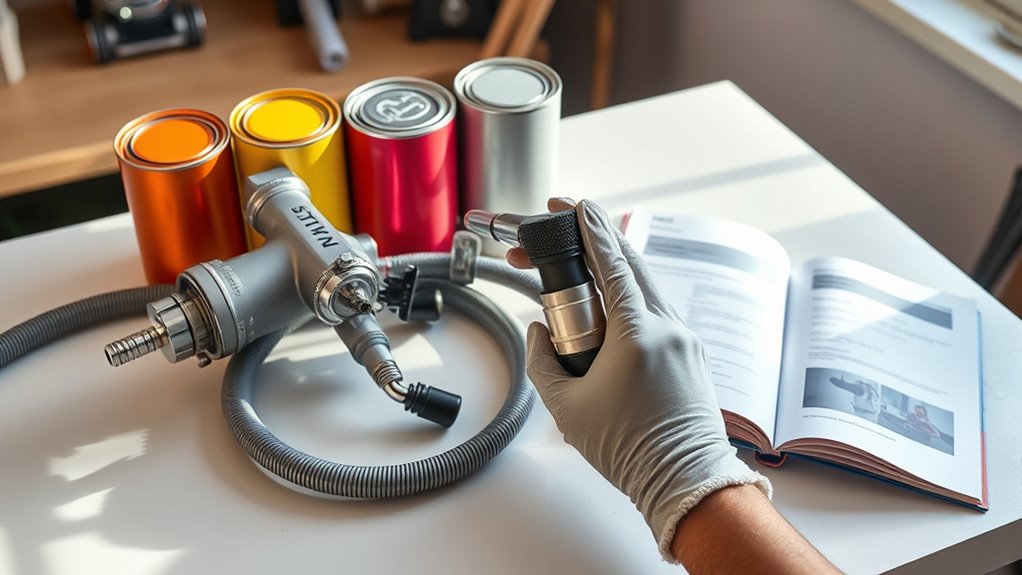
Next, attach the paint hose securely, then connect the spray gun to the hose. Make sure everything fits snugly to avoid leaks during painting.
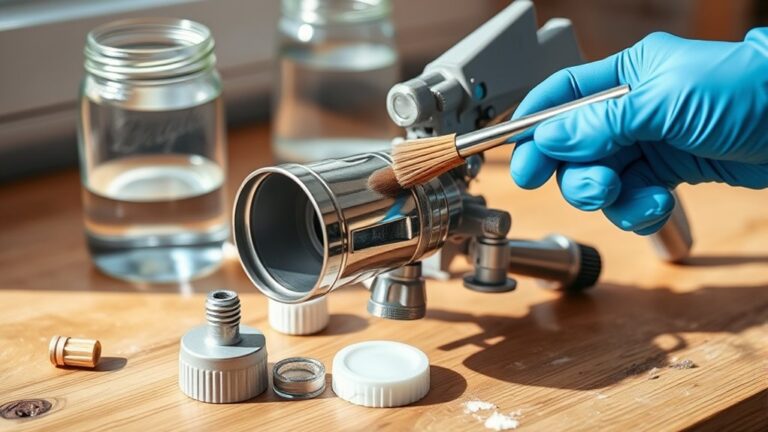
Install the spray guard and tip, making sure everything’s tight. These parts control the paint flow and protect your work, so double-check their placement.
Prepare and strain your paint for smooth flow. This helps prevent clogs and ensures an even finish when you start spraying.
This step is crucial for a successful project. Priming the pump at low pressure gets the paint moving through the system without making a mess.
Flush the paint through the system, and slowly increase pressure to achieve the perfect spray pattern. Taking your time here means a flawless finish.
Stick with these basics, and you’ll soon master every detail for a professional-looking result. Setting up your airless paint sprayer right is key to making your painting project easier and more enjoyable!
Key Takeaways
- Always turn off and unplug the sprayer before assembly to ensure safety and prevent accidental operation.
- Attach and securely tighten the hose and spray gun components, verifying all connections to avoid leaks.
- Submerge the suction hose in well-mixed, strained paint and prime the pump at low pressure to ensure steady flow.
- Gradually increase spray pressure while testing the spray pattern on scrap material for even coverage and no drips.
- Adjust spray tip and pressure as needed, maintaining a steady gun distance, before proceeding to main painting.
Power Off and Unplug the Sprayer

Before you begin setting up your airless paint sprayer, make sure you turn it off and unplug it from the power outlet. You’ll want to power off the unit completely to prevent any accidental activation that could cause injury or damage.
Make sure the power switch is in the off position before you handle the spray gun or connect any parts. Always unplug the sprayer before assembling or adjusting components to keep the setup safe.
Never operate or assemble the sprayer while it’s powered on. Taking these precautions ensures you’re working safely and protects both you and your equipment.
Securely Attach the Paint Hose

When you attach the paint hose, make sure its connector is clean and free of debris to guarantee a secure fit. A clean connection prevents leaks and ensures smooth operation.
Follow these steps to securely attach the hose:
- Align the hose fitting with the sprayer port and hand-tighten it firmly.
- Use a wrench to tighten the connection further, but don’t over-tighten to avoid damage.
- Give the hose a gentle tug to confirm it’s fully engaged and won’t disconnect during use.
Connect the Spray Gun to the Hose

After securely attaching the paint hose to the sprayer, you’ll need to connect the spray gun to the hose. Start by aligning the spray gun’s threaded connection with the hose fitting, then turn it clockwise until it’s firmly secured.
Make sure the spray gun’s seal and gasket are properly seated to prevent any leaks during operation. Once connected, gently pull on the spray gun to verify the connection is tight and stable.
To avoid accidental spraying during setup, engage the trigger lock on the spray gun. Taking these steps to connect the spray gun to the hose ensures a safe and leak-free setup, preparing you for the next step in your airless paint sprayer assembly.
Install the Spray Guard and Tip
Since the spray guard plays a crucial role in safety and spray accuracy, you’ll need to thread it onto the spray gun carefully. Make sure the seal is properly seated to prevent leaks.
Next, attach the spray tip securely to the guard. Follow these steps:
- Screw the spray tip into the guard until you feel resistance and hear a click, ensuring it’s locked in place.
- Align the spray tip properly with the guard to guarantee an even spray pattern.
- Position the butterfly-shaped spray guard so your hand stays clear of the spray area during use.
Double-check that all connections are tight and the spray tip fits snugly before you start spraying. This setup keeps your work safe and efficient.
Prepare and Strain the Paint
To guarantee your airless paint sprayer works smoothly, you’ll want to prepare and strain your paint carefully. Start by thoroughly mixing new paint to ensure a uniform consistency, especially with exterior water-based types.
Properly mixing new paint ensures consistent application and smooth operation of your airless paint sprayer.
Next, use strainers or mesh filters to remove any debris that could clog your sprayer. This step is vital whether you’re working with fresh paint or leftover paint that’s been sitting for a while, as dried particles can cause blockages.
After straining, decant the paint into an IQ bucket or a similar container to make priming easier and improve handling. Finally, check the paint’s viscosity against manufacturer recommendations to ensure it sprays smoothly and evenly.
Taking these steps will help you avoid common spraying issues and get professional results. It’s really worth the extra effort!
Insert the Suction Hose Into the Paint Container
Once you’ve prepared and strained your paint, the next step is to insert the suction hose into the paint container. Make sure the suction hose with the strainer is fully submerged to prevent air from entering the system.
Position the strainer end at the bottom of the container to ensure smooth paint flow. Avoid any kinks or bends in the hose that could restrict suction.
Follow these steps for a secure setup:
- Insert the suction hose with the strainer fully into the paint container’s bottom.
- Tighten the hose connection firmly using a wrench or spanner to prevent leaks.
- Double-check that the paint is well-mixed and free of debris before insertion.
This guarantees maximum suction and gets you ready for the next setup stage.
Prime the Pump at Low Pressure
Before you start spraying, you’ll want to prime the pump at low pressure to guarantee smooth paint flow. First, set the pressure dial just above zero and securely attach the suction hose with the strainer into the paint.
Place the drain tube into a waste bucket, then pull the spray gun trigger to release any residual pressure. Turn on the sprayer to let paint flow through the pump and hoses.
Watch for steady paint movement through the drain tube. Once the paint flows smoothly, detach the drain tube and reattach it for normal spraying. This process ensures your sprayer is ready to start spraying without interruptions.
| Step | Action | Purpose |
|---|---|---|
| 1 | Set pressure dial low | Prevents paint splatter |
| 2 | Attach suction hose securely | Ensures suction |
| 3 | Place drain tube in waste bucket | Collects excess paint |
| 4 | Turn on sprayer and watch paint flow | Confirms pump primed |
Flush Paint Through the System
Start by turning on your sprayer at low pressure to gently push paint through the system.
Direct the paint flow into a waste bucket by detaching the drain tube from the suction hose. This helps clear out any air or debris before you begin painting.
It’s a simple step but super important to get things flowing smoothly. You’ll want to make sure everything is clear before you start your project.
Activate Low Pressure Mode
Although it might seem straightforward, activating low pressure mode is essential to flush paint through your airless sprayer properly. Start by turning the pressure dial to zero before priming. Then, set your sprayer to prime mode—usually marked on the control panel.
Hold the spray gun trigger and switch the sprayer on, allowing paint to flow gently through the system.
Follow these steps to activate low pressure mode effectively:
- Turn the pressure dial to zero to prevent high pressure during flushing.
- Switch to prime mode and hold the trigger to start paint flow.
- Use the priming feature, like releasing the ball button, to draw paint through the pump and hose.
Once paint flows smoothly, you can gradually increase pressure for normal spraying. Easy, right? Just take it step by step, and you’ll be set in no time!
Direct Paint Flow
Once you turn on your sprayer at a low pressure setting, hold the trigger with the lock engaged and aim the gun into a waste bucket to flush paint through the system. This priming step guarantees paint flows smoothly, preventing clogs.
Gradually increase pressure until paint flows evenly through the tip and hose. If your sprayer has a priming feature, press the release ball button to help flush paint through the pump. Continue spraying until only clear paint or solvent appears, confirming the system is fully flushed.
| Step | Action | Result |
|---|---|---|
| 1 | Turn on low pressure | Start paint flow |
| 2 | Hold trigger with lock | Maintain steady flow |
| 3 | Aim into waste bucket | Safe flushing |
| 4 | Use priming feature | Remove air and clogs |
| 5 | Increase pressure gradually | Smooth, consistent spray |
Gradually Increase Pressure for Optimal Flow
You’ll want to set your sprayer pressure to zero before turning it on to avoid sudden bursts of high-pressure paint. Once on, gradually increase pressure to achieve an even flow.
Start with zero pressure to prevent bursts, then slowly increase for a smooth, even spray flow.
Adjust in small increments, typically 100-200 PSI, and watch the spray pattern closely.
Follow these steps:
- Use the spray/prime switch to test flow at each pressure level.
- Slowly turn the pressure dial up, observing for smooth coverage without tailing or fingering.
- Stop increasing pressure once the pattern is consistent. Also, avoid exceeding your tip’s max pressure to prevent overspray.
Test Spray Pattern Before Application
Before applying paint to your project, always test the spray pattern on a piece of cardboard or scrap material. This test spray pattern helps you check for even coverage and identify any tails or fingering.
Hold the spray gun consistently about 12-18 inches from the surface to gauge accuracy. Watch for a uniform pattern with clean edges, free from drips or uneven spots.
If the spray looks off, adjust the spray tip or pressure settings accordingly. Repeat the test spray pattern until you achieve a smooth, consistent finish.
Taking these steps ensures your main surface receives an even coat, preventing wasted paint and unsightly results. Testing first saves time and guarantees a professional-looking outcome every time.
Frequently Asked Questions
How Do I Set up My Airless Paint Sprayer?
You’ll start by powering off the sprayer and tightening the hose securely. Then, connect the spray gun and set the controls to zero.
Next, switch to prime mode and release pressure safely. After that, install the spray guard with the tip.
That’s the basic setup to get your airless paint sprayer ready to go!
What Is the Number One Rule When Using Airless Spray Guns?
Safety first is the name of the game—you’ve got to wear proper protective gear like gloves, goggles, and a mask when using airless spray guns.
Don’t cut corners; your health depends on it every time you spray. It might seem like a hassle, but trust me, it’s worth it. Staying safe keeps the job going smoothly!
Do I Need to Dilute Paint for an Airless Sprayer?
You usually don’t need to dilute paint for an airless sprayer since most latex or water-based paints spray fine as-is.
Only thicker paints might need slight thinning—check the manufacturer’s advice and test before starting your project.
How Do You Get a Smooth Finish With an Airless Sprayer?
You can achieve up to 50% smoother finishes by using a small tip like 312 or 411. Make sure to maintain consistent overlapping strokes.
Adjust the pressure just above the prime indicator. Keep the spray gun steady about 12-14 inches from the surface. This technique really helps get that smooth finish.
Conclusion
Now that you’ve tamed your airless paint sprayer, you’re ready to wield it like an artist’s brush, turning blank walls into vibrant masterpieces. By following these steps, you’ve built a smooth flow—like a river carving its path—ensuring every spray lands just right.
With patience and care, your next project will glide effortlessly, leaving behind a flawless finish that speaks volumes.
So, take a deep breath and let your creativity soar! Using your airless paint sprayer correctly means less mess, faster coverage, and a professional-looking result every time. Keep these easy steps in mind, and you’ll master your paint sprayer in no time, transforming any space with a perfect coat of paint.