Why Is My Paint Sprayer Leaving Lines and How Can I Fix It Fast?
If your paint sprayer is leaving lines, it’s usually because of worn tips, low pressure, or an inconsistent spraying technique. These common issues can make your finish look uneven and frustrating to fix. But don’t worry—you can get your sprayer working smoothly again pretty quickly.
Start by replacing any worn or clogged spray tips. That alone can make a big difference. Next, check your pressure and increase it to the recommended level if it’s too low.
Also, keep a steady 12-inch distance from the surface and use smooth, overlapping strokes to avoid streaks.
Make sure your equipment is clean and well-maintained, too. Keeping these basics in check will greatly improve your finish. With a few simple tweaks, your paint sprayer will leave a flawless, professional-looking surface in no time.
Key Takeaways
- Lines often result from using worn or incorrect spray tips; replace them promptly for smooth coverage.
- Maintain a steady 12-inch spraying distance and move the sprayer evenly with overlapping passes.
- Increase spray pressure if low pressure causes uneven paint flow and streaks.
- Clean or replace clogged filters and spray tips to restore consistent paint atomization.
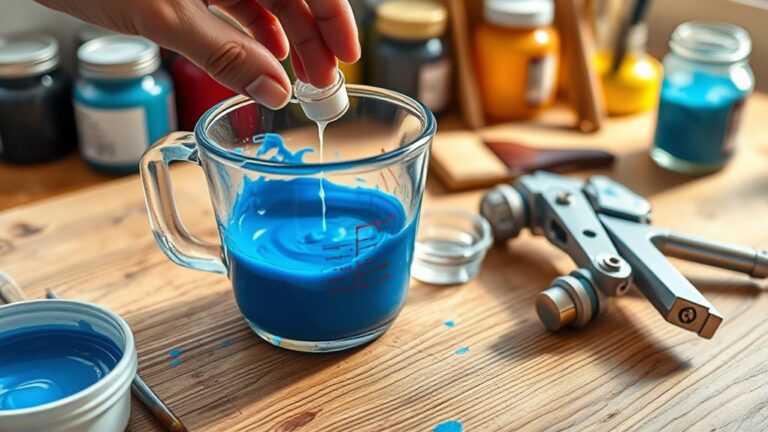
- Thin paint as recommended to improve flow and prevent visible lines during application.
Common Causes of Lines and Streaks in Paint Spraying

When you see lines or streaks in your paint spray, it often means your technique or equipment needs adjustment. A common cause is using a spray tip that’s larger than recommended, which drops pressure and leads to uneven application.
Worn tips on your airless sprayer can also ruin the spray pattern by producing poor atomization, causing visible streaks. Low pressure settings prevent proper spray, resulting in inconsistent paint flow and those frustrating lines.
Additionally, clogged filters disrupt paint delivery, creating uneven spray patterns. To achieve a flawless finish, you need to maintain your spray tips, monitor pressure, and choose the correct tip size.
Understanding these factors helps you identify why your lines appear and sets you up for smoother, more even results.
Techniques and Equipment Adjustments to Eliminate Lines

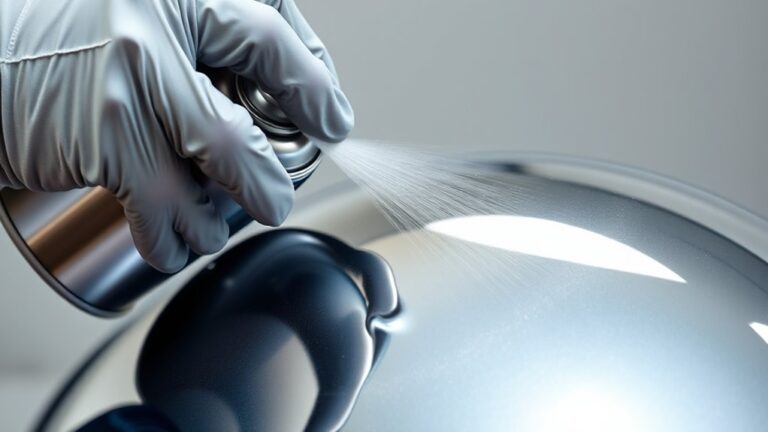
Identifying the causes of lines and streaks is only the first step; you can eliminate these flaws by adjusting your technique and equipment properly. Maintain a consistent distance—about 12 inches—with your airless sprayer to ensure an even spray pattern and prevent lines.
Eliminate lines and streaks by maintaining a steady 12-inch distance and adjusting your spraying technique.
Use the correct tip size for your paint and project, such as 515-517 for walls, to achieve uniform coverage. Adjust proper pressure following the manufacturer’s guidelines; too low pressure causes streaks, so increase it if needed.
Regularly inspect and replace worn spray tips to keep atomization consistent. Your spray technique matters—move the sprayer steadily and overlap passes slightly.
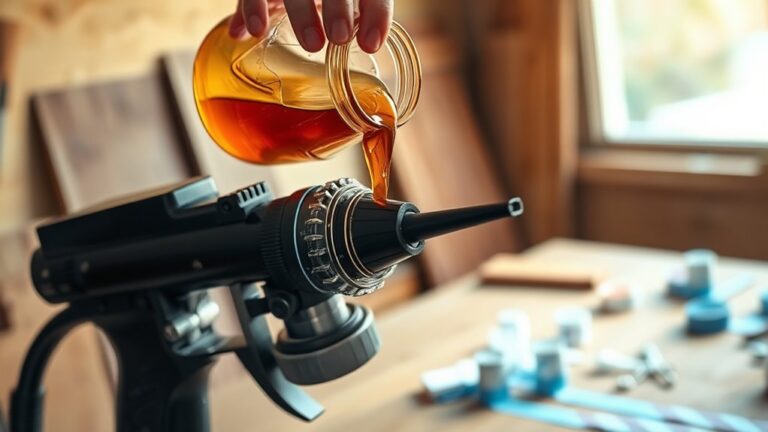
Finally, ensure paint consistency and perform equipment adjustments like cleaning filters and hoses to maintain finish quality and prevent uneven spraying. Just a few tweaks here and there can make a big difference in the final look.
Maintenance and Best Practices for a Smooth Paint Finish

To achieve a smooth paint finish, you’ll need to maintain your sprayer regularly and follow best practices closely. Start with thorough cleaning of spray tips, filters, and hoses to prevent clogs that cause uneven spray patterns.
Inspect spray tips often and replace worn tips promptly, as they lead to visible lines. Pay attention to paint viscosity and thinning according to manufacturer guidelines to ensure proper paint consistency and flow.
Use a steady technique by keeping a consistent distance from the surface, moving your arm smoothly, and applying overlapping strokes for even coverage. Store your sprayer in a clean, dry place and perform routine maintenance to keep it functioning at its best.
Frequently Asked Questions
How to Fix Paint Sprayer Streaks?
You can fix paint sprayer streaks by cleaning clogged nozzles and replacing worn tips.
Also, adjusting pressure settings can make a big difference. Make sure your paint is thinned to the right consistency, too.
And don’t forget to keep a steady spray distance and motion for even coverage. That way, your finish will look smooth and streak-free!
Why Does My Paint Sprayer Leaving Lines?
Did you know 60% of paint sprayer issues stem from tip problems? Your sprayer leaves lines because the pressure is uneven or the tip’s worn.
You’ll fix it by cleaning the tip, replacing it if needed, and keeping a steady spray motion. It’s all about consistency and maintenance to get smooth results!
How to Get Rid of Tails When Spraying?
You can get rid of tails when spraying by cleaning your tip regularly and using the correct tip size.
Also, maintaining consistent pressure really helps. Try to hold the sprayer about 12 inches from the surface to guarantee even paint distribution.
Doing these things makes your spray job look much smoother and more professional. Give it a shot!
How to Get Smooth Finish With Paint Sprayer?
You’ll get a smooth finish by keeping a consistent 12-inch distance and using steady, overlapping strokes. Adjusting spray pressure and tip size also helps a lot.
Make sure to maintain a perpendicular sprayer angle while you work. It’s a good idea to practice first to perfect your technique quickly.
Conclusion
To stop streaks and solve spray sprayer struggles, start by checking your equipment and correcting your technique. Clean your components carefully and consistently to keep paint flowing flawlessly.
Adjust your angle and apply even, effortless strokes to ensure smooth, streak-free surfaces. By practicing proper maintenance and mindful methods, you’ll master the magic of a magnificent, mirror-like finish.
Stay steady, stay smart, and say goodbye to those pesky paint lines for good! With regular cleaning and the right technique, your paint sprayer will deliver flawless, streak-free results every time. Remember, a well-maintained sprayer and steady hand are key to eliminating lines and achieving professional-quality finishes fast.