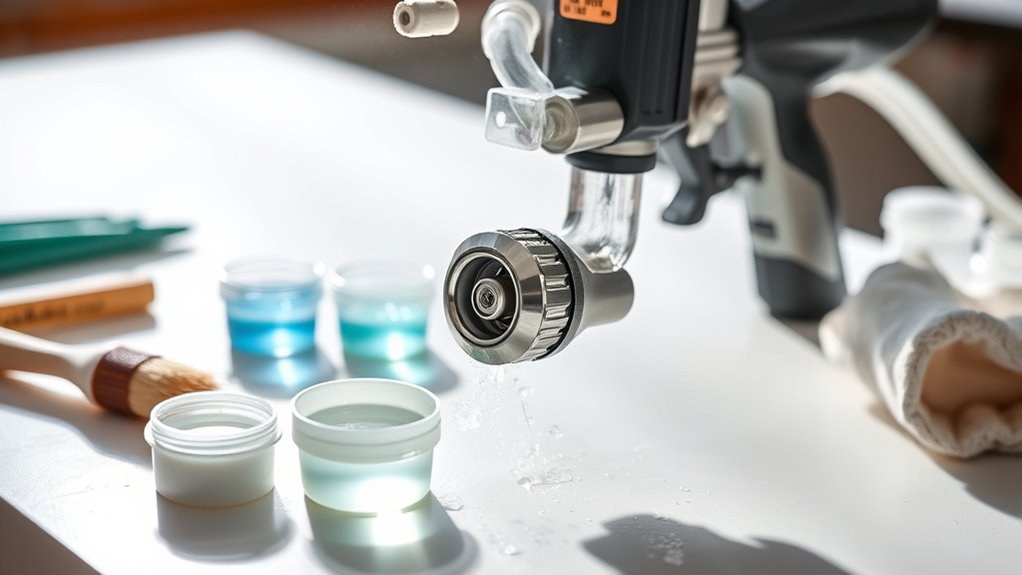
5 Easy Tips to Clean a Clogged Paint Sprayer
If your paint sprayer shows uneven spray or reduced flow, you’ve likely got a clog. A clogged paint sprayer can be frustrating, especially when you’re trying to get your project done quickly and efficiently. But don’t worry, cleaning it is easier than you might think!
First, lock the trigger and rotate the spray tip to test different spray patterns. This helps you identify if the clog is affecting the spray pattern.
Next, remove the tip and filters, soaking them in the correct solvent—mineral spirits for oil-based paint or warm water for water-based paint.
Use a soft brush to clear any buildup gently. After scrubbing, rinse everything thoroughly and dry it well.
Ultimately, clean your filters regularly to prevent future blockages. Keep going to uncover more ways to keep your sprayer in top shape and ready for your next painting job!
Key Takeaways
- Remove the spray tip and soak it in the appropriate solvent for 10–15 minutes to loosen paint buildup.
- Then, use a soft brush or toothbrush to gently scrub the spray tip and filters to dislodge clogged paint.
- Next, rotate the spray tip while spraying onto a test surface. This helps check and restore an even spray pattern.
- After that, rinse all parts thoroughly with clean solvent or water. Make sure to dry them completely before reassembling.
- Lastly, clean filters and nozzles after each use. Also, replace worn parts to prevent future clogs.
Identify the Signs of a Clogged Sprayer Tip

When you notice no spray or an inconsistent pattern while painting, your sprayer tip might be obstructed. A obstructed sprayer often shows visible paint buildup around the spray tip or a reduced spray fan width.
If the spray pattern becomes uneven or you struggle to maintain a steady flow, it’s a clear sign the tip needs attention. Frequent interruptions in paint flow or a sudden stop also indicate blockage.
When you try to clear the spray pattern by pulling the trigger, and the pattern remains irregular, the clog is likely still there. Recognizing these signs early helps prevent further issues and ensures your paint job stays smooth and even every time you use your sprayer.
Perform a Quick Tip Rotation and Spray Test

If you spot an uneven spray pattern, try performing a quick tip rotation to clear minor clogs. This simple step can restore your sprayer’s performance without disassembling it.
Here’s how to do it: Lock the trigger and rotate the spray tip so the wide part faces forward and the narrow part faces backward.
Release the trigger and spray onto a test surface like cardboard or an empty bucket. Check the spray pattern for a consistent fan shape and even paint flow.
If the spray remains irregular, just repeat the tip rotation and spray test until the clog clears. This quick tip rotation helps dislodge minor clogs and keeps your paint flowing smoothly.
Deep Clean the Spray Tip and Filters
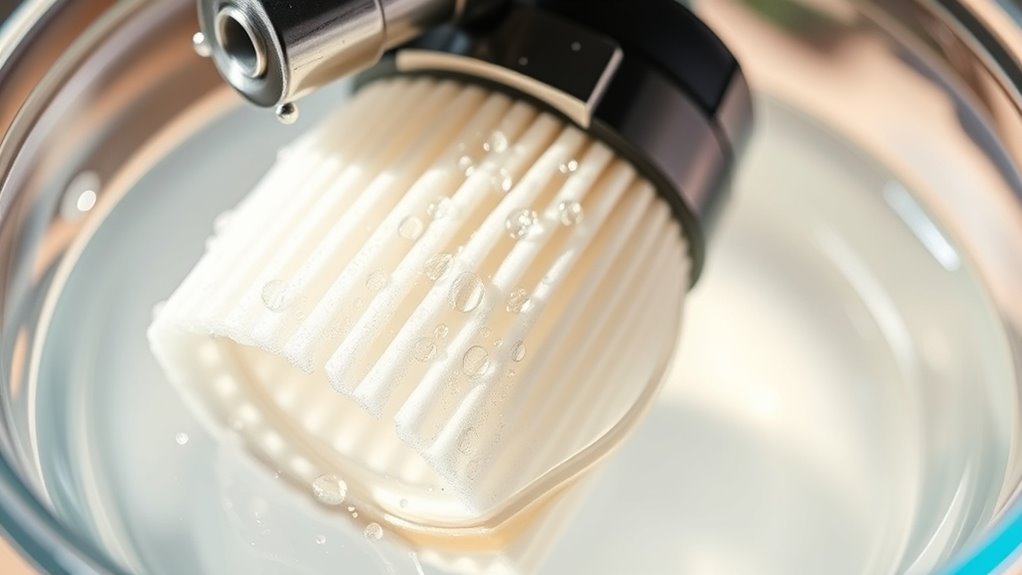
Although quick tip rotations can clear minor clogs, you’ll need to deep clean the spray tip and filters to tackle stubborn blockages. Start by removing the spray tip and filters from your sprayer for thorough cleaning.
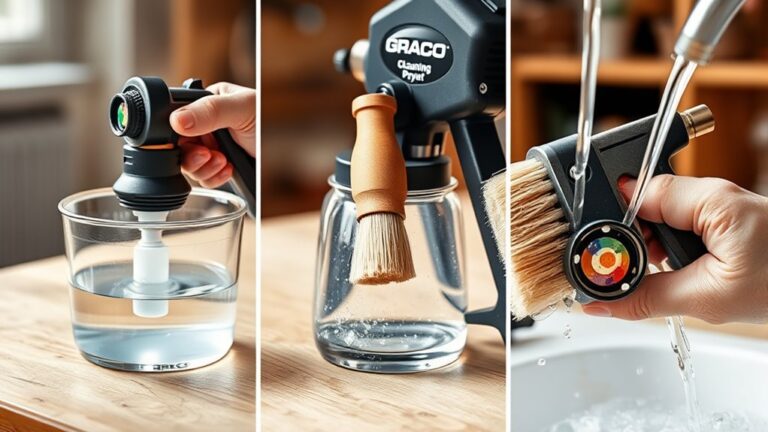
Soak these parts in the appropriate solvent—mineral spirits for oil-based paints or warm water for water-based paints—for 10 to 15 minutes. Then, use a soft brush or toothbrush to gently dislodge any paint residue or clogs from the spray tip openings and filters.
Rinse everything with clean solvent or water until the fluid runs clear, ensuring all paint particles are removed. Finally, dry the spray tip and filters completely before reassembling your sprayer to prevent rust and maintain ideal performance.
Use Appropriate Solvents for Thorough Cleaning
Because different paint types require specific solvents, you’ll need to choose the right cleaner to avoid damaging your sprayer. Proper solvent selection is essential for effective cleaning of a clogged paint sprayer. Follow these steps:
- Use mineral spirits or paint thinner for oil-based paints. Make sure you have good ventilation during cleaning.
- For water-based paints, clean parts with warm water and mild detergent to remove paint residue.
- Soak spray tips and nozzles in the appropriate solvent for at least 30 minutes to loosen stubborn clogs.
Always follow the manufacturer’s guidelines for compatible solvents to protect your sprayer’s components. After soaking, rinse all parts thoroughly with water or clean solvent to get rid of any leftover residue before reassembling.
Using the right solvent ensures a thorough cleaning and helps extend your sprayer’s lifespan. It’s a simple step that pays off in the long run!
Maintain Your Sprayer to Prevent Future Clogs
Choosing the right solvents for cleaning is just the start—maintaining your sprayer regularly keeps it running smoothly and prevents clogs from forming in the first place.
You should clean filters and nozzles after every use to avoid paint buildup. Soak spray tips in suitable solvents to dissolve any residue and maintain spray quality.
Also, replace worn filters and nozzles promptly to ensure consistent flow.
| Task | Frequency | Tip |
|---|---|---|
| Clean filters | After each use | Use water or mineral spirits |
| Soak nozzles | After each use | Choose solvent by paint type |
| Replace parts | As needed | Inspect regularly for wear |
Following these steps prevents blockages and extends your sprayer’s lifespan. It’s all about staying on top of maintenance to keep things running smoothly!
Frequently Asked Questions
How Do I Unclog a Clogged Paint Sprayer?
You unclog a paint sprayer by rotating the spray tip to dislodge debris, spraying into a bucket, and if needed, soaking or cleaning the tip with lacquer thinner.
If that doesn’t clear the clog, you might need to replace the tip. Sometimes a little extra care is all it takes to get your sprayer working smoothly again!
What Can I Run Through My Paint Sprayer to Clean It?
You can run water or mineral spirits through your paint sprayer to clean it, like a river clearing debris.
Lacquer or paint thinner also works great for stubborn clogs—just follow safety guidelines to avoid damage.
It’s pretty straightforward, but always make sure you’re using the right cleaner for the type of paint you used.
That way, your sprayer stays in good shape and ready for the next project!
How to Clean Out a Clogged Sprayer?
You’ll want to spray into a container to check the clog, then lock the trigger and rotate the tip to dislodge it.
If it’s stubborn, soak the tip in solvent and gently brush it clean. Easy, right? Just take your time, and it should clear up in no time.
Why Does a Paint Sprayer Keep Clogging?
Your paint sprayer keeps clogging because paint dries inside like a stubborn rock.
You’re probably using thick paint, skipping proper thinning, or not cleaning thoroughly after use.
Worn tips and debris also jam its flow.
It’s like trying to drink a milkshake through a tiny straw — it just won’t work right without the right prep!
Conclusion
Cleaning your clogged paint sprayer doesn’t have to feel like untangling a stubborn knot. By spotting the signs early and giving your sprayer a quick rotation and deep clean, you’ll breathe new life into your tool.
Using the right solvents is like giving your sprayer a revitalizing shower, washing away the grime. Keep up with regular maintenance, and your sprayer will glide smoothly, ready to splash colors without missing a beat.
Remember, a well-maintained paint sprayer not only performs better but also lasts longer. Regular cleaning prevents clogs and keeps the paint flow consistent. So, take a little time to clean your sprayer after each use, and you’ll save yourself from frustrating blockages down the road. With these easy tips, your paint sprayer will stay in top shape, ensuring every project is a success.



6 Comments