5 Best Paints to Use in an HVLP Sprayer
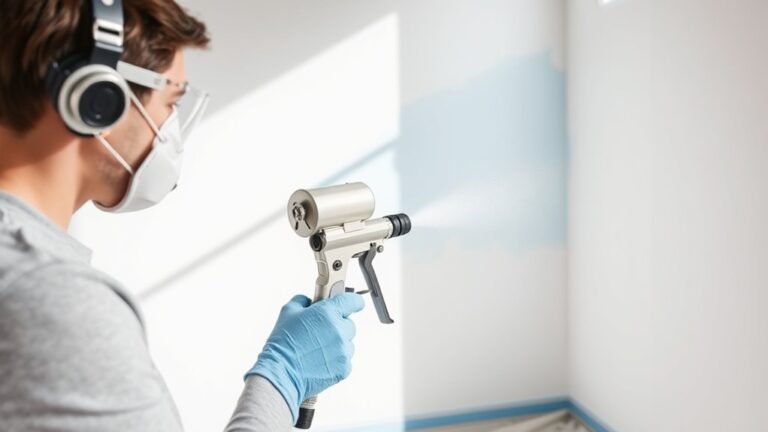
You want smooth, professional results with your HVLP sprayer, so start with KILZ Latex Primer for a solid base. It helps the paint adhere better and creates a uniform surface for your topcoat.
Rust-Oleum Painters Touch Ultra Cover offers great coverage and quick drying, making your job faster and easier.
Sherwin-Williams Emerald Tinted Latex provides eco-friendly, flawless finishes that are perfect for any project.
Remember to thin your paint properly—usually with water—to avoid clogging and guarantee smooth spraying. Choosing 100% acrylic latex paints with medium viscosity helps, too.
Stick around to explore how to perfect your technique and paint choices. These tips will make your HVLP spraying experience more efficient and enjoyable!
Key Takeaways
- KILZ Latex Primer provides excellent stain blocking and smooth flow. It’s ideal for HVLP sprayers when thinned with water.
- Rust-Oleum Painter’s Touch Ultra Cover offers great coverage and quick drying. It works well for both indoor and outdoor HVLP applications.
- Sherwin-Williams Emerald Tinted Latex paint is eco-friendly and delivers a smooth finish. Just make sure to thin it properly for HVLP spray guns.
- Use 100% acrylic water-based latex paints with medium viscosity (100-150 KU). This helps achieve optimal atomization in HVLP sprayers.
- Always strain your paint and thin it gradually with water or Floetrol. Doing this prevents clogging and ensures even, smooth spraying results.
KILZ Latex Primer for a Smooth Base
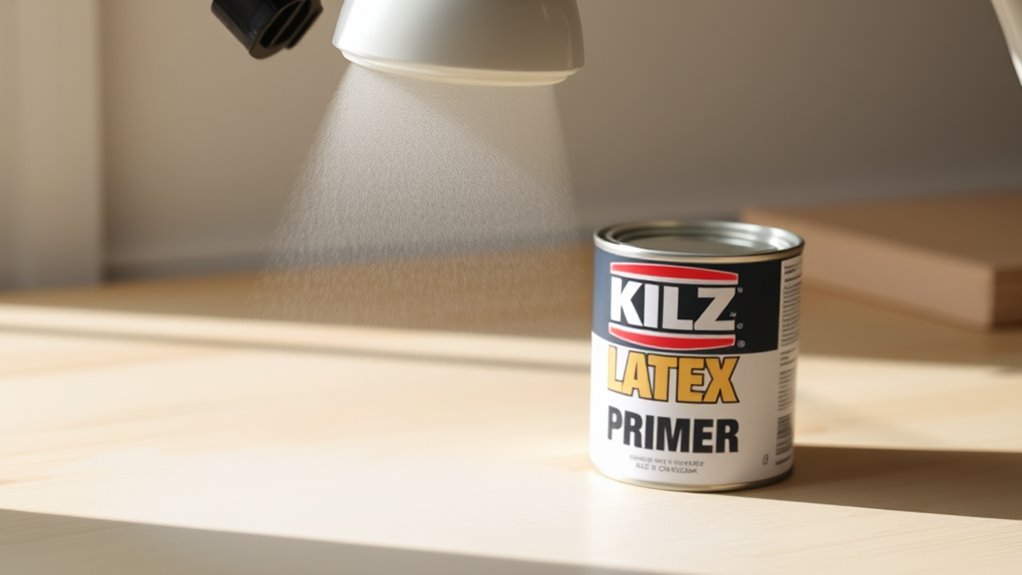
A great way to guarantee a smooth, durable base for your latex paint project is by using KILZ Latex Primer. This primer excels at stain blocking, covering dark colors and stains with just two coats.
It’s designed for compatibility with HVLP sprayers, allowing you to thin it with water to improve sprayability. Unlike thicker paints that can clog your sprayer, KILZ Latex Primer flows smoothly, ensuring even application without spitting or splattering.
Whether you’re prepping drywall, wood, or previously painted surfaces, this primer adheres well and prevents bleed-through. That means your latex paint gets a flawless foundation every time.
Using KILZ Latex Primer saves you time and effort, making it a smart choice for any project that demands a professional finish. Give it a try—you’ll see the difference!
Rust-Oleum Painters Touch Ultra Cover Latex Paint
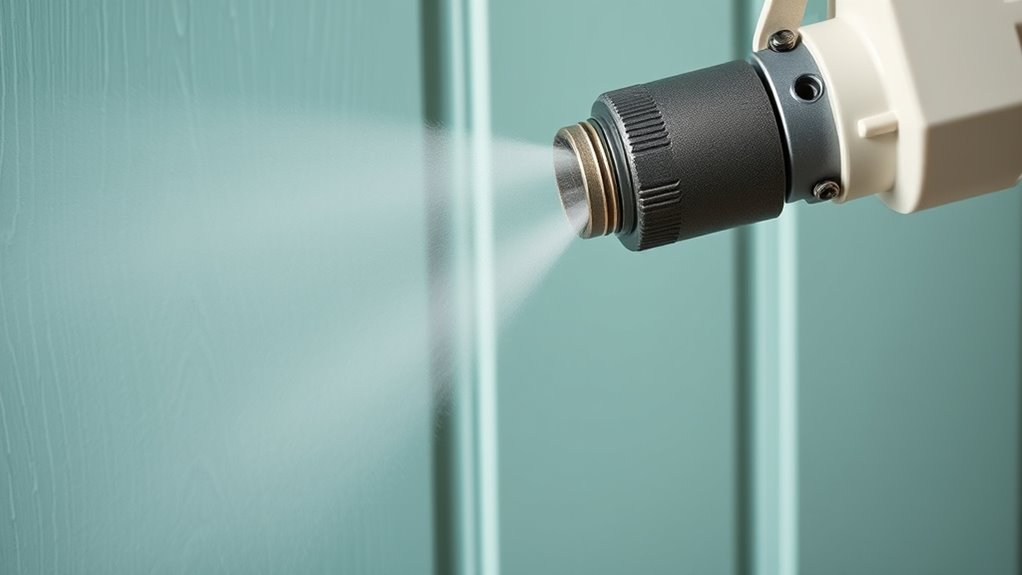
Once you’ve laid down a smooth base with KILZ Latex Primer, Rust-Oleum Painters Touch Ultra Cover Latex Paint offers excellent coverage that often requires fewer coats.
Start with KILZ Latex Primer for a smooth base, then enjoy Rust-Oleum’s excellent coverage with fewer coats.
This paint works seamlessly with an HVLP sprayer when slightly thinned with water, improving sprayability without sacrificing adhesion. Its compatibility with HVLP sprayers guarantees you get a smooth, even finish, whether you choose a matte or semi-gloss sheen.
With a quick touch-dry time of about 30 minutes, you can efficiently move through your project. Plus, Rust-Oleum Painters Touch Ultra Cover Latex Paint comes in a wide variety of colors and sheens, giving you versatile options for both indoor and outdoor surfaces.
Its reliable coverage and professional finish make it a top choice for HVLP sprayer applications. So, if you’re looking for ease and quality, this paint has you covered.
Sherwin-Williams Emerald Tinted Latex Paint

Wondering which paint combines durability with eco-friendliness for your HVLP sprayer projects? Sherwin-Williams Emerald Latex is an excellent choice. Designed for use with HVLP spray guns, it offers outstanding coverage and a smooth paint finish.
You’ll typically need 2-3 coats to achieve the opaque, professional results you want. This paint comes in various sheens—satin, semi-gloss, and high-gloss—so you can tailor the finish to your surface and style.
Emerald Latex is also environmentally friendly, featuring low VOC emissions that make it safer for both you and the planet. Proper thinning with water (about 1.5-2 oz. per quart) ensures ideal atomization and smooth sprayability.
This helps you get the best performance from your HVLP sprayer without compromising finish quality.
Thinning Techniques for Optimal Spray Performance
Although thinning paint might seem straightforward, getting the right consistency for your HVLP sprayer takes careful attention. When thinning latex paint, start by stirring thoroughly—never shake—to avoid bubbles that disrupt your spray pattern.
Gradually add water using a spray cup, beginning with no more than 2 oz. per quart. This water dilution helps achieve suitable paint flow, ensuring smooth atomization under pressure HVLP without sputtering or clogging.
Test your mix on cardboard; adjust water incrementally until the paint sprays evenly with a consistent pattern. Avoid over-thinning, as too much water weakens coverage and leads to uneven finishes.
Choosing the Right Latex Paint for Your Project
How do you guarantee your paint job looks professional when using an HVLP sprayer? Start by choosing the right latex paint. Opt for 100% acrylic water-based latex paint, like Sherwin Williams ProClassic or Benjamin Moore Satin Impervo, designed for spraying.
These paints have an ideal viscosity—medium thickness around 100-150 Kauri units—that ensures smooth atomization. Before spraying, strain the paint through a fine mesh screen to remove lumps and prevent clogs in your HVLP sprayer.
Ensure smooth atomization by using medium-thickness paint and straining it to prevent clogs in your HVLP sprayer.
Thinning is essential; add water or Floetrol to improve flow and maintain proper paint consistency without over-thinning. Avoid standard household latex paints since they often need excessive thinning, causing uneven coverage and sputtering.
Selecting the right latex paint with proper thinning and viscosity helps you achieve a flawless, professional finish every time.
Frequently Asked Questions
What Type of Paint Is Best for an HVLP Sprayer?
You should use 100% acrylic latex paints with low to medium viscosity in your HVLP sprayer. Thin water-based paints to a heavy cream consistency, strain them well, and pick high-quality brands for smooth, even application.
This helps the paint flow better and prevents clogging. Plus, using good quality paint means you’ll get a nicer finish without extra effort.
Do I Need to Thin Paint for an HVLP Sprayer?
You absolutely need to dilute paint for an HVLP sprayer or risk a chaotic, splattered mess!
Add about 10-20% water, stir well, and test first to ensure smooth spraying and flawless coverage every time.
Can You Spray Oil-Based Paint With an HVLP Spray Gun?
Yes, you can spray oil-based paint with an HVLP spray gun, but you’ll need to thin it properly and use a gun with metal components to handle solvents.
Otherwise, you risk poor flow and damaging your equipment. It’s all about making sure the paint consistency is just right and your sprayer can handle the tougher stuff.
What Paint Is Best for a Spray Gun?
You’ll want to use 100% acrylic latex or specially formulated spray paints with thinner consistency.
Waterborne, low-solvent paints from trusted brands work best, ensuring smooth flow, minimal clogging, and a professional finish with your spray gun.
These types make it easier to get that even coat without the hassle. Plus, they dry nicely and keep your equipment running smoothly.
Conclusion
Choosing the right paint for your HVLP sprayer is like finding the perfect rhythm in a song—it makes the whole process flow smoothly and beautifully. Whether you start with KILZ Latex Primer or finish with Sherwin-Williams Emerald, each coat layers your project with care and precision.
Remember to thin your paint just right, so every spray dances evenly onto your surface. With these paints, your masterpiece is just a sprayer away from coming to life.
Using the best paints in your HVLP sprayer ensures a professional finish and saves you time. From primers to topcoats, selecting paints that work well with HVLP sprayers will give you smooth coverage and reduce overspray. Keep in mind, thinning your paint properly is key to unlocking the full potential of your HVLP sprayer and achieving that flawless result every time.