Why Is My Wagner Paint Sprayer Not Working?
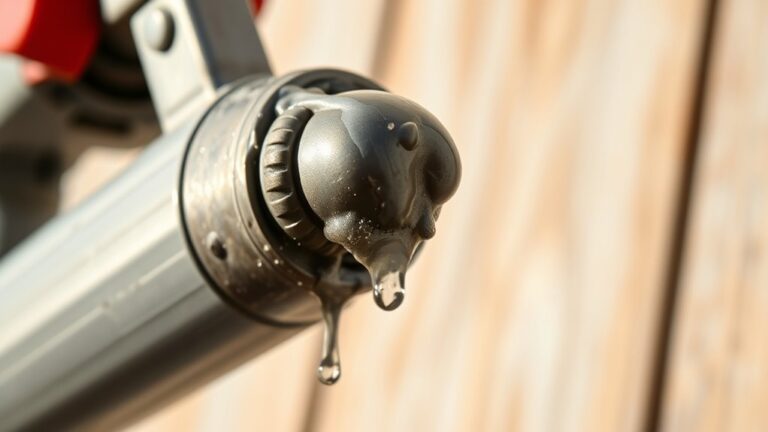
If your Wagner paint sprayer isn’t working right, it’s usually because of clogged or worn nozzles, dirty filters, or paint buildup inside the trigger or pump. These are common problems that can stop your sprayer from performing well.
You’ll want to clean the air caps, nozzles, and filters thoroughly. Also, check for leaks or loose connections and make sure the paint’s viscosity is correct for smooth spraying.
Don’t forget to inspect and lubricate the trigger and internal pump parts to keep everything running smoothly.
Regular maintenance can help you avoid most of these issues.
There’s a bit more to learn about getting your Wagner paint sprayer back to peak performance, but starting with these steps usually does the trick.
Key Takeaways
- Clogged or worn nozzles and air caps often cause poor spray patterns or no paint flow.
- Dried paint buildup inside the trigger or pump can prevent proper operation and spraying.
- Low or inconsistent pressure from leaks, dirty filters, or loose connections affects sprayer performance.
- Incorrect paint viscosity or clogged filters reduce paint flow and cause spray pattern issues.
- Lack of regular cleaning and maintenance leads to internal clogs and worn components, hindering function.
Sometimes, just giving your sprayer a good clean and checking connections can make a big difference!
Diagnosing Common Spray Pattern and Pressure Issues
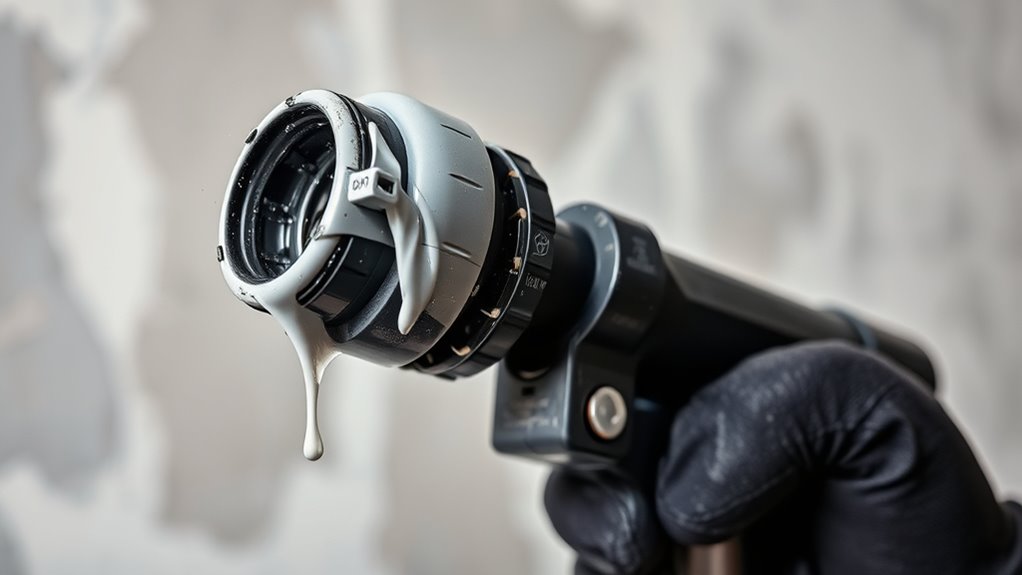
When you notice inconsistent spray patterns or pressure problems with your Wagner paint sprayer, start by checking the nozzles and air caps for clogs or wear, as these often disrupt proper atomization. Inspect the nozzle assembly carefully; a worn or dirty nozzle will mess up the spray pattern and cause pressure issues.
Make sure the system is clean—dirty filters, leaks in hoses, or loose connections can reduce airflow and lower pressure, leading to sputtering or uneven sprays. Adjust the paint viscosity if needed, as too thick or thin paint affects pressure and spray quality.
Regular Sprayer Maintenance includes testing the spray gun on cardboard to spot problems early. Keeping your system clean and well-maintained guarantees consistent pressure and a smooth spray pattern every time.
Resolving Trigger and Internal Pump Malfunctions

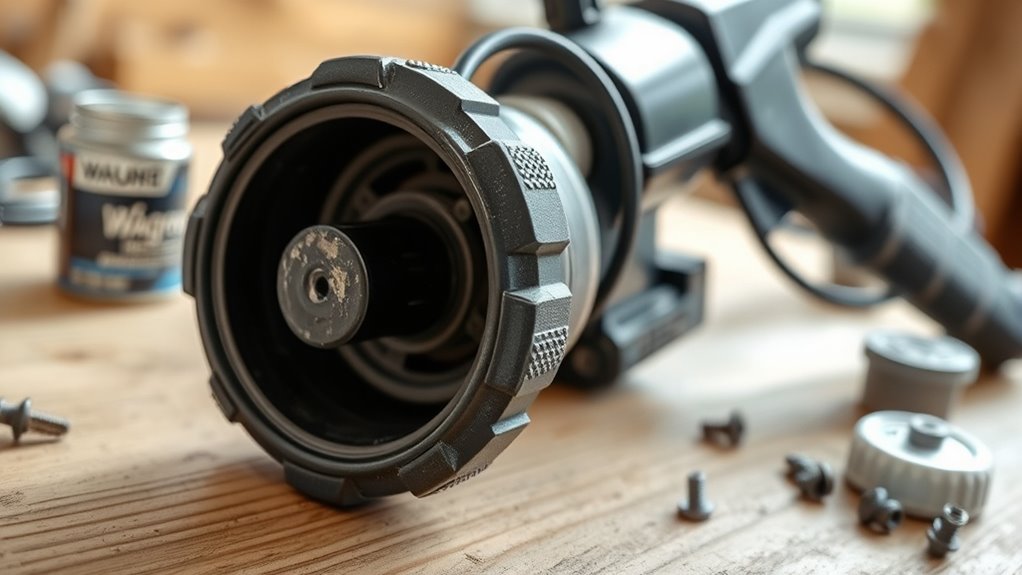
If your Wagner paint sprayer’s trigger feels sticky or unresponsive, dried paint buildup inside the assembly is often to blame. Disassemble the trigger, perform thorough cleaning with solvent, and lubricate pivot points to restore smooth operation.
Check the trigger return spring; if it’s worn or broken, replace it to avoid misfires or failure to initiate spray.
Internal pump malfunctions can also cause trigger issues—inspect for stuck check valves or worn packings that disrupt pressure consistency. Damaged seals within the pump may further contribute to malfunction.
Regular maintenance and inspection of the trigger and pump components help prevent these problems. Addressing these issues promptly ensures your sprayer works reliably and maintains peak performance during use.
Establishing Effective Cleaning and Maintenance Practices

Although proper use is essential, your Wagner paint sprayer will only perform at its best if you commit to regular cleaning and maintenance. After each spray, focus on thorough sprayer cleaning by flushing tips, filters, and air caps with the correct solvent—water for latex or mineral spirits for oil-based paints.
Disassemble parts and gently scrub with a brush to remove any dried paint, preventing clogs that reduce performance. Applying storage fluids like Pump Armor protects internal components, prevents corrosion, and keeps seals from drying during downtime.
Don’t forget to schedule routine inspections and replace wear parts such as tips, filters, and pump packings based on usage hours. These steps ensure your Wagner Paint sprayer runs smoothly, prolonging its life and delivering consistent spray quality every time.
Frequently Asked Questions
Why Is My Paint Sprayer Not Spraying?
Your paint sprayer isn’t spraying because it might have a clogged tip or a blocked suction tube. It could also be due to incorrect pressure, paint that’s too thick, or even air leaks.
Take a moment to check these parts. Clean or adjust them, and you’ll get your sprayer working again.
How to Prime a Wagner Sprayer?
To prime your Wagner sprayer, first connect it to power and fully press the trigger. Next, submerge the suction tube in paint and set the pressure to “prime.”
Spray into a scrap area to get the paint flowing. Make sure to tighten all connections to remove any air pockets and clogs. This helps ensure a smooth spray every time.
How to Unblock a Wagner Paint Sprayer?
Imagine paint clogging your sprayer like a blocked straw. You’ll unblock it by removing and soaking the tip and air cap, then clearing nozzle clogs with a needle.
Next, clean the inlet screens and flush everything with water or solvent. This should get your Wagner paint sprayer flowing smoothly again.
How to Fix a Sprayer That Won’t Spray?
You’ll want to clean the nozzle, tip, and air cap thoroughly. Also, make sure to thin the paint properly so it flows smoothly.
Next, check for clogged filters and guarantee the suction tube’s submerged. Don’t forget to tighten all connections for a secure fit.
Finally, inspect internal parts for wear or blockages. Taking these steps should help fix the sprayer that won’t spray.
Conclusion
If your Wagner paint sprayer isn’t working, don’t jump to conclusions just yet. Often, the problem isn’t a costly breakdown but something simple like a clogged nozzle or air pressure issue.
By regularly cleaning and maintaining your sprayer, you can avoid most malfunctions. So, before you give up or buy a new one, take a moment to troubleshoot.
You might find that a quick fix gets you back to painting in no time. Remember, common issues like clogged nozzles, air pressure problems, or dirty filters are usually easy to resolve.
Taking care of your Wagner paint sprayer with routine maintenance helps ensure it works smoothly every time you need it. So, if your Wagner paint sprayer isn’t working, try these simple steps first before considering repairs or replacement.