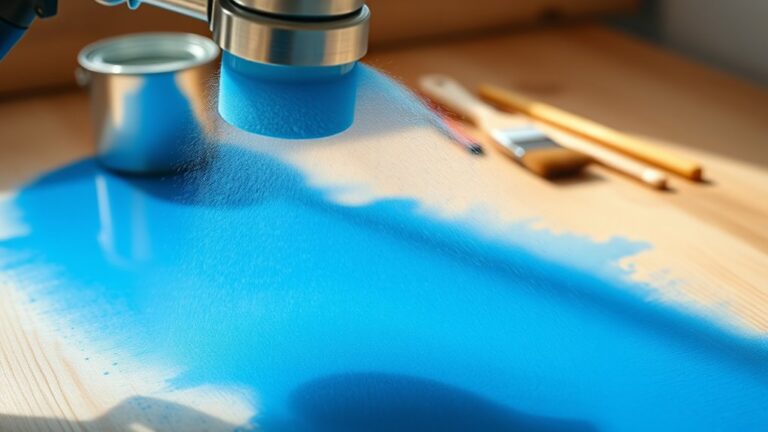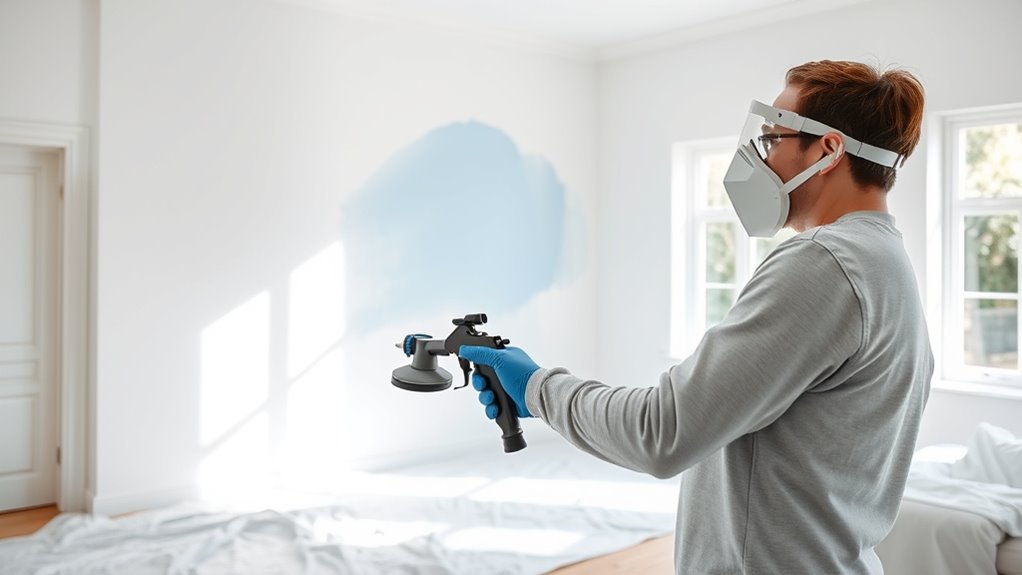
How to Use a Paint Sprayer Indoors in 3 Simple Steps
First, thoroughly prepare and mask your area before using a paint sprayer indoors. Clean all surfaces, remove fixtures, and cover floors and trim with plastic sheets and painter’s tape. This step is crucial to protect your space from overspray and paint splatters.
Next, set up your paint sprayer with the right tip for your project. Fill it with well-mixed paint and practice smooth, overlapping passes about 10-12 inches from the walls. This technique helps achieve an even coat and professional-looking finish.
Finally, once the paint dries, carefully remove your masking materials. Do any touch-ups with a brush to guarantee a perfect finish.
Keep going to uncover tips for flawless results and easy cleanup. You’ll be amazed at how simple and efficient indoor painting can be with a sprayer!
Key Takeaways
- Thoroughly clean and mask walls, floors, and furniture to protect surfaces from overspray before painting indoors.
- Fill the sprayer with well-mixed paint and adjust pressure and spray tip according to manufacturer guidelines.
- Hold the sprayer 10-12 inches from the surface, using smooth, overlapping strokes for even coverage.
- Test spray on a scrap surface first to fine-tune settings and avoid mistakes on walls.
- After painting, wait for the paint to cure before removing masking tape and perform any necessary touch-ups.
Prepare and Mask the Area Thoroughly

Before you start spraying, prepare and mask the area thoroughly to guarantee a smooth, professional finish. Begin by cleaning walls with TSP and water to remove grease, dust, and cobwebs. This helps the paint adhere better.
Remove electrical cover plates, fixtures, and any hardware to create a flat surface. Patch holes and dents with drywall putty, then sand once dry for a seamless look.
Next, cover floors, furniture, and trim using plastic sheeting and masking tape. Don’t just stick to the usual two-foot range—mask generously beyond that. Press tape firmly and overlap plastic sheeting to protect surfaces.
This careful preparation makes certain your spray gun won’t accidentally paint unwanted areas. Plus, it gives you clean, sharp lines.
Set Up and Operate the Paint Sprayer Correctly
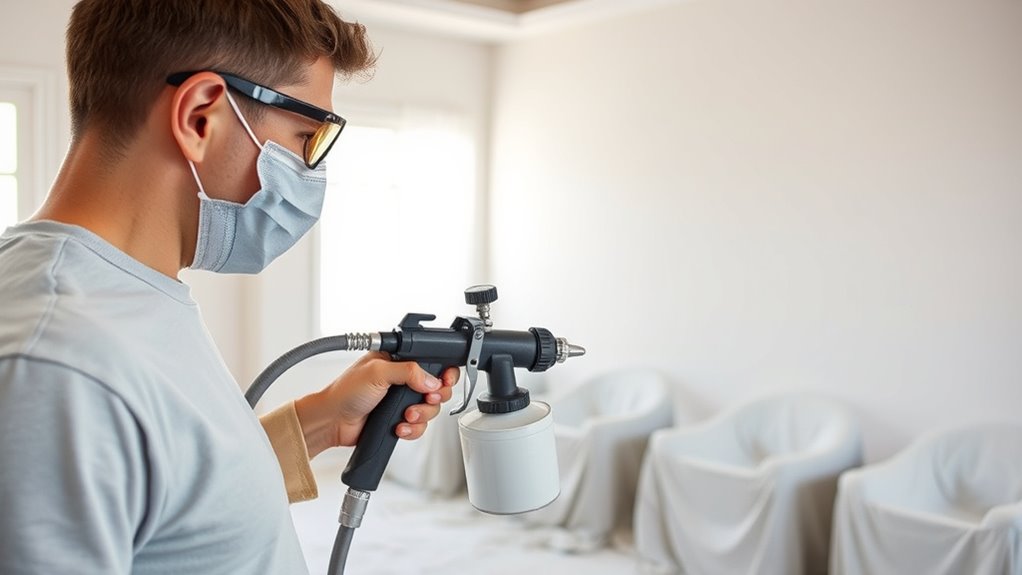
When you set up your paint sprayer correctly, you guarantee a smooth, even finish and avoid costly mistakes. Start by filling the reservoir with well-mixed paint, straining out lumps to prevent clogs.
Attach the right spray tip for your project and adjust the pressure per the manufacturer’s instructions. Test spray on a scrap surface to fine-tune settings.
Keep the sprayer 10-12 inches from the surface, moving it in smooth, overlapping passes for consistent coverage. If you pause, turn off the sprayer and clean the nozzle to maintain performance.
Following proper cleaning and shutdown procedures after use prevents damage and buildup, ensuring your sprayer stays in top shape for future projects. This careful setup and operation make indoor painting easier and more efficient.
Remove Masking and Complete Final Touch-Ups

Although the paint may look dry, wait until it’s completely cured before you carefully peel off painter’s tape and plastic sheeting. This helps avoid smudging or damaging your fresh coat.
Remove masking gently, starting from the edges, to prevent lifting paint or leaving residue. After all masking is removed, reinstall electrical covers, fixtures, and hardware.
Next, do a final walk-through to spot any missed areas, drips, or uneven spots. Use a brush or roller for minor touch-ups to ensure a flawless finish.
Finally, clean and store your masking tools and sprayer equipment properly. This keeps everything ready for future projects and extends the lifespan of your gear, making your indoor painting job both efficient and professional.
Frequently Asked Questions
What Are the Most Common Mistakes When Using Spray Paint?
You often make mistakes like skipping surface prep, holding the sprayer inconsistently, using wrong tips or pressure, neglecting to mask properly, and forgetting to clean the sprayer afterward.
These cause uneven coverage, overspray, and clogs.
Paying attention to these details can really improve your results. Just a little extra care goes a long way!
Do You Dilute Paint When Using a Sprayer?
You should dilute paint when using a sprayer, like thinning syrup for smooth pouring. Add water or solvent gradually, testing as you go, so your paint flows evenly without clogging or dripping.
This helps ensure a flawless finish. It’s all about getting that consistency just right for your sprayer to work its best.
What Is the Fastest Way to Paint the Inside of a House?
You speed up indoor painting by using an airless sprayer, prepping surfaces well, masking carefully, and painting ceilings first.
Move in large, continuous strokes for even coverage, minimizing stops and touch-ups to finish quickly. It really helps to keep a steady rhythm going so you don’t waste time.
How Long Does It Take to Paint a House Interior With a Sprayer?
It takes you about 5 minutes per room per coat to paint interior walls with a sprayer. Larger rooms might need 15-30 minutes.
Two coats double the time but still save hours compared to brushes or rollers. So, using a sprayer can really speed things up!
Conclusion
Using a paint sprayer indoors can save you up to 50% of the time compared to traditional brushes or rollers. By thoroughly preparing and masking your space, you set the stage for a smooth painting process. Setting up the sprayer correctly comes next, ensuring even coverage and reducing mess.
Finishing with careful touch-ups helps you achieve a professional finish with less effort. Remember, a little prep goes a long way in protecting your home and making your project easier. Taking the time to mask furniture and cover floors will save you from extra cleanup later.
Now, you’re ready to transform your space quickly and efficiently! Using a paint sprayer indoors not only speeds up your painting but also gives your walls a smooth, flawless look. With proper setup and prep, you’ll enjoy a stress-free project and impressive results every time.