How You Can Spray Paint Door Handles Step by Step
Start by removing the door handles and cleaning them thoroughly to remove dirt and oils. This step is crucial because any grime left on the surface can affect how well the paint adheres.
Lightly sand the metal surfaces to create a rough texture for the paint to cling to. Then, apply a self-etching primer to guarantee the paint sticks well. This primer helps prevent peeling and ensures a smooth finish.
Once the primer is dry, spray several thin coats of paint. Be sure to let each coat dry completely before applying the next one to avoid drips and uneven coverage.
After the final coat, allow the handles to cure fully. For extra protection and durability, consider applying a clear coat once the paint has dried.
Keep going to find out how to achieve a smooth, durable finish that will make your door handles look brand new!
Key Takeaways
- Remove the door handles first and give them a good clean with a degreaser. Then, lightly sand them to help the paint stick better.
- Next, mask off the areas around the handles to protect them. Apply a self-etching primer evenly—it really helps the paint bond well.
- When spraying the paint, use multiple thin coats. Hold the spray can about 6-8 inches away from the surface. Remember to wait around 20 minutes for each coat to dry before applying the next one.
- After painting, let the handles cure for at least 24 hours. This step is important to make sure the paint lasts and doesn’t chip easily.
- Finally, once the paint has cured, apply a compatible clear coat. This adds extra protection and gives your handles a nice, polished finish that lasts.
Preparation and Priming of Door Handles

Before you begin painting, remove the door handles and hardware using a screwdriver. Be sure to label each part to make reassembly easier later on.
Start your prep work by thoroughly cleaning the door handles with a degreaser or liquid deglosser. This helps get rid of oils, dirt, and old finishes that could mess with your paint job.
Next, lightly sand the metal surfaces with 200+ grit sandpaper or steel wool. This creates a texture that helps the spray paint stick better.
Don’t forget to protect surrounding areas by masking them off with painter’s tape or cardboard. It’ll save you from dealing with annoying overspray.
For primer application, use a self-etching primer made specifically for metal surfaces. It chemically bonds and etches the handles so you don’t have to do extra sanding.
Applying Spray Paint and Finishing Touches

Once your door handles are primed and ready, you can start applying the spray paint. Begin by masking surrounding areas with painter’s tape or cardboard to protect from overspray and guarantee clean edges.
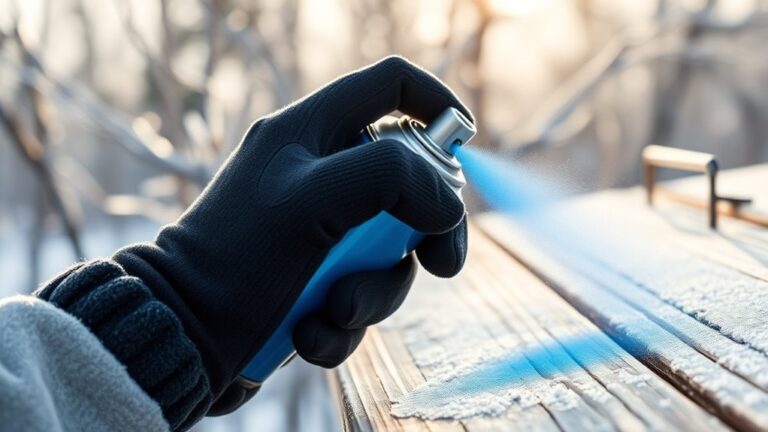
Apply multiple thin coats of spray paint, holding the can about 6-8 inches away. Make sure to allow each coat to dry for at least 20 minutes.
Spray multiple thin coats from 6-8 inches away, letting each dry for 20 minutes for a smooth finish.
Thin coats prevent drips and help achieve a smooth, professional-looking finish. After the final coat, let the handles cure for at least 24 hours before handling or reassembling.
For extra durability, apply a clear coat or polyurethane topcoat once the paint has fully dried and cured. This clear coat enhances the finish and protects against wear, giving your door handles a long-lasting, polished appearance.
Frequently Asked Questions
Can You Spray Paint Door Handles?
Yes, you can spray paint door handles. Just make sure you clean and prep them well.
Use metal-specific spray paint, apply thin coats, and let each layer dry completely. This way, you’ll get a smooth, durable finish you’ll love.
What Are the Steps to Paint Door Handles?
Start by stripping and sorting your door handles. Scrub, sand, then spray a self-etching primer.
After it dries, apply paint in perfect, patient passes.
Finally, firmly fasten your freshly finished handles back on.
What Is the Best Spray Paint for Door Handles?
You’ll want to use high-quality, oil-based or enamel spray paints like Rust-Oleum Universal or Krylon Dual Superbond. They offer great adhesion, durability, and corrosion resistance.
It’s especially effective if you prime with a self-etching primer first. That way, the paint sticks better and lasts longer on your door handles.
What Is the Best Paint for Painting Door Handles?
Why settle for anything less than Rust-Oleum Universal or Krylon Fusion?
You want oil-based or enamel paints labeled “paint and primer in one” for metal handles—they stick well, resist rust, and give you a smooth, durable finish.
These paints make your door handles look great and last longer.
Plus, they’re super easy to use and save you time since you don’t need a separate primer.
Conclusion
Now that you’ve transformed your door handles with a fresh coat of spray paint, they’ll shine like little stars welcoming you home. Remember, patience is your best brush, letting each layer dry to perfection.
With each step, you’ve breathed new life into something ordinary, turning the mundane into a masterpiece. So go ahead—open that door with pride, knowing your handiwork adds a splash of personality to every touch.
Spray painting door handles is a simple yet effective way to refresh your space. By following these steps carefully, you not only save money but also customize your home to fit your style. Enjoy the satisfaction of a DIY project done right, and let those newly painted door handles be a small but impactful detail that brightens up your everyday life.