
How You Can Spray Lacquer Over Enamel Paint Safely
To spray lacquer over enamel paint safely, you need to ensure your enamel is completely cured first—this usually takes between 24 to 72 hours. This step is crucial because if the enamel isn’t fully dry, the lacquer might not adhere properly or could cause bubbling.
Next, lightly sand the enamel surface. This helps the lacquer stick better and creates a smooth base. After sanding, clean the surface thoroughly using alcohol or a degreaser to remove any dust or oils.
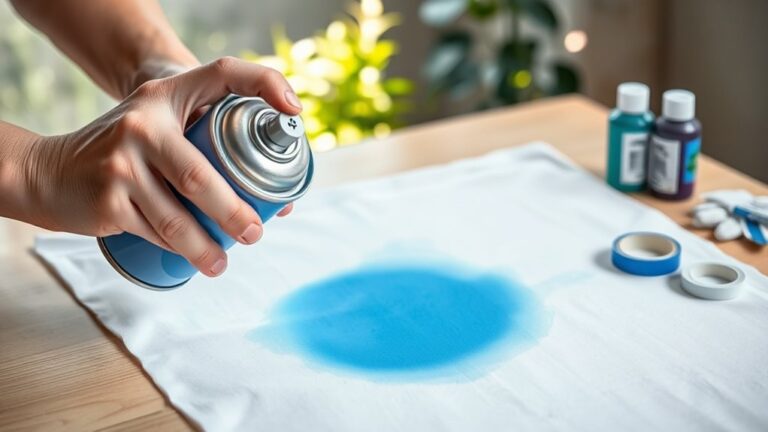
When choosing your lacquer, make sure it’s compatible with enamel paint. Apply the lacquer in very thin, even coats. This prevents the solvents in the lacquer from damaging the enamel underneath.
It’s always a good idea to test your process on a scrap piece before working on your final project. This way, you can avoid any surprises and adjust your technique if needed.
Want to master the best prep and application methods? There’s plenty more to learn to get perfect, professional-looking results every time.
Key Takeaways
- Ensure enamel paint is fully cured for 24-72 hours before applying lacquer to avoid solvent damage.
- Lightly sand the enamel surface with fine-grit sandpaper to enhance lacquer adhesion.
- Clean the surface thoroughly with isopropyl alcohol or degreaser to remove oils and dust.
- Apply a compatible primer or sealer to create a barrier and prevent solvent interaction.
- Spray lacquer in thin, even coats, allowing adequate drying time between layers to ensure smooth finish.
Preparing Enamel Surfaces for Lacquer Application

Before you apply lacquer over enamel paint, make sure the enamel is fully cured—this usually takes 24 to 72 hours depending on thickness and conditions.
Proper preparation of the enamel surface is vital. Start by lightly sanding with fine-grit sandpaper (400-600 grit) to improve adhesion and create a smooth keying surface.
Next, clean the surface thoroughly using a degreaser or isopropyl alcohol to remove oils and dust that could affect bonding.
Applying a compatible primer or sealer helps prevent solvent interaction between the enamel and lacquer layers, enhancing compatibility.
Finally, perform a small test spray on a hidden area or scrap piece to ensure proper adhesion and compatibility before committing to a full lacquer coat.
Following these steps guarantees a successful finish.
Techniques to Ensure Compatibility and Avoid Paint Damage

Once your enamel surface is properly prepared and cured, you need to focus on techniques that prevent damage and guarantee the lacquer bonds well. First, confirm compatibility by testing lacquer over a fully cured enamel scrap.
Use very thin coats of lacquer to minimize solvent attack and allow proper drying time between each layer. Confirm the enamel has completed curing—ideally 24 to 72 hours—to reduce chemical reactions.
For added protection, apply a barrier coat like clear acrylic varnish over the enamel before spraying lacquer. Choose compatible lacquer products designed for layering over enamel, such as those from trusted brands.
Frequently Asked Questions
Can I Spray Clear Coat Over Enamel Paint?
Yes, you can spray clear coat over enamel paint. Just make certain the enamel is fully cured before you start.
Also, use clear coats that are compatible with enamel. Apply thin layers gradually for the best results.
And hey, always test on a small area first. This helps avoid any lifting or bubbling issues down the line.
What Is the Best Top Coat for Enamel Paint?
You might think any top coat will do, but the best choice for enamel paint is a clear acrylic varnish or water-based acrylic top coat.
They protect your finish without risking damage or lifting. Choose wisely!
Can I Use a 2K Clear Coat Over Rustoleum Enamel?
Yes, you can use a 2K clear coat over Rustoleum enamel if it’s fully cured.
Just make sure to test it first on a small area. Apply light coats and allow proper drying time. This helps prevent solvent issues and ensures good adhesion.
Can You Spray Paint on Top of Enamel Paint?
Yes, you can spray paint over enamel paint as long as the enamel is fully cured and you prep the surface by sanding and cleaning it.
Always test a small area first to avoid issues.
It’s a good idea to take your time with the prep work to make sure the new paint sticks well and looks smooth. Just keep that in mind before you start spraying!
Conclusion
Now that you’ve prepared your enamel surface and mastered the right techniques, you might think the hardest part is over—think again. The moment you spray that first coat of lacquer is when everything comes together or falls apart.
But don’t worry, with patience and the careful steps you’ve learned, you’re just one spray away from a flawless, glossy finish. Spraying lacquer over enamel paint safely requires attention to detail and the right approach.
Ready to see your project shine like never before? Follow these tips, and you’ll achieve a smooth, durable finish that protects your work and looks amazing.


One Comment