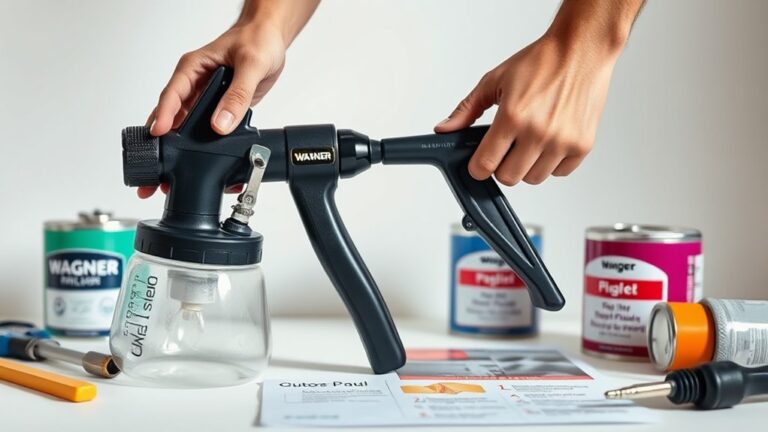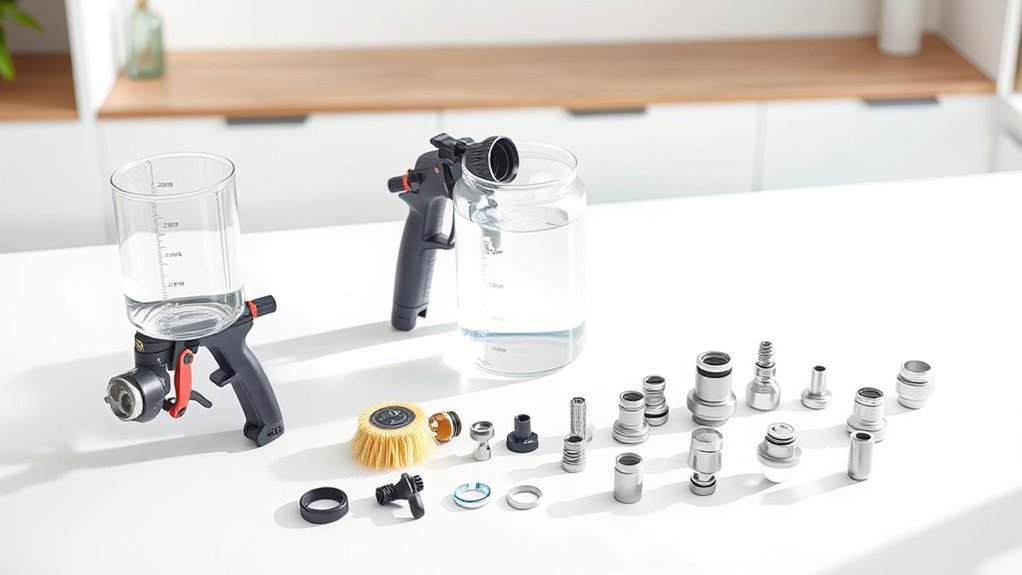
How to Clean Avanti Paint Sprayer in 3 Easy Steps
To clean your Avanti paint sprayer in three easy steps, start by releasing the pressure. Then, run water or solvent through the system to push out any leftover paint. This initial step helps clear the main flow path and prevents clogs.
Next, flush the sprayer at full pressure until the fluid runs clear. This ensures that all paint residues are completely removed from inside the sprayer. It’s important to do this thoroughly to keep your sprayer working smoothly.
Finally, remove and soak the spray tip and filters. Use a brush or needle to clear any blockages. Once everything is clean, reassemble the parts.
Following these simple steps will keep your Avanti paint sprayer in great condition and ready for your next project.
Key Takeaways
- Release pressure and disconnect the spray gun before starting to clean the Avanti paint sprayer.
- Next, flush the system with water or the appropriate solvent at full pressure for about 20-30 seconds until the fluid runs clear.
- Then, remove and soak the spray tip and filters in warm water or solvent. After soaking, clean them carefully with a brush or needle.
- Be sure to rinse all parts thoroughly. Take a moment to inspect for any damage, and replace the filters if they’re clogged or worn out.
- Finally, reassemble the sprayer securely. Wipe down the exterior to prevent paint residue buildup and help ensure your sprayer lasts a long time.
Remove Residual Paint and Prepare for Flushing
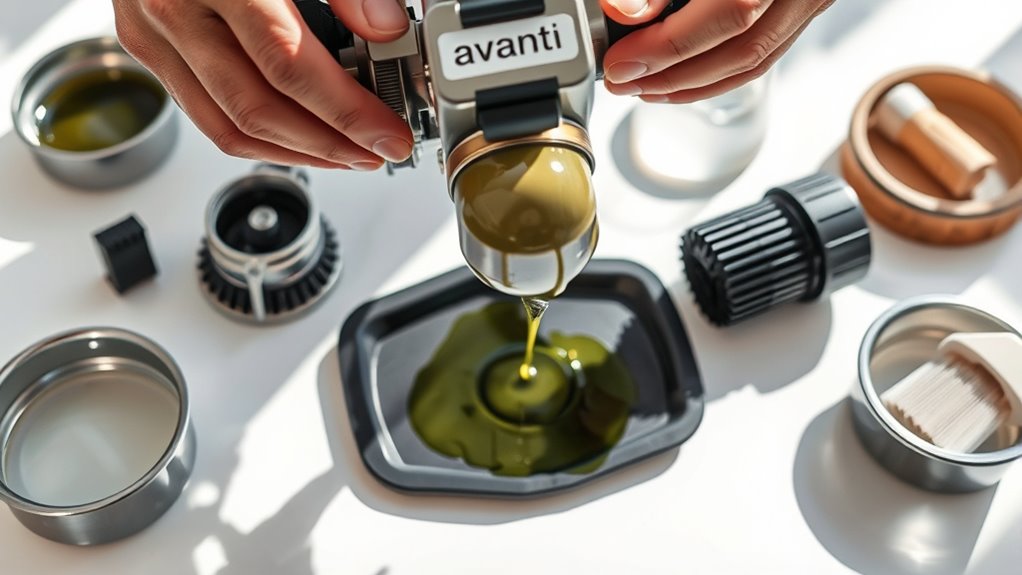
Before you begin flushing your Avanti paint sprayer, make sure to release the pressure and disconnect the spray gun from the hose. This step is essential to safely handle the sprayer during cleaning.
Next, run the sprayer at low pressure with water or solvent to push out any residual paint. Hold down the spray gun trigger to force paint from the nozzle and hose, minimizing leftover material that could clog the system.
Run the sprayer at low pressure with water or solvent, holding the trigger to clear residual paint from the nozzle and hose.
Wipe down the sprayer’s exterior to remove excess paint and prevent drying on the equipment. Finally, carefully remove and clean the spray tip and filters.
This preparation ensures your paint sprayer is ready for an effective flush, helping maintain its performance and prolong its lifespan.
Flush the System to Clear Remaining Paint
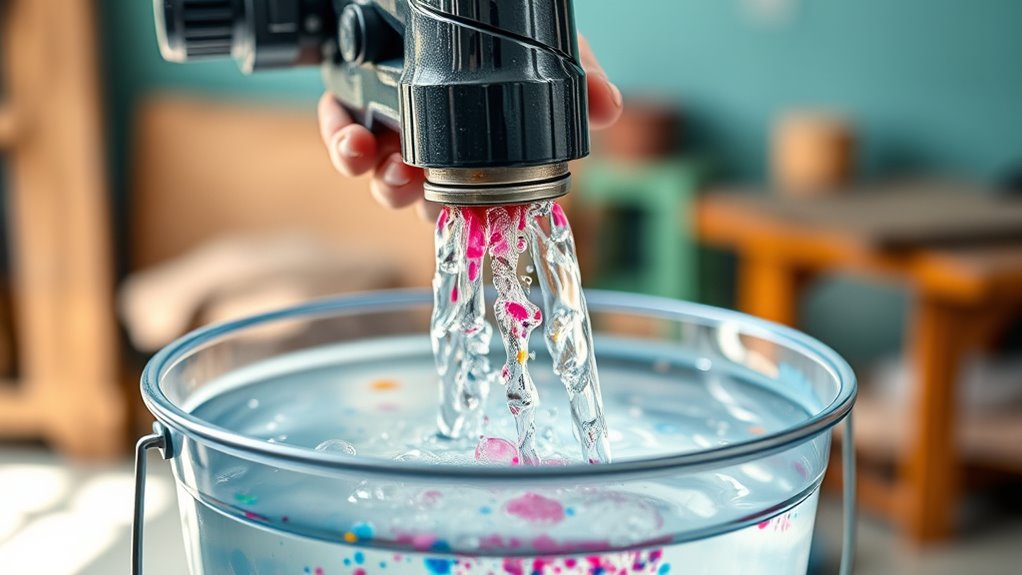
Once you’ve prepped your Avanti paint sprayer, turn it to full pressure and run the system for 20 to 30 seconds to flush out any remaining paint. Hold the spray gun firmly and move it quickly across a surface or into a bucket to make certain the airless sprayer’s system clears completely.
Use water or a suitable cleaning fluid, like windshield washer fluid, to effectively flush the system. Keep an eye on the fluid coming from the gun and return hose—when it turns blue, you know the paint is fully cleaned out.
Just be sure not to leave water inside the system afterward, as this can cause rust or freezing damage during storage. Flushing your system thoroughly ensures your sprayer stays in top condition for the next job.
Clean and Maintain Spray Tip and Filters
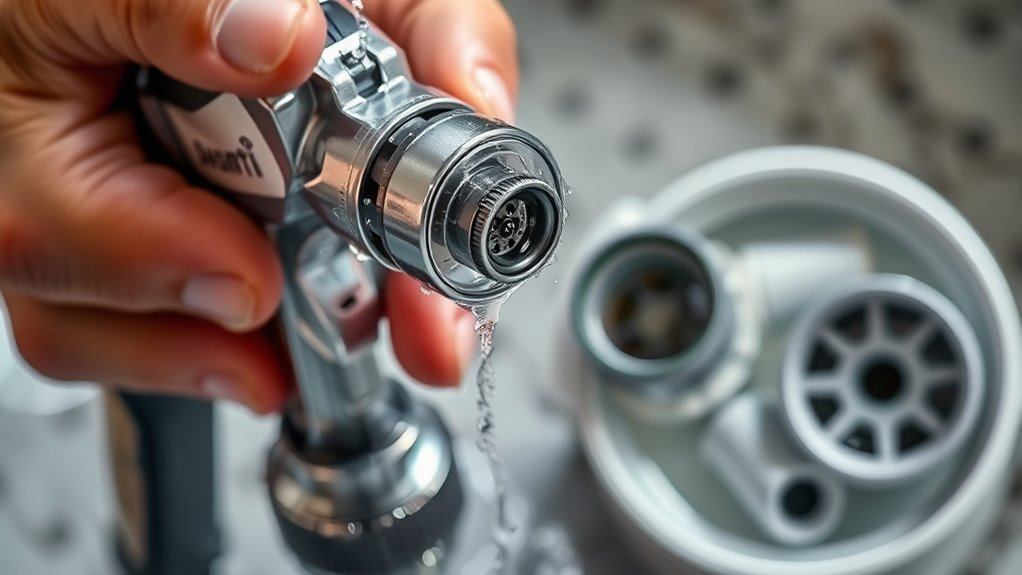
Although you’ve flushed the system, you’ll still need to clean the spray tip and filters to keep your Avanti sprayer working smoothly. Proper cleaning and maintenance prevent residue buildup that can clog your equipment.
Follow these steps:
Follow these steps to thoroughly clean your spray tip and filters for optimal sprayer performance.
- Remove the spray tip and soak it in warm water or solvent to loosen dried paint residue.
- Use a small brush or needle to clear blockages from the spray tip and filter screens carefully.
- Rinse both thoroughly with water or cleaning solution, then inspect filters for damage or clogging—replace if needed.
Finally, reassemble the spray tip and filters securely on the sprayer. This routine cleaning guarantees ideal fluid flow and extends the life of your Avanti paint sprayer.
Frequently Asked Questions
How to Clean an Avanti Paint Sprayer After Use?
You disconnect the spray gun and hose, then flush the system with water or solvent until clear.
Next, clean the tip and filter, wipe internal parts, and store the sprayer in a dry, heated spot with storage fluid.
It’s really important to make sure everything is spotless before putting it away. That way, your Avanti paint sprayer stays in great shape for the next job!
How Do I Properly Clean My Paint Sprayer?
You flush your sprayer with water or solvent at low pressure, then disassemble and brush the tip.
Clear the nozzle and filters, run clean fluid through hoses, and store it with protective cleaning fluid to prevent damage.
How Do You Get Buildup off Sprayer Nozzles?
You’ll blast away nozzle buildup like a hurricane by soaking it in warm, soapy water or mineral spirits. Then, scrub with a toothbrush and carefully clear clogged holes with a pin.
Rinse well to finish. It’s a simple process, but it really makes a difference in how your sprayer performs!
How to Prime an Avanti Airless Paint Sprayer?
To prime your Avanti airless sprayer, start by submerging the suction hose in the paint or fluid you’re using. Next, set the valve to the prime position.
Turn on the sprayer and pump it until you see the fluid flowing steadily through the hose. Once the flow is steady, switch the valve to spray mode.
Pump briefly a few more times to clear any air from the system. And that’s it—your sprayer is primed and ready to go!
Conclusion
Cleaning your Avanti paint sprayer is as invigorating as a cool breeze on a hot day. By removing leftover paint and flushing the system thoroughly, you keep everything running smoothly. Plus, caring for the spray tip and filters helps maintain top performance.
This simple routine not only extends the life of your sprayer but also ensures every spray comes out smooth and flawless. Imagine tackling your next project with a tool that works like new every time.
Remember, a little maintenance goes a long way! Keeping your Avanti paint sprayer clean means less clogging, better paint flow, and a professional finish every time you use it. So, make cleaning your sprayer a quick and easy habit — your projects will thank you for it!