How You Spray Paint Aluminum Step by Step
To spray paint aluminum, start by thoroughly cleaning the surface with soap and water to remove grease and dirt. This step is crucial because any residue can prevent the paint from sticking properly.
Once clean, sand the area using 320-400 grit sandpaper to create a rough texture that helps the paint adhere better.
After sanding, rinse the aluminum and dry it completely. Next, apply a chemical etching solution like phosphoric acid and let it sit for about 30 minutes. This process helps prepare the surface by creating tiny pores for the primer to grip onto.
Once done, rinse the aluminum again and wait until it dries to a dull finish.
Now, use a self-etching primer applied in thin coats. Remember to sand lightly between each layer to keep the surface smooth.
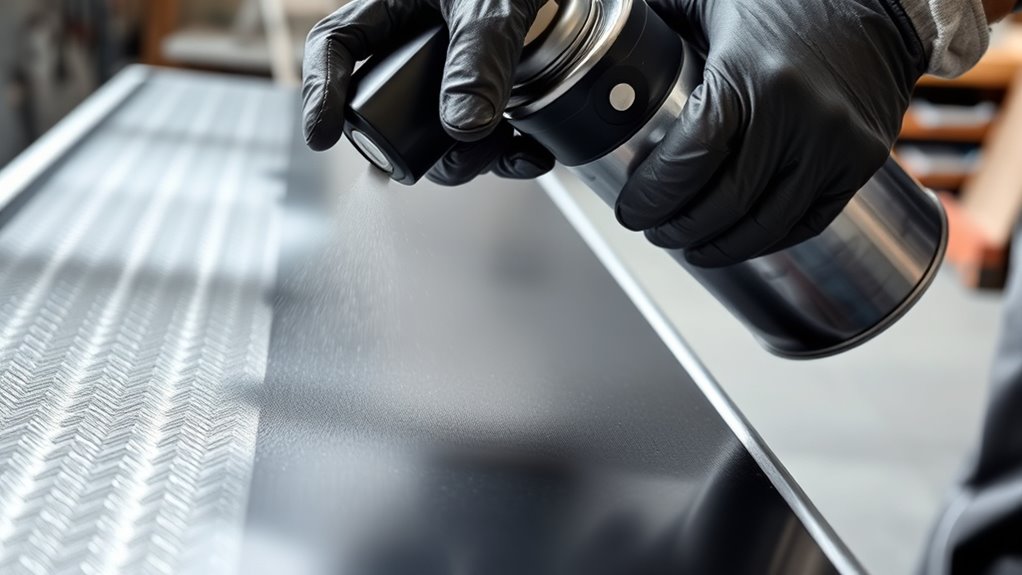
Finally, spray paint the aluminum in light, even coats to avoid drips and achieve a professional finish. Keep following for detailed tips on perfecting your finish!
Key Takeaways
– Clean the aluminum surface thoroughly with soap, water, and a scouring pad to remove grease, dirt, and any protective film.
This step is super important to make sure the paint sticks well.
– Sand the surface with 320-400 grit sandpaper, rinse off dust, and dry completely to create a rough texture for better adhesion.
You want it just rough enough so the paint grabs onto the metal.
– Apply a chemical etchant like phosphoric acid for 30 minutes, rinse well, and air dry until the surface looks dull and whitish-gray.
This helps the primer bond better to the aluminum.
– Spray multiple thin coats of self-etching primer, allowing 15 minutes drying time between coats, then lightly sand for smoothness.
Don’t rush this part—thin coats are key to avoid drips.
– Use overlapping, sweeping strokes to spray thin paint coats, waiting 15-30 minutes between layers for an even, durable finish.
Keep it light and steady for the best results!
Preparing the Aluminum Surface
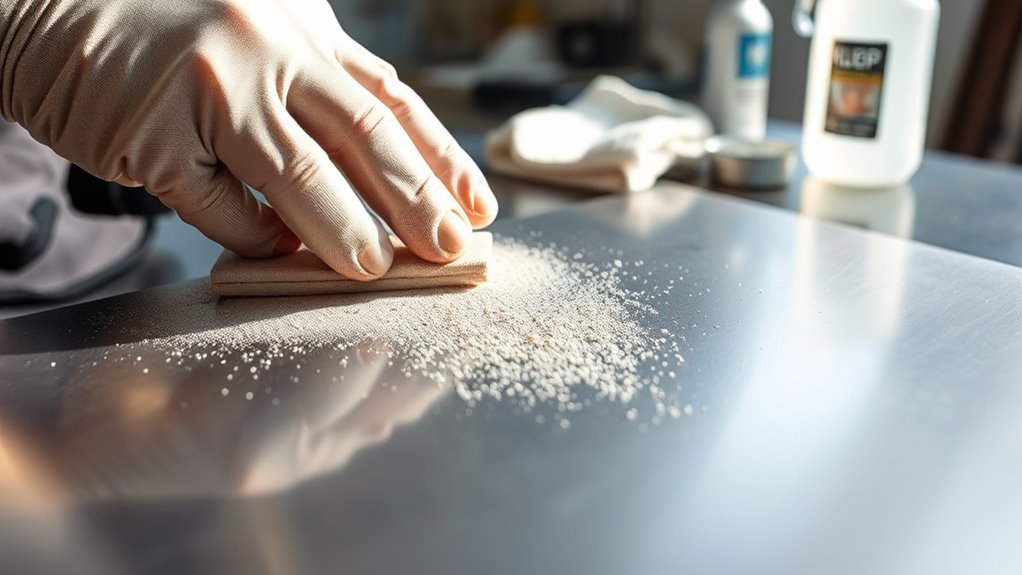
Before you start painting, you need to prepare the aluminum surface properly to guarantee the paint adheres well. Begin surface prep by thoroughly cleaning with soap, water, and a scouring pad to remove grease, dirt, and any protective film.
Properly cleaning aluminum with soap, water, and a scouring pad is essential before painting.
Next, sand the aluminum using 320-400 grit paper to create a uniform matte finish and roughen the surface, improving adhesion. After sanding, rinse to remove dust and debris, then dry completely with a clean cloth or air dry.
Apply a chemical etchant like phosphoric acid or naval jelly, letting it soak for about 30 minutes to convert aluminum oxide into a bonding-friendly layer. Rinse again and air dry until the surface looks dull, whitish-gray with a light pink tint.
This careful prep ensures a smooth finish and ideal primer bonding. It might seem like extra work, but trust me, it really makes a difference!
Applying Primer and Paint Coats
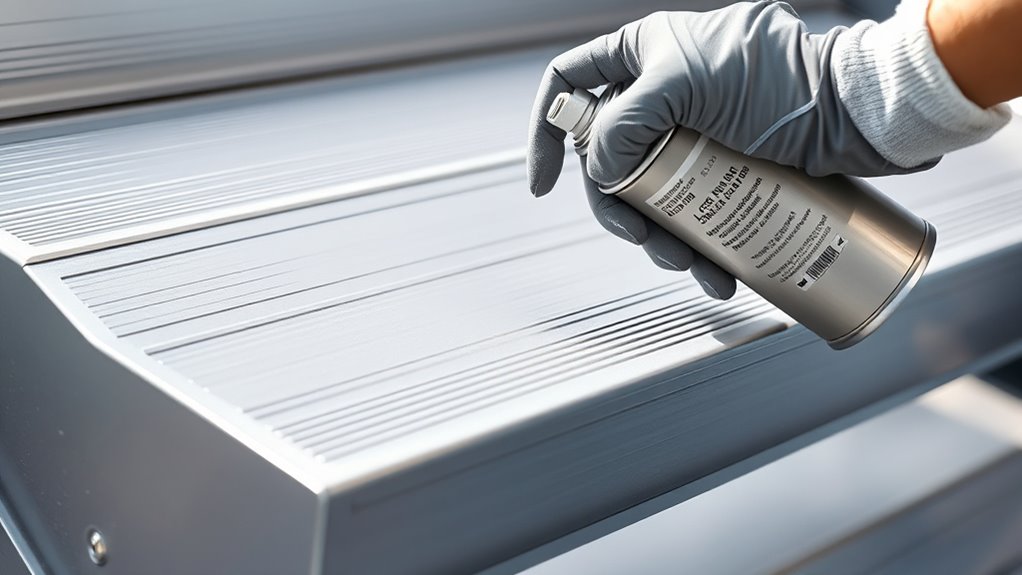
Once you’ve prepared the aluminum surface, you’ll want to apply a self-etching primer in thin, even coats. Let each coat dry for about 15 minutes before adding the next. Multiple light coats ensure better adhesion and avoid drips.
After the primer dries, lightly sand with fine-grit paper to smooth the finish and improve paint adhesion.
When applying paint, use overlapping, sweeping strokes for even coverage. Allow 15-30 minutes drying time between thin coats to build a durable finish.
| Step | Key Tips |
|---|---|
| Primer | Thin coats, 15 min drying |
| Sanding | Fine-grit, smooth finish |
| Paint | Even strokes, thin coats |
This method guarantees a professional, long-lasting finish on aluminum.
Frequently Asked Questions
What Are the Common Mistakes When Painting Aluminum?
You often mess up by not cleaning or sanding aluminum, skipping primer, applying thick coats, and rushing drying times. These mistakes cause poor adhesion, flaking, runs, and peeling, ruining your paint job’s durability and finish.
Make sure to clean and sand the aluminum properly before you start. Skipping these steps is a common error that leads to paint not sticking well.
Don’t forget to use a primer—it helps the paint adhere better and last longer. Applying thick coats might seem quicker, but it often results in runs and uneven drying.
Also, be patient and give each coat enough time to dry. Rushing the drying process can cause peeling later on. Taking your time really pays off in the end!
What Kind of Spray Paint Will Stick to Aluminum?
You’ll want spray paints labeled for metal or outdoor use since they’re designed to stick well to aluminum.
Using a self-etching or zinc phosphate primer before painting also helps the paint adhere better and last longer. It’s definitely worth the extra step to get a smooth, durable finish.
What Type of Paint Is Best for Spraying on Aluminum?
You want paint that hugs aluminum like a second skin—epoxy, acrylic, or enamel designed for metal surfaces work best. They bond tightly, resist rust, and keep your finish shining through rain or shine without peeling or fading.
These paints are specially made to stick well to aluminum. Plus, they handle the weather like champs. So, your project stays looking sharp for a long time.
What Type of Paint Is Best for Painting Aluminum?
You’ll want to use oil-based or epoxy paints for aluminum because they stick well and last long. Self-etching primers help, and metal-specific spray paints like Krylon or Rust-Oleum are great choices too.
These paints are designed to bond with the slick surface of aluminum, so your finish stays put without peeling or chipping. Plus, using a primer first can really make a difference in durability and appearance.
Conclusion
Now that you’ve mastered spraying paint on aluminum, remember that proper prep can boost paint adhesion by up to 50%. Taking your time to clean and prime the surface guarantees a smooth, long-lasting finish.
With each careful coat, you’re not just painting—you’re protecting and enhancing your aluminum piece. So, keep these steps in mind, and you’ll get professional-looking results every time.
By following this step-by-step guide on how to spray paint aluminum, you ensure your project is both durable and visually stunning. Proper surface preparation, the right primer, and multiple thin coats make all the difference. This method not only improves paint adhesion but also prevents peeling and chipping over time.
Spray painting aluminum correctly transforms your piece into a long-lasting, beautiful work of art. Stick with these tips, and you’ll enjoy a flawless finish every time you spray paint aluminum.