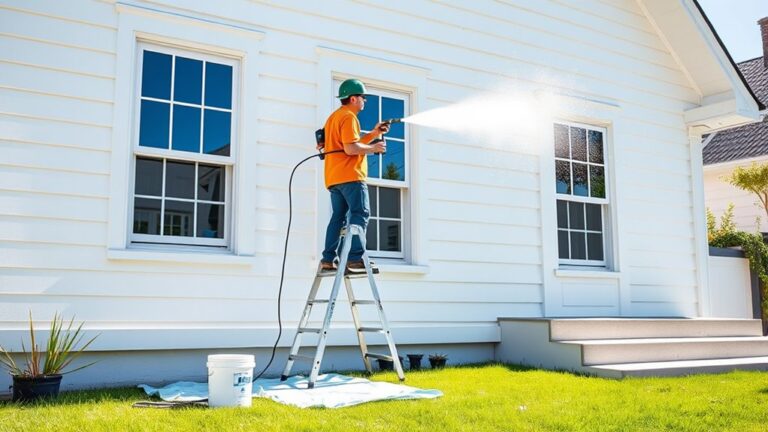
Is It Hard to Use a Paint Sprayer?
Using a paint sprayer isn’t hard once you get the hang of it. It’s a great tool that can make painting faster and give a smooth, professional finish. To start, you’ll want to prepare by cleaning surfaces thoroughly and thinning paint properly.
With some practice spraying on scrap material, you’ll get a feel for how the sprayer works. Adjusting your technique as you go will help you control the spray better.
Holding the sprayer correctly and applying thin, overlapping coats is key. This approach helps prevent drips and overspray, making your job easier.
Keep at it, and you’ll discover simple tips that save time and make your project look amazing. Before you know it, using a paint sprayer will feel natural and rewarding.
Key Takeaways
- Paint sprayers are generally easy to operate once you follow the manufacturer instructions and get some practice on scrap material. It might seem tricky at first, but you’ll get the hang of it quickly.
- Proper surface and paint preparation is key. This means cleaning the surface well and thinning the paint if needed to get that smooth spray.
- You’ll want to adjust the spray pattern and control the nozzle settings to make sure you get even coverage. This also helps reduce overspray, which can be a pain.
- Hold the sprayer about 10-12 inches from the surface, and apply several thin coats instead of one thick one. That way, your finish will look way better.
- Honestly, with a bit of practice and the right setup, even beginners can get professional-looking results pretty efficiently. It’s definitely doable!
Ease of Learning and Operating a Paint Sprayer
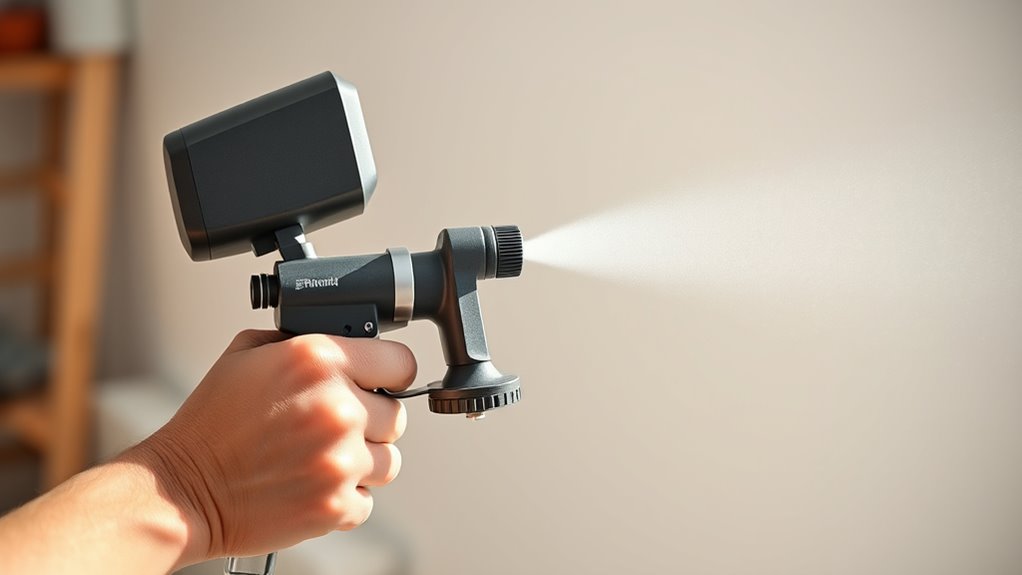
Although paint sprayers might seem complicated at first, you’ll find they’re quite easy to use once you follow the manufacturer’s instructions.
When using a spray gun for the first time, make sure to adjust the spray pattern to fit your project. Take time to practice spraying on scrap material before tackling your actual surface. This helps you get familiar with the tool and understand how the paint flows.
Lay down a drop cloth to protect your workspace from overspray. Paint sprayers require less physical effort compared to brushes, making the process smoother.
After your first coat, allow it to dry completely before applying a second coat for an even finish. With basic DIY skills and attention to setup, you’ll quickly master operating a paint sprayer.
Essential Preparation for Successful Spraying
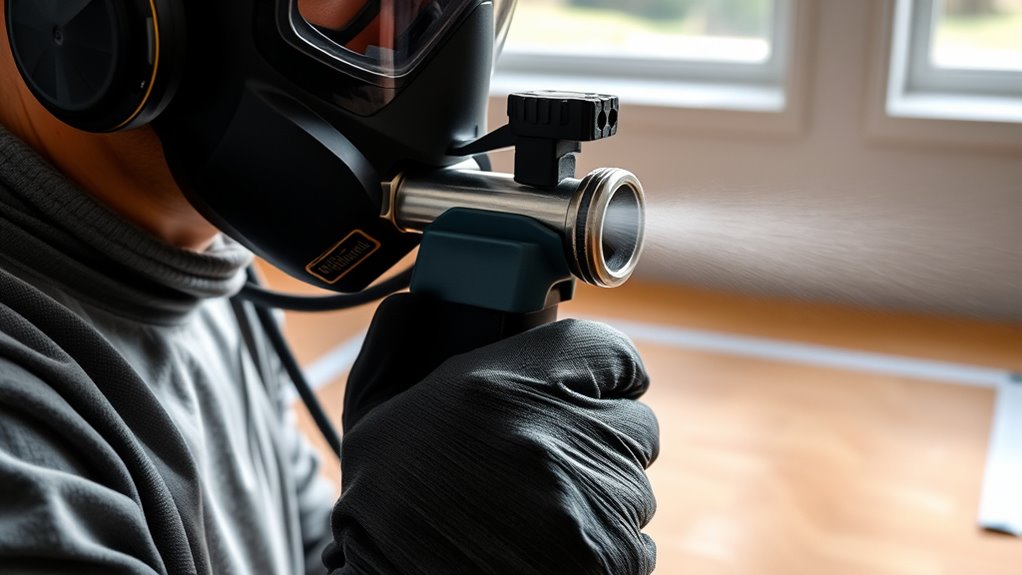
Before you start spraying, you need to prepare both your paint and surface carefully to guarantee a smooth, even finish. Begin by thoroughly cleaning and drying the surface to ensure proper adhesion.
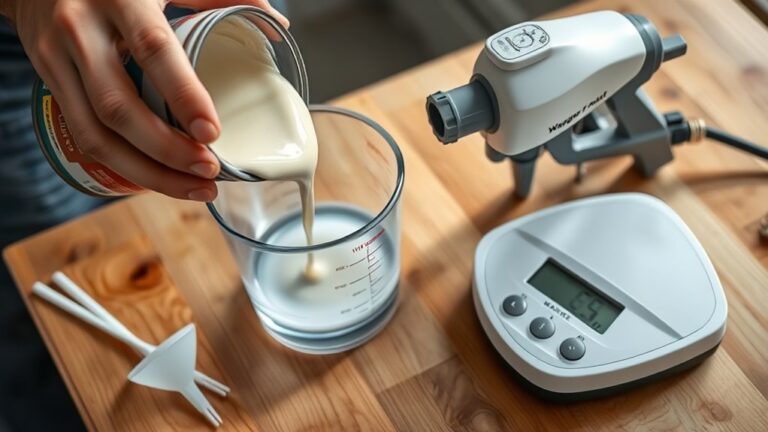
Next, check the paint consistency—thin it as recommended to prevent clogging. Follow the sprayer’s setup instructions closely for peak performance.
To get comfortable with the proper technique, practice spraying on scrap material first. Also, perform a test spray and adjust the nozzle to achieve an even pattern and coverage.
Key preparation steps include:
- Thoroughly clean the surface
- Adjust paint consistency
- Test spray and nozzle adjustment
- Practice spraying with proper technique
These steps are essential for effective surface preparation and a successful paint job.
Tips for Achieving a Professional Finish
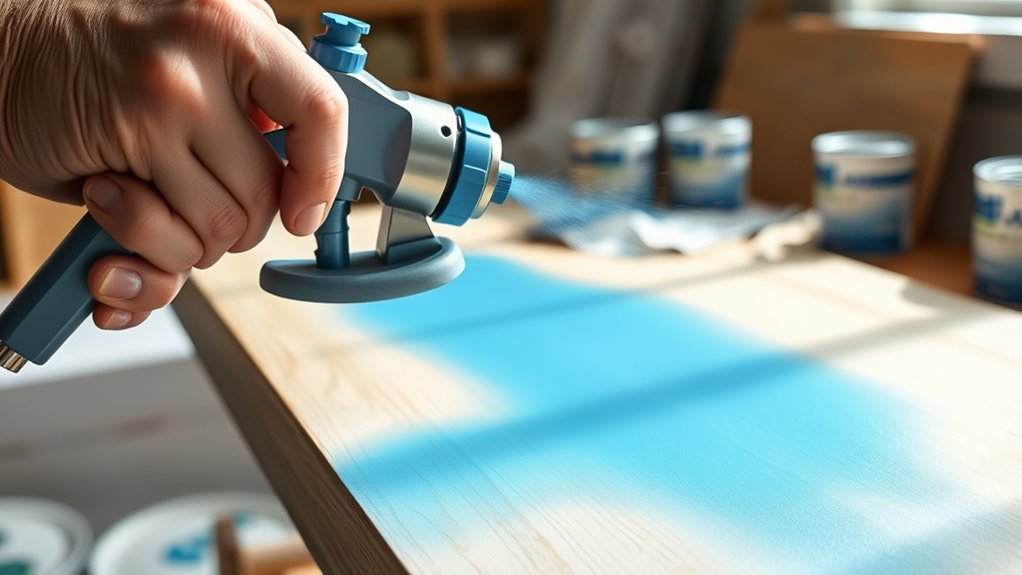
When you apply multiple thin coats with your paint sprayer, you’ll reduce drips, runs, and uneven textures. This results in a smoother, more professional finish.
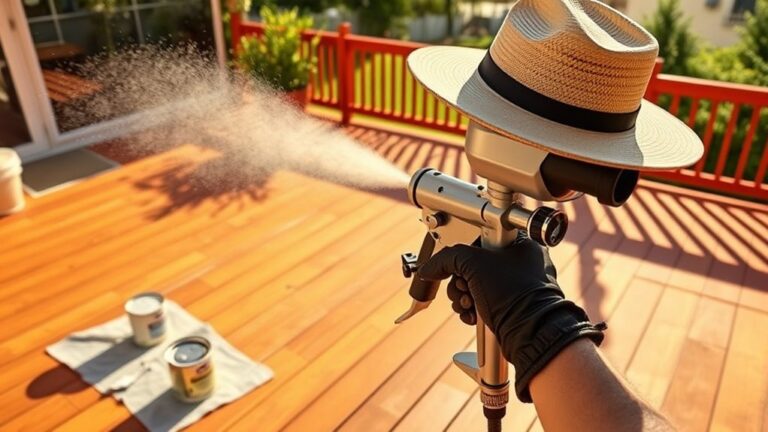
It’s a good idea to always start with a light spray, holding the sprayer about 10-12 inches from the surface. Be sure to overlap each pass by half the fan width to ensure even coverage without gaps.
After the first coat dries, go ahead and paint the next thin coat instead of one heavy layer. Applying two coats or more uses much less paint overall and dries much faster.
Before you jump in, practice on scrap material to refine your technique and control spray flow. Also, proper masking helps minimize overspray and keeps cleanup easy.
Frequently Asked Questions
Can a Beginner Use a Paint Sprayer?
Yes, you can use a paint sprayer as a beginner. Just follow the instructions carefully and practice on some scrap material first.
Make sure to adjust the settings properly before you start. It’s best to begin with small projects.
With a bit of patience and some technique, you’ll be able to achieve a smooth, professional finish in no time!
Is It Worth Getting a Paint Sprayer?
Getting a paint sprayer is like upgrading from a bike to a motorcycle—it’s totally worth it.
You’ll finish projects faster, get smoother results, and enjoy cleaner edges.
It makes your painting feel professional and efficient.
What Are the Downsides of Paint Sprayers?
You’ll deal with overspray, extra masking, and more cleanup. It’s easy to get drips or uneven coverage if you’re not careful, plus paint usage can be higher.
Regular cleaning is a must to avoid clogs. It might sound like a lot, but with a bit of practice, you’ll get the hang of it!
Do Professional Painters Use Spray Guns?
Yes, professional painters use spray guns because they speed up coverage and create smooth, even finishes.
You’ll find they adjust settings precisely and prepare surfaces carefully to avoid overspray and achieve sharp, clean lines.
Conclusion
You might think using a paint sprayer is tough, but once you prepare properly and practice a bit, it’s surprisingly straightforward. Coincidentally, the same patience you use when setting up your workspace mirrors the care needed for a smooth finish.
So, don’t let fear hold you back—embrace the process, and you’ll find that mastering a paint sprayer isn’t just doable, it’s actually pretty rewarding. With the right technique and a little practice, achieving a professional-looking paint job becomes much easier than you might expect.
Give it a shot! Using a paint sprayer can save you time and effort, making your painting projects more efficient and enjoyable. Once you get comfortable, you’ll wonder why you ever hesitated to try it.