How You Can Spray Paint Artificial Flowers Step by Step
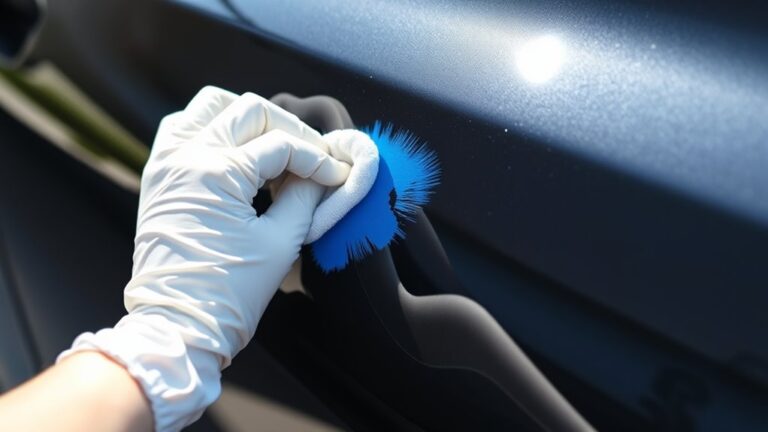
Start by gently cleaning your artificial flowers with a damp cloth and let them dry completely.
Removing dust and dirt is key to getting a smooth finish when you spray paint artificial flowers.
Next, remove any unwanted leaves or petals, and use painter’s tape to protect areas you don’t want painted.
This helps keep your design neat and prevents accidental splashes of paint.
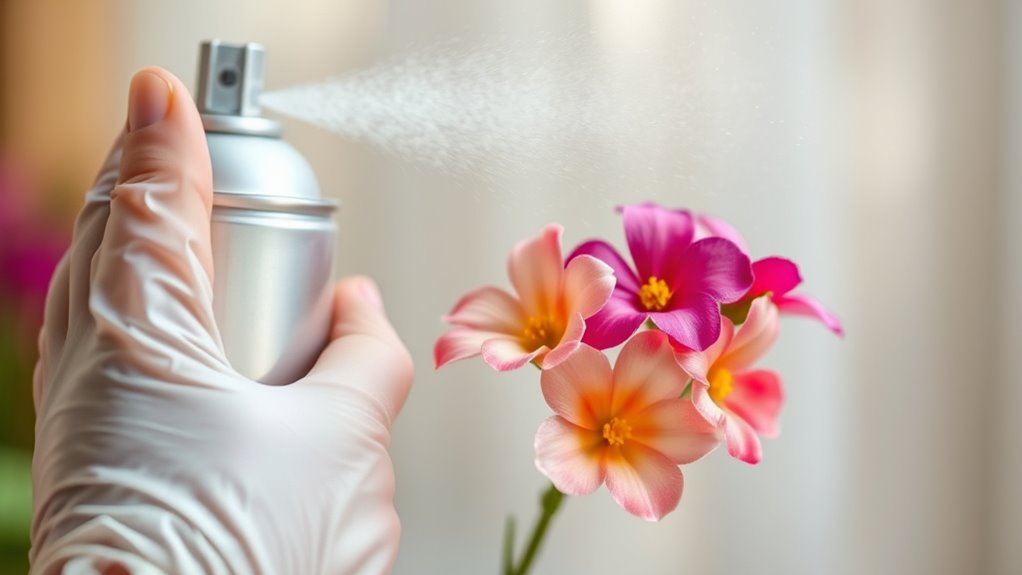
Hold your spray can about 20-30 cm away, spraying in smooth, sweeping motions with light, even coats.
Taking your time with each layer ensures the paint doesn’t drip or clump.
Allow each layer to dry fully before adding the next.
This careful prep and technique guarantee a vibrant, professional look.
Keep going to discover how to perfect this process further.
You’ll be amazed at how easy it is to transform artificial flowers with just a few simple steps!
Key Takeaways
- Clean artificial flowers gently and let them dry completely to ensure paint adheres properly. This step is super important to get a smooth finish.
- Remove unwanted leaves or petals and mask stems with painter’s tape for a neat finish. It helps keep things looking clean and professional.
- Hold spray can 20-30 cm away and use sweeping motions to apply multiple thin coats evenly. Don’t rush! Thin layers dry better.
- Allow each coat to dry fully before applying the next to avoid drips and uneven coverage. Patience really pays off here.
- Spray in a well-ventilated area while wearing protective gear for safety and best results. Safety first, always!
Preparing and Cleaning Artificial Flowers for Painting
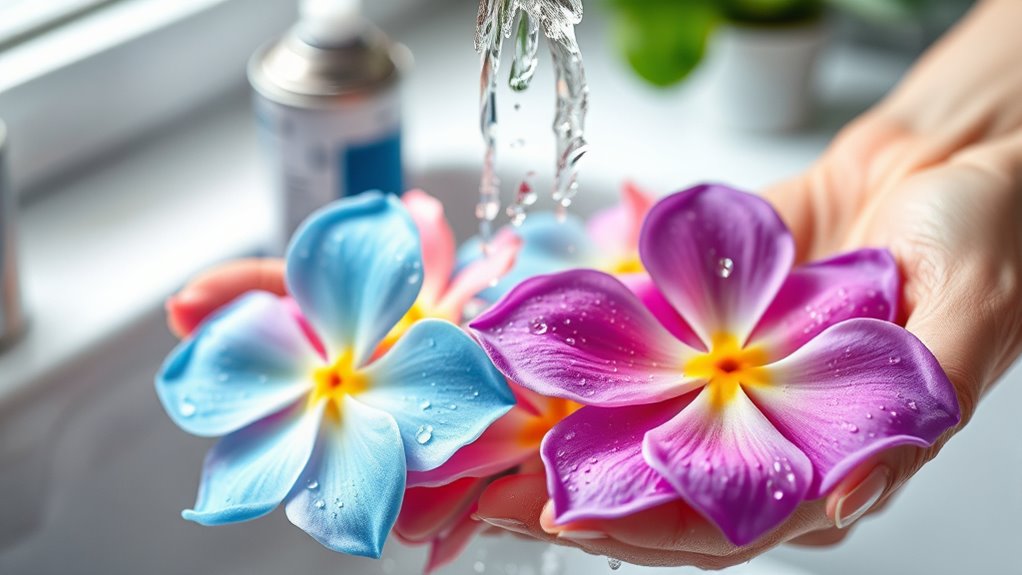
Before you start spray painting artificial flowers, make sure to clean them thoroughly. Gently dust or wipe with a damp cloth to remove surface dirt.
If your flowers are heavily soiled, wash them carefully using mild soap in a sink. Just be careful not to lose petals—using a trap or strainer can help with that.
Once cleaned, allow the flowers to dry completely in a well-ventilated area. This step is important to ensure proper paint adhesion and to prevent smudging.
Remove any leaves or petals you don’t want painted to keep a clean surface. And if you want to protect stems or specific parts from paint, use painter’s tape for precise coverage.
Taking these steps prepares your artificial flowers effectively. This way, the paint sticks evenly and your final result looks professional and vibrant.
Applying Spray Paint: Techniques and Tips
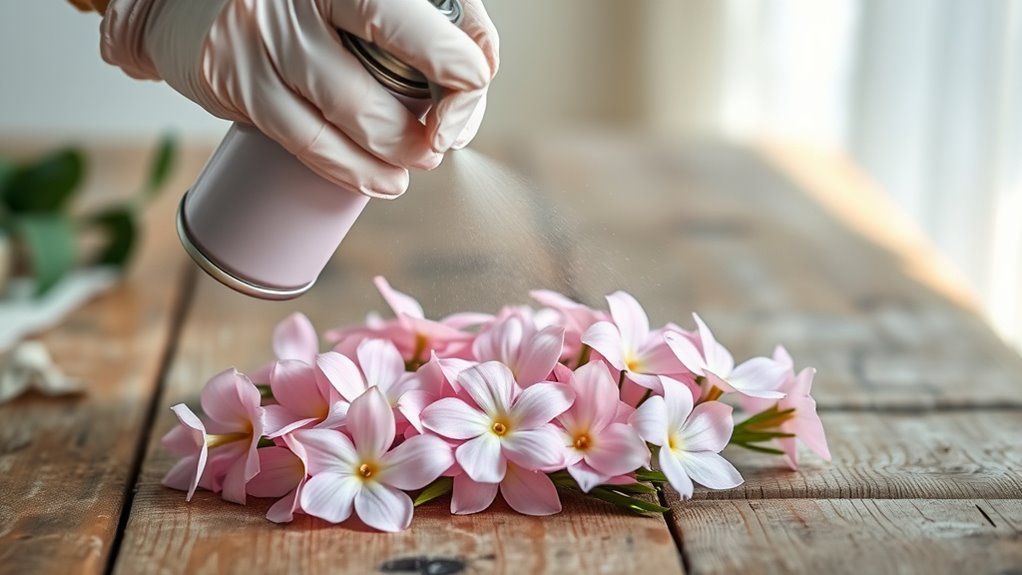
When you start applying spray paint, hold the can about 20-30 centimeters away from your artificial flowers. This helps you get an even, thin coat that won’t drip or clump.
Use light coats with sweeping motions, keeping the can moving to ensure even coverage and prevent drips. Apply multiple thin coats, letting each dry fully for proper adhesion and a smooth finish.
Proper cleaning beforehand really helps enhance paint adhesion and coverage. Also, make sure to spray in a well-ventilated space, and don’t forget to wear protective gear for safety.
| Technique | Purpose |
|---|---|
| Hold can 20-30 cm | Even, thin coats |
| Move can continuously | Avoid paint buildup |
| Light, sweeping coats | Prevent drips, ensure coverage |
| Let coats dry | Better adhesion, smooth finish |
Frequently Asked Questions
What Is the Best Way to Paint Artificial Flowers?
The best way to paint artificial flowers is to clean them first. This helps remove any dust or oils that might prevent the paint from sticking properly.
Then, use light, even coats of water-based spray paint from about 20-30 cm away. You want to apply multiple thin layers instead of one thick one.
Make sure to let each layer dry completely before adding the next. This technique will give you a smooth, professional finish that looks great.
Can You Spray Artificial Flowers?
Absolutely, you can spray artificial flowers to breathe new life into them. Just treat them gently—choose the right paint, test first, and apply thin coats.
This way, your blooms stay vibrant without wilting under the spray’s touch. It’s pretty simple once you get the hang of it!
What to Spray on Fake Flowers to Make Them Look Real?
You’ll want to spray light, even coats of matte or craft spray paint made for plastics or fabrics. Choose soft, natural colors like pastels, avoiding glossy or metallic finishes to keep your fake flowers looking real.
Spraying in thin layers helps avoid clumps and keeps the texture delicate. Plus, it makes the colors look more natural, almost like real petals. Just be patient and let each coat dry before adding another.
How to Spray Paint Flowers?
Think of spray painting flowers like dressing them for a party—you’ll want to hold the can 20-30 cm away, apply thin coats, and let each dry.
Make sure to protect the stems with tape to keep things neat and vibrant.
This way, your flowers will look fresh and colorful without any messy spots.
Conclusion
Now that you’ve prepped and painted your artificial flowers, imagine them glowing with fresh, vibrant colors—each petal catching the light like a tiny masterpiece. You’ve transformed plain blooms into eye-catching accents that brighten any room.
With just a few simple steps, you’ve breathed new life into your flowers, making them uniquely yours. Spray painting artificial flowers is a fun and easy way to customize your décor.
So go ahead, enjoy your colorful creations and watch how they effortlessly bring joy and beauty wherever they bloom. Your spray-painted artificial flowers are now ready to add charm and a pop of color to your space!