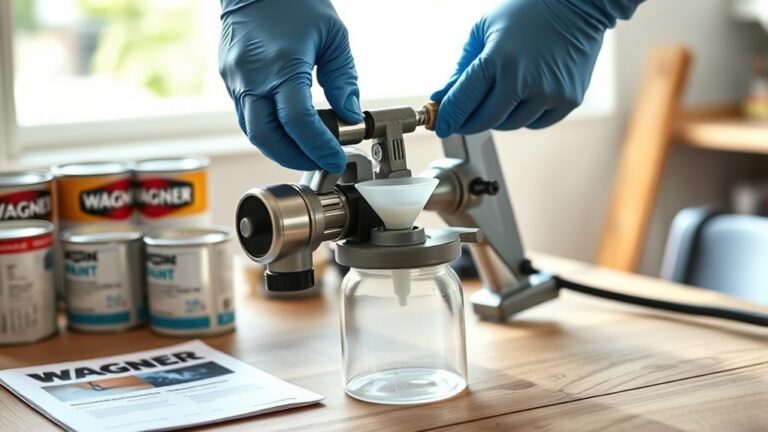
How to Prime a Paint Sprayer in 10 Easy Steps
To prime your paint sprayer, first make sure it’s powered off and the pressure dial is set to zero. This step is crucial to avoid any sudden sprays or accidents.
Next, securely attach the paint hose and spray gun so everything is tightly connected.
Prepare your paint by straining it to remove any lumps or debris. Then, fill the container with the prepared paint and connect the suction hose. This ensures a smooth flow of paint when you start spraying.
Turn on the sprayer at low pressure and open the priming valve to release any trapped air inside. You’ll want to watch the paint flow through the drain tube, signaling that air is out and paint is ready to go.
Once you see steady paint flow, close the valve and reattach the drain tube.
Finally, adjust the pressure to the desired level and you’re ready to start spraying smoothly. Keep following for detailed tips on perfecting your spray finish and getting professional results every time!
Key Takeaways
- Ensure sprayer is powered off, trigger locked, and pressure control set to zero before starting the priming process.
- Mix and strain paint thoroughly, then securely attach the suction hose fully submerged in paint.
- Switch the sprayer to prime mode and open the priming valve to release air and allow paint flow.
- Pull the trigger while holding the priming valve open until a steady stream of paint flows smoothly.
- Close the priming valve, gradually increase pressure, and test spray on a scrap surface for optimal pattern.
Ensure the Sprayer Is Powered off

Before you begin priming your paint sprayer, make certain it’s completely powered off and unplugged. You don’t want any chance of the sprayer accidentally turning on as you prepare it.
Confirm that the main power switch is in the off position and that the unit is disconnected from the power source. Next, check the spray gun trigger and lock it to prevent accidental activation.
Ensure the main power is off and lock the spray gun trigger to prevent accidental activation.
It’s equally important to set the pressure control to zero to avoid sudden pressure spikes when assembling or priming. Finally, double-check that all safety devices, including spray guards and tips, are properly installed.
Taking these steps ensures your paint sprayer is safely powered off and ready for priming without risk. Better safe than sorry, right?
Assemble the Paint Hose and Spray Gun Securely
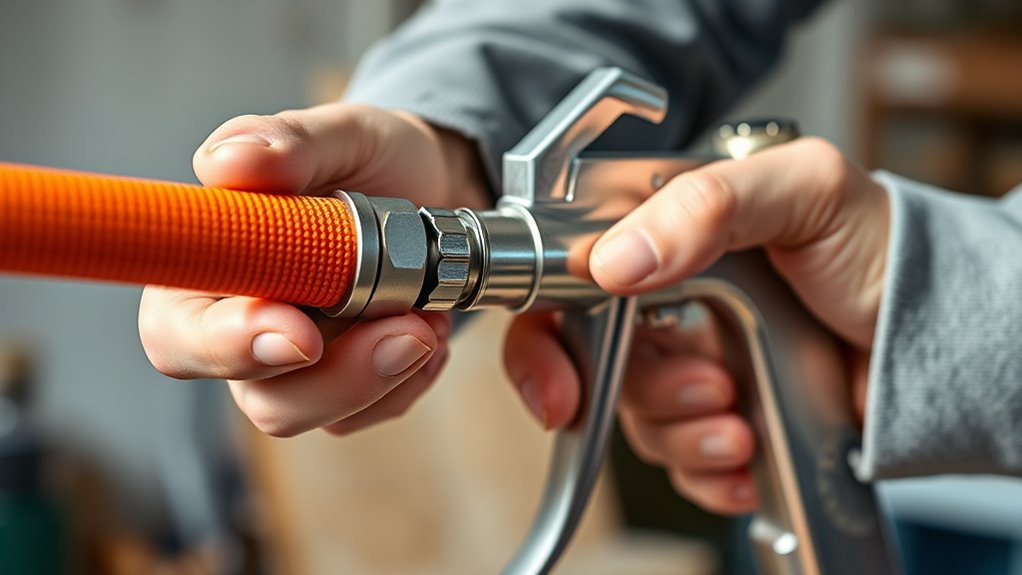
Before you start, make sure the paint hose is firmly attached to the sprayer with no loose fittings. Then, connect the spray gun to the other end of the hose, ensuring all threads are tight.
Double-check that seals are secure to prevent any leaks during use. You don’t want any surprises once you get going!
Attach Hose Firmly
How tightly should you attach the paint hose to the sprayer and spray gun? You need to attach the hose firmly to make certain of a secure, leak-free connection. This is critical for effective priming.
Start by checking that the paint hose is clean and free from debris. Align the threads carefully when connecting the spray gun to avoid cross-threading or damage. Use a wrench or spanner to tighten all fittings securely, but avoid over-tightening which can cause damage.
Before attaching the hose, verify the spray guard and tip are properly installed and seated on the gun. Double-check every connection to prevent leaks during operation. A secure connection guarantees consistent paint flow and smooth priming, setting you up for a successful spray job.
Connect Spray Gun
After securing the hose firmly, the next step is to connect the spray gun. First, make sure the spray gun is completely disassembled by removing the spray tip and guard. This makes assembly easier and safer.
Next, attach the spray hose securely to the spray gun. Use a wrench or spanner to tighten the connection properly, so you avoid leaks. Engage the trigger lock on the spray gun during this process to prevent accidental spraying.
Then, connect the other end of the hose to the sprayer, ensuring all fittings are tight and secure. Taking these steps to connect the spray gun correctly will help you achieve a smooth, leak-free operation when you start priming your paint sprayer.
Verify Tight Seals
Although you’ve connected the hose and spray gun, you still need to verify that all seals are tight and secure to prevent leaks. Start by ensuring the paint hose fittings are tightly connected to both the sprayer and spray gun.
Use a wrench or spanner to firmly tighten these connections, which helps avoid leaks during priming. Next, check that all seals and gaskets are properly seated and in good condition—any damage here can cause air leaks and affect performance.
Also, confirm the spray guard and tip are correctly installed and tightened to maintain a proper seal. Taking these steps ensures your paint sprayer operates smoothly without accidental disconnections or leaks, setting you up for a successful priming process.
Prepare the Paint for Spraying
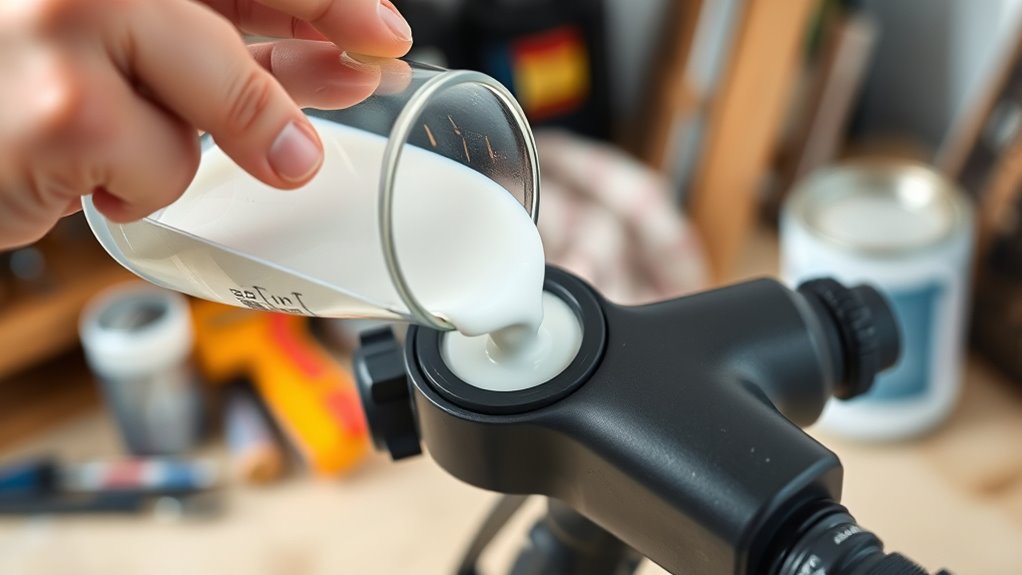
Before you start priming, make sure to mix the paint thoroughly for even consistency. If the paint has been sitting for a while, strain it through a mesh filter to remove any debris.
Then, pour the clean paint into a priming container and securely attach the suction hose with its strainer. This way, you’re all set for a smooth spraying process!
Paint Mixing Essentials
When preparing paint for spraying, you’ll want to strain it through a mesh filter to remove any debris and guarantee a smooth flow. Before that, thorough mixing is essential. Stir the paint well to achieve a consistent color and texture, preventing clumps or separation.
Using low VOC tint exterior paint helps with sprayability and safety during this process. Check the paint’s viscosity—if it’s too thick, add thinning agents as per the manufacturer’s instructions to reach the right consistency.
Proper mixing ensures the paint sprays evenly and adheres well, making your priming job easier and more effective. Once mixed, the paint will be ready to move forward in your priming project with confidence and ease.
Straining and Decanting
Once you’ve mixed your paint thoroughly to a smooth consistency, straining it helps remove any debris or lumps that could clog your sprayer. Use a fine mesh filter or strainer to catch impurities, ensuring the paint flows smoothly during priming.
Next, decant the filtered paint into a clean, dry container like an IQ bucket. This step reduces contamination and makes it easier to pour the paint into your sprayer.
Be sure your straining and decanting tools are spotless and free from old paint residues to avoid defects. Keeping everything clean guarantees consistent paint quality and protects your sprayer from clogs.
Proper straining and decanting prepare your paint for a flawless priming process, giving you the smooth finish you want.
Fill the Paint Container and Attach the Suction Hose
To guarantee smooth operation, start by thoroughly mixing your paint to achieve a consistent color and texture, then strain it if it’s been sitting unused to remove any debris.
Next, carefully fill the paint container and attach the suction hose. Make sure to securely connect the suction hose with its strainer into the filled paint container until it clicks in place.
Double-check that the hose connection is tight to prevent leaks, which could interrupt suction during priming. Also, ensure the suction hose is fully submerged in the paint to avoid air entering the system.
Set the Pressure Dial to Zero and Select Prime Mode
Before you start priming, turn the pressure dial on your sprayer to zero to prevent accidental spraying. Make sure the sprayer is powered off before adjusting.
Next, switch your machine to prime mode using the designated control. This setting allows paint to flow without pressurizing the spray gun. It helps protect the spray tip and spray pattern from damage.
Before engaging prime mode, ensure the spray gun trigger lock is on. Also, check that the spray guard and tip are properly installed to avoid hazards.
| Step | Reason |
|---|---|
| Pressure dial to 0 | Prevents accidental paint discharge |
| Prime mode selected | Enables paint flow without spray pressure |
| Trigger lock engaged | Avoids unintentional spray gun activation |
This careful setup ensures a smooth priming process.
Open the Priming Valve or Release the Priming Ball
Locate the priming valve on your sprayer and turn it counterclockwise to open it fully.
Next, press or release the priming ball to let air and excess paint escape. This helps the pump fill properly.
Doing this step ensures your sprayer is ready to work smoothly without dry running. Easy, right?
Locate the Priming Valve
Although the priming valve or release ball is often tucked near the pump or pressure control area, you’ll want to identify it carefully before starting.
Locating the priming valve is vital to ensure smooth paint flow and proper priming. Before you begin, make sure your sprayer is turned off and unplugged for safety.
Look for the priming valve by checking near the pump or pressure control section. It’s usually a small valve or button designed to release air.
Also, check any components labeled or indicated in the user manual. That can save you some hunting around.
Once you’ve found it, you’ll use this priming valve to control air escape and paint flow during priming. Remember, closing the valve once paint flows smoothly confirms successful priming.
Engage the Priming Ball
To engage the priming ball, press or open the priming valve to let paint flow into the pump. This second step is vital to make sure your airless sprayer is filled correctly before you start spraying.
Pull the trigger while holding the priming ball release to draw paint in. This prevents air leaks and ensures high pressure.
Once primed, release the valve to stop flow. Then, adjust pressure and choose the right tip size for less overspray and to spray stain or paint more efficiently.
This process helps a brand new or cleaned sprayer work a lot better.
| Action | Purpose |
|---|---|
| Press priming valve | Let paint into the pump |
| Pull trigger | Draw paint through sprayer |
| Release priming ball | Stop flow before spraying |
| Adjust pressure & tip | Control spray, reduce overspray |
Turn On the Sprayer at Low Pressure
Before you start spraying, make sure the sprayer is plugged in and the main power switch is on. Next, set the pressure control dial to its lowest setting to avoid over-pressurizing the system.
Then, switch the spray gun to prime mode or release the ball valve if your model has one. Hold the spray gun trigger with the lock engaged to prevent accidental spraying during setup.
Now, follow these quick steps to turn on the sprayer at low pressure:
- Turn the main power switch on to initiate power flow.
- Gradually increase the pressure control knob from zero.
- Watch for paint to start flowing steadily through the system.
This careful approach guarantees your paint sprayer primes smoothly and is ready for use.
Monitor Paint Flow Through the Drain Tube
While priming your paint sprayer, detach the drain tube from the suction hose and place it into a waste bucket so you can clearly monitor the paint flow. Watch for a continuous, steady stream of paint flowing through the drain tube—that’s a sign your pump is properly primed.
If the paint flow stops or becomes inconsistent, slowly increase the pressure to help improve priming efficiency. Make sure the drain tube stays submerged in paint throughout this process to prevent air from entering the system, which can disrupt flow.
Close the Priming Valve and Reattach the Drain Tube
Once you see a steady paint flow, make sure you close the priming valve completely to stop paint from flowing back into the pump.
Close the priming valve fully once steady paint flow is observed to prevent backflow into the pump.
Next, carefully detach the drain tube from the suction hose to prevent spills. You’ll want to reattach the drain tube properly, placing it into a waste bucket or designated container to catch any leftover paint.
Remember to:
- Fully close the priming valve to maintain paint flow direction
- Securely reattach the drain tube after priming
- Keep the main suction hose firmly connected to the pump
Following these steps ensures your sprayer stays ready for use without mess or damage.
After this, you’ll be set to move on to adjusting pressure for spraying.
Adjust Pressure to the Desired Level for Spraying
Although you’ve primed your paint sprayer, you’ll need to gradually adjust the pressure dial from zero until the paint flows smoothly through the spray line. Use the priming feature or release the ball button to help maintain even paint flow while you increase pressure slowly.
Watch the spray pattern carefully to ensure consistent atomization and even coverage. If you’re working with thicker paint, raise the pressure within the sprayer’s recommended range to guarantee proper flow.
Always test your pressure setting on a scrap surface before moving on to your project. This step ensures that the sprayer delivers a smooth, uniform finish without splatters or uneven patches, giving you professional-quality results every time.
Frequently Asked Questions
How Do You Get a Paint Sprayer to Prime?
You get a paint sprayer to prime by turning it to prime mode and setting the pressure to zero. Next, submerge the suction hose in paint.
Then, turn it on low and let the paint flow through. Keep going until it runs smoothly before you increase the pressure. Easy as that!
Do You Have to Prime a Paint Sprayer With Water First?
You don’t have to prime a paint sprayer with water first, but it can help test for clogs or leaks.
Just remember, water priming isn’t a substitute for proper paint priming and shouldn’t replace manufacturer guidelines.
How to Use Primer in a Paint Sprayer?
You fill the container with primer and attach the suction hose. Then, turn on the sprayer at low pressure and engage priming mode.
Hold the trigger until the primer flows steadily. Once it does, detach the drain tube and you’re ready to start spraying. Easy, right?
How Much Water to Add to Primer for Paint Sprayer?
You don’t want to drown your primer! Add water cautiously—usually around 10-20% (1 to 2 parts water per 10 parts primer).
Always check instructions to avoid ruining the mix or your project’s finish. It’s better to start with less water and add more if needed. That way, you keep control over the consistency and get the best results.
Conclusion
Priming your paint sprayer is as simple as tuning a musical instrument—getting it just right sets the stage for a flawless performance. By following these easy steps, you’ll guarantee a smooth, even paint flow every time you spray.
Remember to start slow, watch the paint move through the system, and adjust your pressure carefully. With a little patience and these tips, you’ll be ready to tackle any painting project like a pro.
Priming the paint sprayer properly ensures consistent coverage and prevents clogs or uneven spraying. Taking the time to prime your sprayer correctly not only saves you paint but also enhances the overall finish of your work. So, whether you’re painting walls, furniture, or other surfaces, mastering how to prime a paint sprayer is a key step toward professional-looking results every time.