How Does an Airless Paint Sprayer Work Step by Step
You start by filtering and pouring paint into the sprayer, then securely connect and prime the pump until paint flows smoothly.
The sprayer pressurizes the paint between 1,500–3,000 PSI, forcing it through a tiny tip that atomizes it into a fine mist with a fan-shaped pattern.
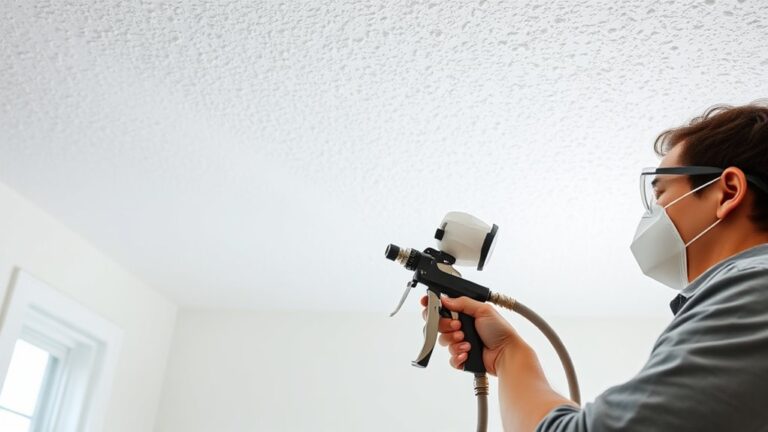
Hold the gun 12-18 inches away, spray perpendicularly, and use steady, overlapping strokes for even coverage. Keep this technique consistent, and you’ll achieve a flawless finish.
There’s more to explore about optimizing your results.
Key Takeaways
- Filter and pour paint into the container, then securely connect the spray hose and tip before priming the system to flow steadily.
- The pump pressurizes paint between 1,500–3,000 PSI, forcing it through a tiny tip opening to atomize into a fine mist.
- Atomized paint is shaped into a fan-shaped spray pattern for even, uniform coverage across surfaces.
- Hold the spray gun 12-18 inches from the surface, perpendicular, and use smooth, overlapping strokes for consistent application.
- Proper filtering, priming, and steady technique prevent clogs and ensure smooth, uninterrupted spraying with professional results.
Preparing and Priming the Airless Sprayer

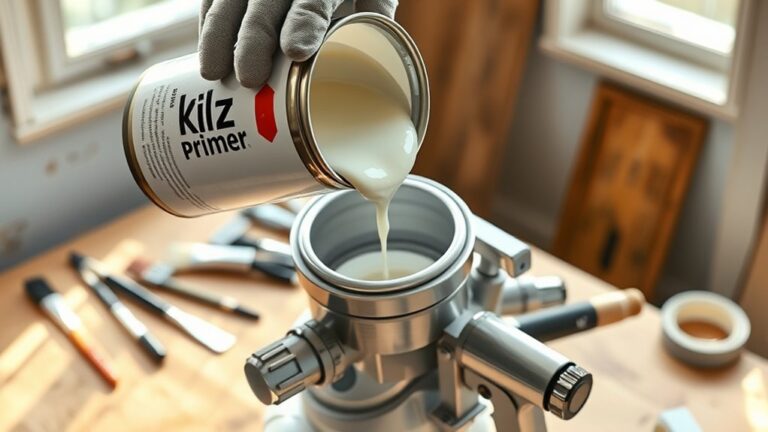
How do you get your airless paint sprayer ready for smooth, uninterrupted use? Start by filtering your paint to remove any debris that could clog the sprayer. Pour the filtered paint into the container, keeping the fluid level consistent to maintain stable pressure.
Next, connect the spray hose securely to the pump and spray tip, then double-check all connections for leaks. Once everything’s connected, begin priming the system by opening the pressure valve and running the pump.
Keep pumping until paint flows steadily through the spray tip, ensuring the system is fully primed and ready for use. This preparation sets the stage for efficient spraying and helps avoid interruptions while you work.
Pressurizing and Atomizing the Paint

Once the paint is primed, the pump pressurizes it to between 1,500 and 3,000 PSI, forcing the paint through a tiny opening in the spray tip. This high pressure is essential to atomizing the paint—breaking it into a fine mist of tiny droplets.
As the paint travels through the spray tip, its internal design shapes the flow into a fan-shaped spray pattern, ensuring even coverage. Proper pressurizing and atomizing work together to create a consistent spray pattern, which is vital for achieving a smooth, professional-quality finish.
Without this precise process, the paint wouldn’t apply uniformly, leading to uneven coats or drips. So, understanding how pressurizing and atomizing function helps you appreciate the efficiency of your airless paint sprayer.
Applying the Paint With Consistent Technique

Although the sprayer delivers paint at high pressure, you need to apply it with a consistent technique to achieve a smooth, even finish. Using the airless paint sprayer properly ensures your work looks professional and avoids drips or uneven spots.
Focus on controlling the spray gun and tip that’s fitted to your sprayer.
Follow these key steps:
- Maintain a 12-18 inch distance from the surface, keeping the spray gun perpendicular for uniform coverage.
- Use smooth, overlapping strokes at a steady speed to prevent streaks and ensure seamless application.
- Move the sprayer continuously and evenly, avoiding pauses that cause over-application or runs.
Mastering these techniques lets you harness your airless paint sprayer’s power and get flawless results every time.
Frequently Asked Questions
What Is the Number One Rule When Using Airless Spray Guns?
The number one rule when using airless spray guns is to always wear proper safety gear, including goggles and a respirator.
This protects you from harmful overspray and fumes, keeping you safe throughout your painting project. Safety first, right? Always gear up before you start spraying.
Do You Add Water to Paint When You Use an Airless Paint Sprayer?
You don’t always have to add water to paint when using an airless sprayer!
Only thin it if the paint’s thicker than a brick—otherwise, you’ll ruin the finish and make a messy disaster.
Test first!
What Are the Common Problems With Airless Sprayers?
You’ll face common issues like clogged tips or filters, uneven spray patterns from worn nozzles, pressure loss due to pump problems, motor overheating, and leaks in hoses that reduce pressure and affect your paint’s finish.
It’s pretty normal for tips and filters to get clogged after a while, especially if the sprayer isn’t cleaned properly. And worn nozzles? They can mess up your spray pattern, making your paint job look uneven.
Pressure loss often happens because of pump issues, which can be frustrating when you’re trying to get consistent results. Plus, if the motor overheats, it might shut down or cause damage. Leaks in hoses are another pain since they lower the pressure and can ruin the smooth finish you’re aiming for.
Do I Need to Dilute Paint for an Airless Sprayer?
Back in the days of quills, you wouldn’t dilute paint unless the manufacturer said so.
Today, you usually don’t need to thin paint for airless sprayers unless it’s too thick or clogging. Always check the instructions first.
Conclusion
Now that you know how an airless paint sprayer works step by step, you’re ready to tackle any painting job like a pro. Just prepare and prime your sprayer, pressurize to atomize the paint perfectly, and apply with a steady hand.
With this tool, you’ll cover walls faster than a lightning bolt and achieve a smooth finish that’ll make your space look brand new. An airless paint sprayer is designed to deliver even, efficient coverage without the hassle of brushes or rollers.
Get ready to transform your painting game forever! Using an airless paint sprayer not only saves you time but also provides professional-quality results. So whether you’re painting indoors or outdoors, mastering this tool will make your projects easier and more enjoyable.