Does Ryobi Make a Paint Sprayer and How to Choose One
Yes, Ryobi makes cordless paint sprayers designed to work with their 18V One+ batteries. This means you get the freedom to move around without being tethered to a power outlet, plus extended use thanks to the long-lasting battery life.
If you’re looking for a paint sprayer that offers convenience and portability, Ryobi’s options are definitely worth considering.
When choosing a Ryobi paint sprayer, it’s important to pick the right nozzle size—these typically range from 1.0mm to 3.0mm. The size you choose depends on the type of project you’re tackling.
Also, consider the spray pattern options like vertical, horizontal, or circular to get the best coverage.
Look for models with adjustable flow controls so you can manage paint output precisely for a smooth finish.
And don’t forget to follow proper maintenance steps to keep your sprayer running smoothly and efficiently over time.
Keep exploring and experimenting to get the best results from your Ryobi paint sprayer!
Key Takeaways
- Ryobi manufactures cordless paint sprayers that work with their 18V One+ battery system. This makes them super versatile and portable, perfect for getting the job done anywhere.
- When picking a sprayer, look for a model with the right nozzle size. They usually range from 1.0mm to 3.0mm, depending on how thick your paint is.
- Also, consider the spray patterns available—horizontal, vertical, or circular. Choosing the right one helps you cover surfaces more effectively.
- It’s a good idea to go for sprayers with adjustable flow control. This lets you apply paint precisely and cuts down on waste.
- Don’t forget to keep your sprayer in good shape by cleaning the nozzles and filters regularly. That way, it keeps performing well and lasts longer.
Ryobi Paint Sprayer Features and Compatibility

Although Ryobi’s paint sprayers are designed with versatility in mind, they truly shine when paired with their 18V One+ batteries like the P100 and P102. This cordless paint sprayer offers excellent compatibility with these batteries, providing you with safe operation and extended battery life thanks to built-in low-voltage protection.
The spray gun includes four brass spray tips (1.0mm, 1.8mm, 2.5mm, and 3.0mm), allowing you to adjust your paint flow to suit various projects. Whether you need vertical, horizontal, or circular spray patterns, this sprayer adapts seamlessly to your task.
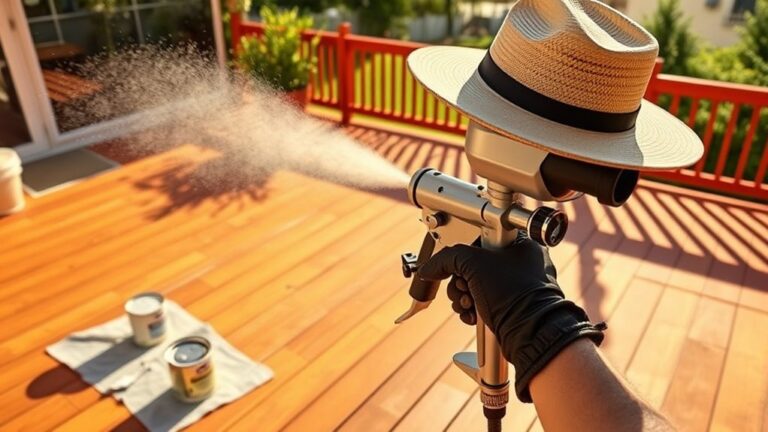
Perfect for small to medium jobs like cabinets or fences, it lets you spray paint efficiently without the hassle of cords. So, you get freedom and precision in every stroke.
Selecting the Right Ryobi Paint Sprayer for Your Project

When selecting the right Ryobi paint sprayer for your project, you’ll want to match the nozzle size and spray patterns to your specific needs. Ryobi paint sprayers are compatible with Ryobi’s 18V One+ batteries, so battery choice is vital for extended use.
Look for models with an adjustable flow control knob to fine-tune paint spraying. Also, consider spray patterns—horizontal, vertical, or circular—for versatile application.
- Choose nozzle sizes between 1.0mm and 3.0mm based on paint thickness.
- Ensure compatibility with your existing Ryobi batteries.
- Opt for a sprayer featuring an adjustable flow control knob.
- Select models offering multiple spray patterns for different surfaces.
- Pick batteries with higher capacity for longer, uninterrupted paint spraying.
This approach guarantees you get the most efficient and tailored Ryobi paint sprayer for your project. Easy, right? Just a little planning goes a long way.
Tips for Optimal Use and Maintenance of Ryobi Paint Sprayers

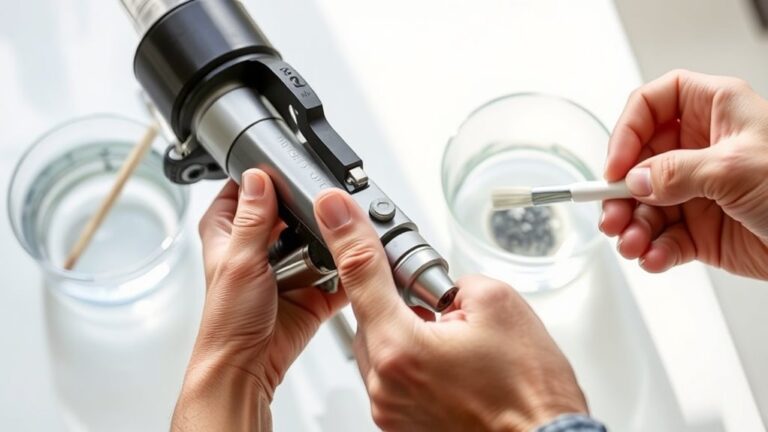
Choosing the right Ryobi paint sprayer is just the first step; maintaining it in top shape guarantees your projects go smoothly every time. Start by regularly cleaning the nozzles and filters with water and a cleaning needle to prevent clogs and keep spray patterns consistent.
Use the included viscosity cup to check paint thinning. This helps promote smooth flow and reduces blockages.
Detach and soak the spray head periodically to remove dried paint residues. This supports clog prevention and keeps things running smoothly.
Always follow manufacturer instructions for flow control and spray pattern adjustments. Doing so helps you achieve even coverage and minimizes paint waste.
For long-term maintenance, thoroughly clean the sprayer before storing it in a dry, clean area. These steps help extend your Ryobi sprayer’s lifespan and ensure ideal performance for every job.
Frequently Asked Questions
Why Did Ryobi Discontinue Paint Sprayer?
Ryobi discontinued paint sprayers because they faced tough competition and market changes. They likely wanted to focus on other tools and address supply chain challenges.
You’ll still find their existing sprayers work with compatible batteries. So, if you already have one, it should still be good to go.
What Is the Best Ryobi Paint Sprayer?
Imagine painting like a breeze—Ryobi’s P601 Cordless Paint Sprayer is your best bet. It’s lightweight, cordless, and super versatile.
It gives you smooth, even coverage on every project without any fuss or fatigue. You’ll love how easy it is!
Is the Ryobi Cordless Paint Sprayer Any Good?
Yes, the Ryobi cordless paint sprayer is great for your DIY projects. It’s lightweight and offers smooth coverage with HVLP tech.
Plus, it runs on convenient Ryobi One+ batteries, making your painting tasks easier and more efficient. You’ll find it really handy around the house!
What Is the Best Paint Sprayer for Beginners?
Choosing the best paint sprayer for beginners is like finding training wheels for your bike—you want something easy and reliable.
Ryobi’s cordless paint sprayer fits perfectly. It offers simple controls, a lightweight design, and versatile spray options to get you started confidently.
Conclusion
When you pick up a Ryobi paint sprayer, imagine the smooth, even coats gliding effortlessly across your walls. It transforms your space with vibrant color, making every project feel more manageable.
Choosing the right model means you’re ready to tackle any job, big or small, with confidence. Plus, these sprayers are designed to be user-friendly, so you can get professional results without the fuss.
Keep your Ryobi paint sprayer clean and well-maintained, and it’ll be your trusted partner for years to come. With Ryobi in your hands, painting becomes more than a chore—it’s a satisfying, creative experience you’ll actually look forward to.
So, if you’re wondering, “Does Ryobi make a paint sprayer?” the answer is yes! Their range offers great options for both beginners and pros alike. Picking the best Ryobi paint sprayer for your needs means less hassle, faster jobs, and beautifully finished walls every time.