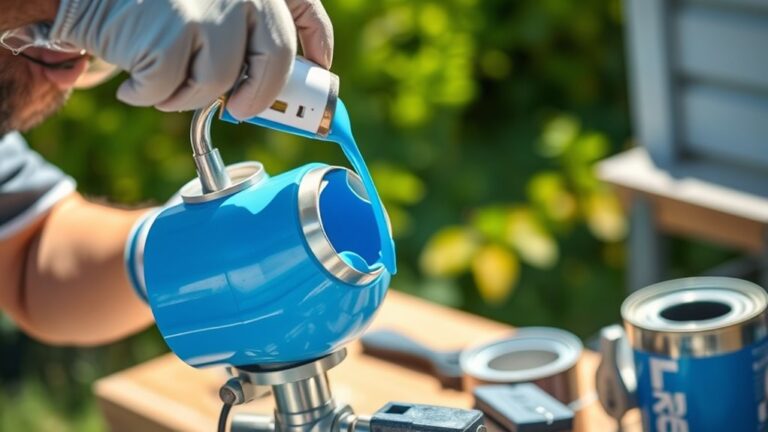
How to Clean a Wagner Paint Sprayer in 7 Easy Steps
To clean your Wagner paint sprayer in 7 easy steps, start by preparing it—remove the filter and detach the handle for better access.
Next, disassemble key parts like the nozzle, trigger, and paint cup to make sure every component gets cleaned properly.
Choose the right cleaning solution based on your paint type. Use warm soapy water for water-based paints or mineral spirits for oil-based paints. This helps break down paint residue effectively without damaging your sprayer.
Thoroughly scrub all components to remove paint buildup, paying extra attention to any stubborn spots.
After scrubbing, rinse everything well to wash away all cleaning agents and loosened paint.
Finally, reassemble your sprayer securely, making sure all parts fit back perfectly.
Keep following along to discover detailed tips for keeping your Wagner paint sprayer in top shape and ensuring it lasts for many projects to come.
Key Takeaways
- Disassemble the sprayer by removing the nozzle, trigger, spray gun guard, and paint container for thorough cleaning access. This makes sure you can reach all those tricky spots.
- Select a cleaning solution based on the type of paint you used. Warm soapy water works great for water-based paints, while mineral spirits are better for oil-based ones.
- Soak the disassembled parts in the right cleaning solution to help loosen any paint residue stuck on them.
- Use brushes and Q-tips to scrub all parts, especially the nozzle, needle, filter, suction tube, and internal passages. Getting these clean is key to keeping your sprayer working well.
- After scrubbing, rinse everything off and dry all components completely. Once dry, reassemble the sprayer securely.
- Finally, store your sprayer in a dry place to keep it ready for the next painting job. Simple steps like these will keep your Wagner paint sprayer in top shape!
Prepare the Paint Sprayer for Cleaning

Before diving into the cleaning process, remove the filter from the spray gun to check for clogs caused by overspray. This step makes sure your paint flows smoothly next time you use the sprayer.
Next, detach the handle from the paint container for easier access to the internal parts. Unscrew all connected components, like the nozzle and trigger, to reach areas where paint can build up.
Detach the handle and unscrew parts like the nozzle and trigger for thorough cleaning access.
Move the suction tube to clear any hidden debris and to give you full access to clean every part thoroughly. Don’t forget to carefully clean the seal and suction inlet, as paint buildup here can reduce your spray gun’s performance.
Taking these steps before cleaning guarantees your paint sprayer stays in top shape.
Disassemble the Spray Gun Components

Once you remove the spray gun guard, you can easily access the internal parts and begin disassembling the components. To properly clean your Wagner paint spray, follow these steps carefully:
- Unscrew and detach the nozzle, trigger, and paint cup to inspect each piece.
- Remove the needle by pulling out the side pin; this allows you to clean or replace it as needed.
- Place all disassembled parts into a bucket of water or recommended cleaning solution for soaking.
Using brushes and Q-tips, scrub each component thoroughly before reassembling. This process ensures no paint residue remains, maintaining your sprayer’s performance.
Select the Appropriate Cleaning Solution
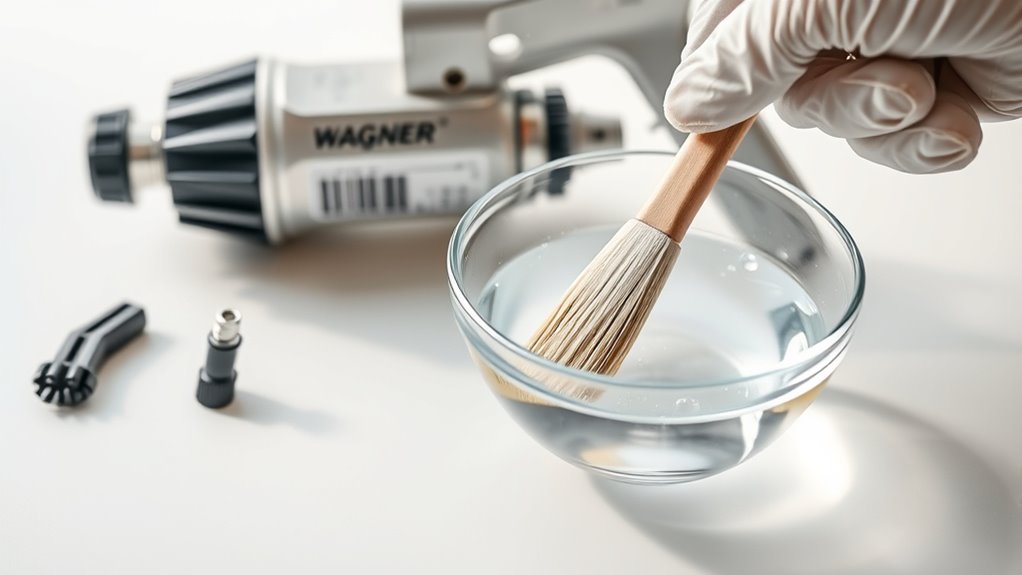
After disassembling and soaking your Wagner paint sprayer parts, choosing the right cleaning solution is key to removing paint effectively without damaging the components. Use warm, soapy water for water-based paints and finishes.
If you’ve used oil-based paints or stains, mineral spirits are your best bet for thorough cleaning. Always check the paint container label or manufacturer instructions to confirm the recommended cleaning method.
Matching the cleaning solution to the paint type prevents damage to your sprayer parts. Also, avoid liquids with a flash point below 100ºF (38ºC) to minimize fire risks during cleaning.
Being precise with your cleaning solution choice guarantees your Wagner sprayer stays in great shape and performs well for your next project. It’s all about keeping things safe and easy!
Clean All Parts Thoroughly
While cleaning your Wagner paint sprayer, make sure to disassemble all components like the nozzle, needle, trigger, and guard for a thorough wash. Soak these removable parts in warm, soapy water or the right solvent for their material.
Disassemble your Wagner paint sprayer parts for a thorough clean using warm, soapy water or the appropriate solvent.
Then, use a soft-bristle brush and Q-tips to scrub away paint residue and reach tight spots.
Focus on these three key areas:
- Clean the filter, suction tube, and internal passages to maintain proper spray performance.
- Rinse all parts thoroughly with clean water or mineral spirits to remove cleaning agents.
- Dry every component completely before reassembling to prevent rust or damage.
Taking these steps ensures your paint sprayer stays in top condition and ready for your next project. Easy, right? Just a little care goes a long way!
Address Stubborn Paint Buildup and Clogs
If hardened paint buildup starts clogging your Wagner paint sprayer, you’ll need to tackle it with a wire brush or toothbrush to gently scrub away residue from the nozzle and internal parts. Soak stubborn areas in mineral spirits or a recommended solvent as per the manufacturer’s guidelines.
Detach the needle and clean it thoroughly to avoid clogs caused by dried paint or debris. Use a thin wire or specialized tool to clear spray tip passages, ensuring smooth flow. Repeat these steps until all hardened paint is removed for ideal performance.
| Component | Cleaning Method |
|---|---|
| Nozzle | Wire brush or toothbrush scrub |
| Needle | Detach and clean thoroughly |
| Spray tip | Clear passages with thin wire |
| Stubborn buildup | Soak in mineral spirits/solvent |
Rinse and Flush the Sprayer Properly
Once you’ve cleared away stubborn paint buildup and made sure all parts are free of dried residue, it’s time to rinse and flush your Wagner paint sprayer thoroughly. Start by filling the sprayer with clean water or the recommended cleaning solution.
Then, run it through the system to flush out any leftover paint.
Follow these steps:
- Disassemble removable parts like the nozzle and filter, cleaning them separately with water or cleaning solution.
- Use a soft brush or rag to scrub inside the spray gun and nozzle, removing any remaining debris.
- Rinse the entire sprayer with clean water until no paint or residue appears, ensuring all internal passages are clear.
This thorough rinse helps keep your sprayer ready for its next use. It’s a simple step that makes a big difference in performance!
Reassemble and Maintain Your Paint Sprayer
After thoroughly rinsing your Wagner paint sprayer, you’ll want to reassemble it carefully to guarantee it works smoothly next time. Start by reattaching all the disassembled parts—needle, trigger, and guard—making sure each fits securely.
Tighten all screws and connections to prevent leaks and ensure proper function. Before fully assembling, confirm the filter is clean and properly installed, free from debris.
Wipe down the sprayer’s exterior to remove any leftover paint or cleaning solution, which helps maintain its condition. Finally, store your sprayer in a dry, clean area once all parts are completely dry and working correctly.
Proper reassembly and maintenance extend the life of your Wagner paint sprayer and ensure it’s ready for your next project. Taking these steps really pays off!
Frequently Asked Questions
How Do I Properly Clean My Wagner Paint Sprayer?
You should disconnect your Wagner sprayer and empty out any leftover paint. Then, go ahead and disassemble the parts.
Clean the pieces using warm soapy water or mineral spirits. After that, rinse everything thoroughly and make sure it’s completely dry before you put it back together. This will help keep your sprayer working smoothly and prevent any damage.
How to Take Apart a Wagner Paint Sprayer?
You start by removing the spray gun’s guard and handle. Then, unscrew the nozzle, trigger, and other parts.
Carefully pull out the needle’s side pin and detach the needle. Don’t forget to check the filter for clogs before cleaning.
What Should I Run Through My Paint Sprayer to Clean It?
Think of cleaning your sprayer like washing a canvas: run clean water or water-based cleaner for water paints, and mineral spirits for oil-based paints.
Always flush thoroughly to keep your sprayer running smooth and clog-free. It’s a simple step but makes a big difference in performance.
What Is Petroleum Jelly Used for on Wagner Paint Sprayer?
Petroleum jelly lubricates your Wagner paint sprayer’s O-rings and seals, preventing cracks and drying. It also protects metal parts from moisture.
Plus, it seals the nozzle when stored and keeps paint from drying inside. This helps ensure smooth operation every time you use it.
Conclusion
By following these seven steps, you’ll keep your Wagner paint sprayer humming like a well-tuned engine. Cleaning it isn’t just maintenance—it’s giving your tool a fresh breath, ready to dance with every new coat of paint.
Treat your sprayer with care, and it’ll reward you with flawless finishes time after time. Remember, a clean sprayer is the secret brushstroke behind every masterpiece you create.
Regular cleaning of your Wagner paint sprayer not only extends its lifespan but also ensures consistent performance. So, make these simple cleaning steps a part of your routine. Your paint jobs will look smoother, and your sprayer will stay in top shape for many projects ahead. Keeping your Wagner paint sprayer clean is the key to professional-quality results every time you pick it up.