How to Use Wagner Airless Paint Sprayer in 7 Easy Steps
To use your Wagner Airless Paint Sprayer in 7 easy steps, start by securely assembling all the components. Make sure everything fits tightly to avoid leaks or malfunctions.
Next, fill the tank with your chosen paint and prime the pump. This step is crucial to guarantee a smooth, even flow of paint without splatters.
Attach and adjust the spray tip to match your desired spray pattern. Whether you want a wide fan or a narrow line, setting this correctly will help you achieve the best finish.
Before you start spraying, prepare your work area carefully and don’t forget to wear safety gear like goggles and a mask. Safety first!
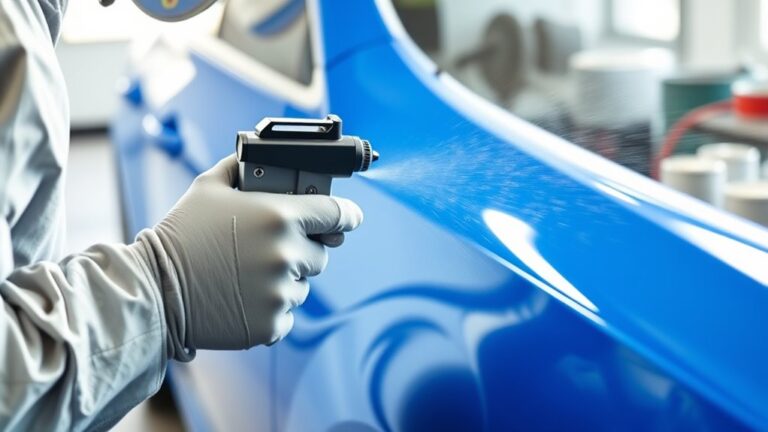
Begin spraying with steady, overlapping movements to ensure an even coat. Take your time and keep the sprayer moving to avoid drips or uneven coverage.
After you’re done, clean the sprayer thoroughly to prevent paint buildup inside. Proper cleaning extends the life of your sprayer and keeps it working well.
Finally, store your Wagner Airless Paint Sprayer properly for long-term use. Keep following for detailed tips and tricks to perfect your technique and get professional results every time!
Key Takeaways
– Assemble sprayer by securely attaching hose, spray gun, and tip; fill tank with well-mixed paint and prime pump before use.
It’s important to make sure everything is tight and ready so you don’t get any leaks or clogs.
– Adjust spray tip for desired pattern, hold gun 10-12 inches from surface, and use smooth, overlapping strokes for even coverage.
Try to keep your hand steady and move at a consistent pace to avoid drips or uneven spots.
– Prepare work area by covering furniture, masking edges, wearing safety gear, and ensuring proper ventilation.
Safety first! Protect your space and yourself before you start spraying.
– Test spray pattern on scrap material to fine-tune settings and technique before starting the main project.
This way, you can avoid surprises and get the finish just right.
– After use, thoroughly clean all parts, dry completely, check connections, and store sprayer in a dry, cool place.
Cleaning right away will keep your sprayer working well for the next job.
Assemble the Wagner Control Pro 130 Sprayer Components

Before you begin spraying, unpack all the components of your Wagner Control Pro 130 sprayer, including the main unit, hose, gun, and spray tip. Make sure you refer to the owner’s manual for detailed assembly instructions.
Start by attaching the hose securely to the tank outlet, and then connect the other end to the spray gun. Tighten the connections by hand only—avoid over-tightening to prevent damage.
Next, install the spray tip assembly onto the gun by screwing it in clockwise until it’s snug. Double-check that the spray tip is properly seated and that the trigger lock on the gun is disengaged.
Ensuring all connections are firm and secure will set you up for smooth operation before moving on to priming or spraying.
Prime the Pump and Prepare the Paint
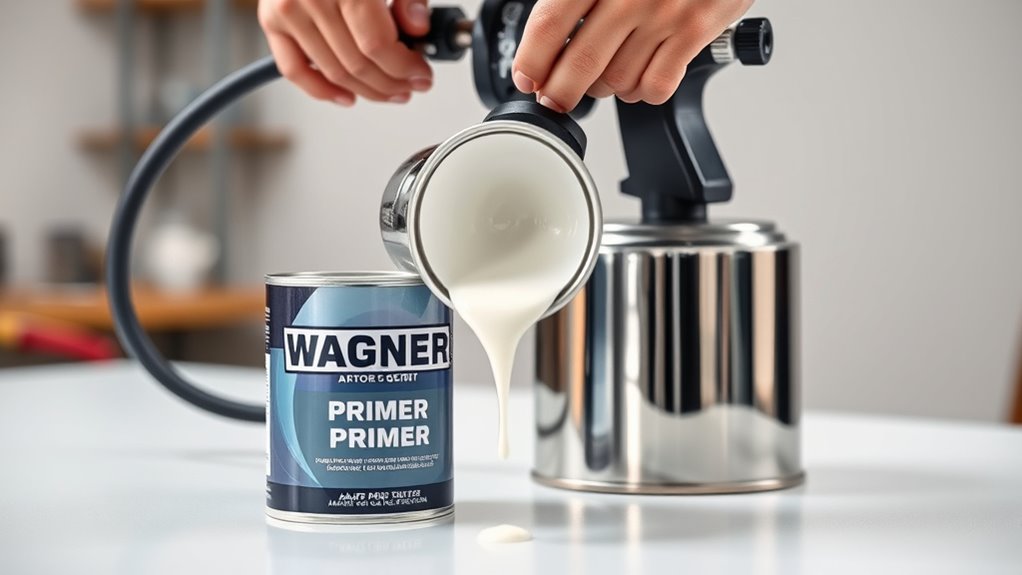
Once you’ve securely assembled the sprayer components, the next step is to prime the pump and prepare your paint. The first thing you’ll do is fill the Wagner Control Pro’s tank with well-mixed, strained paint.
Next, cover the screen and turn the dial to the prime setting to circulate water through the system. Turn on the sprayer motor, hold the spray gun over a waste bucket, and pull the trigger to replace the water with paint.
This ensures the pump is fully primed. Make sure you handle the spray gun carefully during this process to avoid splatter. Once primed, you’re ready for the next steps in your painting project.
Attach and Adjust the Spray Tip
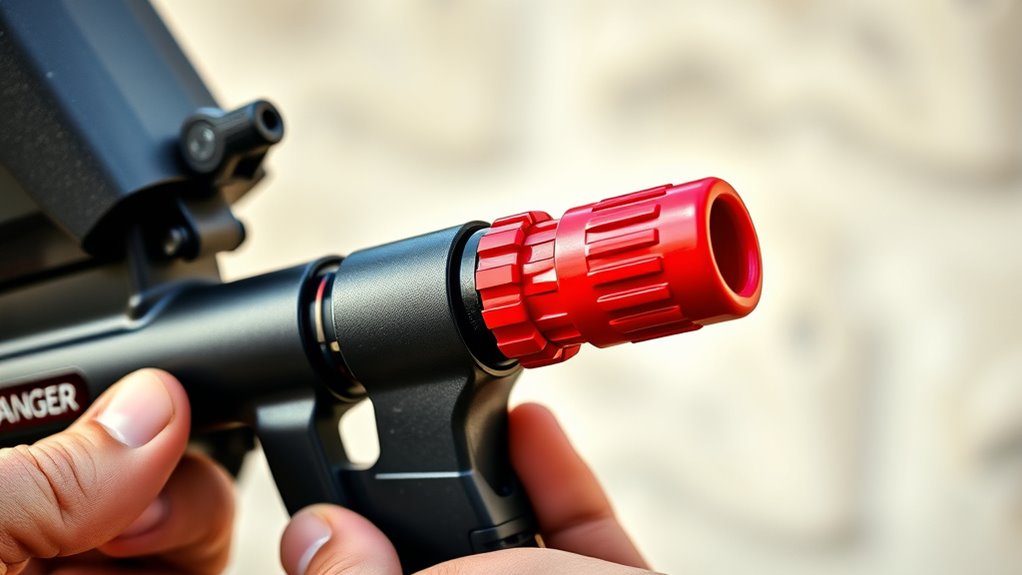
Although attaching the spray tip assembly is simple, you’ll want to hand-tighten it securely to the gun without using any tools. This guarantees a snug fit without risking damage.
Next, adjust the spray tip to match your desired fan pattern. Rotate or tweak the nozzle to create a horizontal fan for broad coverage, or reposition it for a vertical fan, which sprays side-to-side.
Adjust the spray tip to achieve your desired fan pattern, switching between horizontal and vertical sprays for optimal coverage.
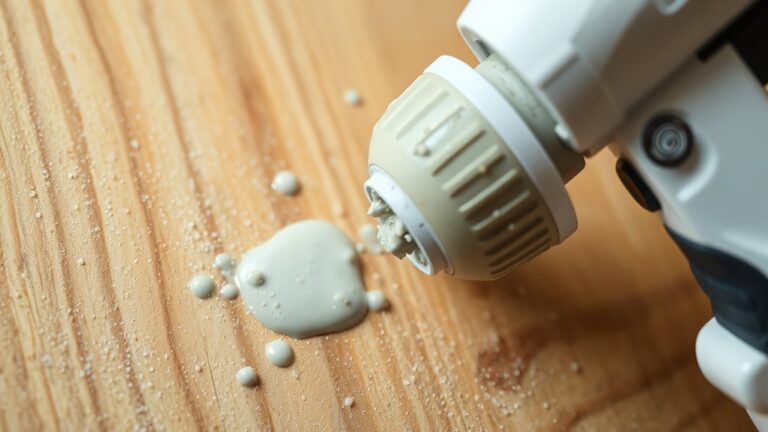
Always check the spray tip for clogs or debris before use, rinsing it with water if needed to maintain an even spray. After each session, clean the tip thoroughly with a rag to prevent paint buildup.
This keeps your sprayer working smoothly and delivers consistent, professional results every time you paint.
Prepare the Work Area and Wear Safety Gear
Before you start spraying, clear the work area and cover surfaces with drop cloths to protect against overspray.
Make sure you wear a mask and safety goggles to guard your lungs and eyes from paint particles. Taking these steps will keep you safe and your workspace clean throughout the job.
Clear and Protect Surfaces
To protect your surroundings and guarantee a smooth painting process, start by covering floors, furniture, and nearby items with drop cloths or plastic sheeting. Mask off edges, trim, and unpainted areas with painter’s tape for clean lines.
Remove or shield light fixtures, switches, and outlets to prevent damage. Clean and repair surfaces beforehand to help paint adhere properly.
| Task | Purpose |
|---|---|
| Cover floors and furniture | Prevent overspray damage |
| Use painter’s tape | Achieve sharp, clean edges |
| Remove/protect fixtures | Avoid paint contact or damage |
| Clean and repair surfaces | Ensure smooth, long-lasting finish |
| Mask switches and outlets | Protect electrical components |
Use Protective Equipment
After you’ve protected surfaces and masked off areas, focus on safeguarding yourself during the painting process. Always wear a mask to prevent inhaling overspray and harmful fumes. This simple step defends your lungs and keeps you comfortable throughout the job.
Next, clear the work area of obstacles so you can move freely and handle the sprayer safely. Cover the floor and nearby surfaces with drop cloths to catch any stray paint. Use aluminum flashing or painter’s tape to mask windows, trims, and other details carefully.
Finally, make sure your workspace has proper ventilation to dissipate fumes and keep the air fresh. Taking these precautions helps you work efficiently while minimizing health risks and protecting your surroundings. It’s all about staying safe and making the job go smoothly!
Start Spraying With Proper Technique
Before you start, adjust the spray pattern to fit your project for even coverage. Hold the gun steady and use smooth, overlapping strokes to make certain a professional finish.
Keep the tip perpendicular and maintain a consistent distance to ensure a professional finish. This will help you get the best results every time.
Spray Pattern Adjustment
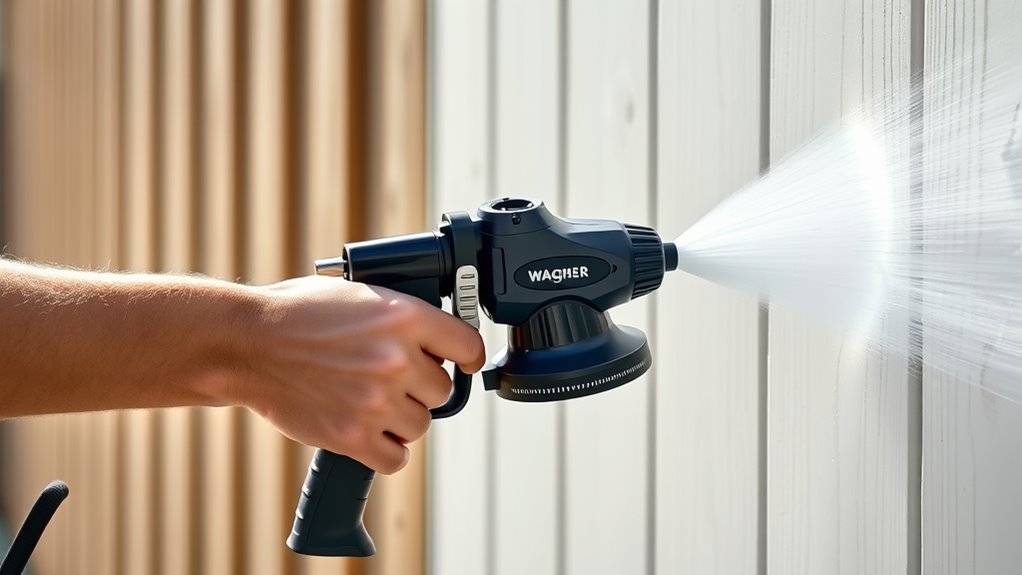
When you modify the spray tip to your desired fan pattern—horizontal or vertical—you’ll guarantee even coverage on your surface. Hold the spray gun about 10-12 inches away to maintain a consistent distance, which helps with uniform paint application.
Begin spraying using smooth, overlapping strokes; this avoids streaks and ensures the paint spreads evenly. Keep a steady, controlled trigger pull to maintain consistent pressure during each pass.
To perfect your technique and fine-tune the spray pattern settings, practice on a scrap piece before moving to your actual project. This step helps you avoid mistakes and achieve a professional finish right from the start.
Adjusting the spray pattern correctly sets the foundation for a flawless paint job. So, take your time with this part—it really makes a difference!
Effective Spraying Movements
Although it might seem simple, mastering effective spraying movements is key to achieving a smooth, professional finish. Start with the spray gun a few inches from the surface, keeping that distance consistent for even coverage.
Begin moving the gun before pulling the trigger and release it at the end of each pass—this prevents drips and lap marks. Use smooth, steady strokes in one direction, either horizontal or vertical, to apply paint uniformly.
Overlap each pass by about 50% to avoid streaks and create a seamless look. Always hold the spray gun perpendicular to the surface to maintain an even spray pattern and prevent uneven coverage.
Following these steps ensures your paint job looks clean and professional every time. Trust me, once you get the hang of it, it’ll make a world of difference!
Clean the Sprayer Thoroughly After Use
Since paint residue can harden quickly and clog your sprayer, you’ll want to clean the unit thoroughly right after use to keep it in good working order.
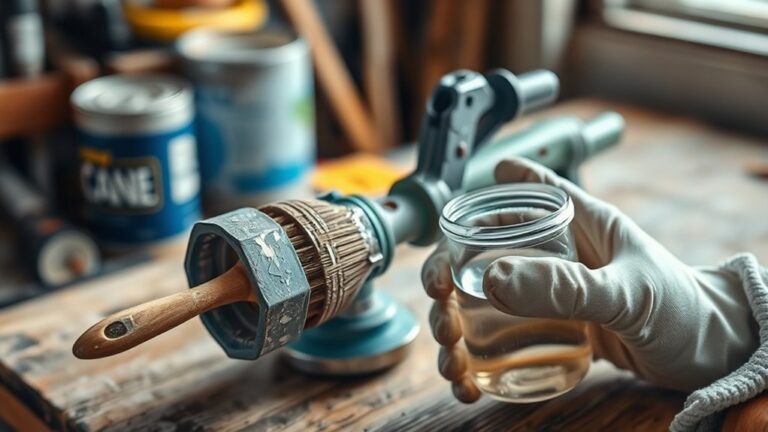
Start by removing the spray tip and soaking it in clean water or solvent. Empty any leftover paint from the tank, using a brush to clean inside if needed.
Then, run water through the priming hose and gun until it flows clear.
| Task | How to Do It |
|---|---|
| Clean Spray Tip | Soak in water or solvent to dissolve paint |
| Flush System | Run water through hose and gun until clear |
| Clean Exterior | Wipe down with brush or cloth |
These steps prevent clogs and keep your sprayer ready for the next job. Easy as that! Just a little cleanup now saves you a lot of hassle later.
Store the Equipment for Long-Term Maintenance
After cleaning your Wagner Airless Paint Sprayer thoroughly, the next step is to store it properly to maintain its performance over time. First, run clean water through the entire system to remove any residual paint and prevent clogs.
Make sure the spray gun, hose, and tips are completely dry before storing. Store your equipment in a dry, dust-free area away from extreme temperatures to avoid corrosion and damage.
Before putting everything away, check and tighten all connections and fittings to prevent leaks and ensure your sprayer is ready for future use. Finally, consult the manufacturer’s manual for any specific storage instructions and recommended maintenance intervals to extend the lifespan of your Wagner Airless Paint Sprayer.
Proper storage guarantees consistent, reliable performance each time you paint. So, take the time to store your equipment right—it really pays off in the long run!
Frequently Asked Questions
Do I Need to Dilute Paint for Wagner Sprayer?
You usually don’t need to dilute paint for your Wagner sprayer unless it’s too thick.
Check the manufacturer’s guidelines, and if necessary, thin gradually while testing spray.
This way, you can avoid clogging and maintain a smooth finish.
What Is the Number One Rule When Using Airless Spray Guns?
Safety should steer your spraying sessions; always suit up with a mask and goggles.
You can’t compromise on protection when wielding high-pressure paint—overspray and fumes pose serious risks, so safeguard yourself before you start spraying.
How to Use the Wagner Paint Sprayer?
You connect the hose and gun, prime the pump, adjust the spray pattern, then spray evenly while holding the gun steady.
Make sure to clean the tip regularly and flush the system after use to keep everything working smoothly. This helps avoid clogs and ensures your sprayer lasts longer.
Do You Add Water to Paint When You Use an Airless Paint Sprayer?
You generally don’t add water to paint for an airless sprayer.
If you must thin latex paint, keep water under 10%. Always check the paint’s instructions to avoid clogging or uneven spraying.
Conclusion
Now that you’ve mastered using your Wagner Control Pro 130 sprayer, isn’t it satisfying to see a flawless finish come to life with just a few simple steps? By assembling, priming, and adjusting your sprayer carefully, you’re well on your way to professional results.
Spraying with precision, then cleaning and storing your equipment properly, ensures your sprayer stays in top shape for future projects. This means every time you pick up your Wagner Airless Paint Sprayer, it’s ready to deliver smooth, even coverage without hassle.
So, why settle for brushes and rollers when you can achieve perfection effortlessly? Using the Wagner Airless Paint Sprayer transforms your painting projects, making them faster and more enjoyable. Get ready to tackle your next job with confidence and ease, knowing you have the right tool to make every finish flawless and professional.