How to Thin Paint for Sprayer in 3 Easy Steps
To thin paint for your sprayer, start by choosing the right thinner—water works best for water-based paint, while mineral spirits are ideal for oil-based paint. Getting this step right is crucial because the type of thinner affects how smoothly your paint will spray.
Next, measure carefully. A common mix is about 70% paint to 30% thinner, but you might need to adjust this ratio depending on your specific paint and sprayer. Stir the mixture thoroughly to ensure everything blends well and you get a consistent texture.
Finally, test your mixture by spraying it onto a scrap piece of material. Watch how the paint flows—if it clogs or splatters, tweak the ratio until it sprays nicely. Following these simple steps will help you achieve a flawless finish every time.
There’s a bit more to learn if you want perfect results, but this is a great place to start!
Key Takeaways
- Select the correct thinning agent based on paint type, such as water for water-based or mineral spirits for oil-based paints.
- Measure paint and thinner accurately, typically mixing 70% paint with 30% water for emulsion paints.
- Stir the mixture thoroughly to ensure a uniform consistency before testing.
- Test spray on scrap material to check for smooth, even flow and adjust thinner amount if needed.
- Gradually add thinner in small increments to avoid over-thinning and ensure optimal spray performance.
Choose the Right Thinning Agent

Before you start thinning paint for your sprayer, you need to choose the right thinning agent. For water-based paints like emulsion or latex, use water or a product such as Paint Easy. These help maintain the paint’s consistency and improve flow through paint sprayers.
For oil-based paints, mineral spirits or paint thinners are your go-to options. Always check the paint manufacturer’s instructions to confirm the recommended thinning agent and ratios, as they can differ.
Using the proper thinning agent guarantees better flow, reduces clogging, and results in a smoother spray finish. Picking the wrong thinner can cause problems like uneven spraying or nozzle blockages, so don’t skip this step when preparing your paint for spraying.
Measure and Mix the Paint and Thinner

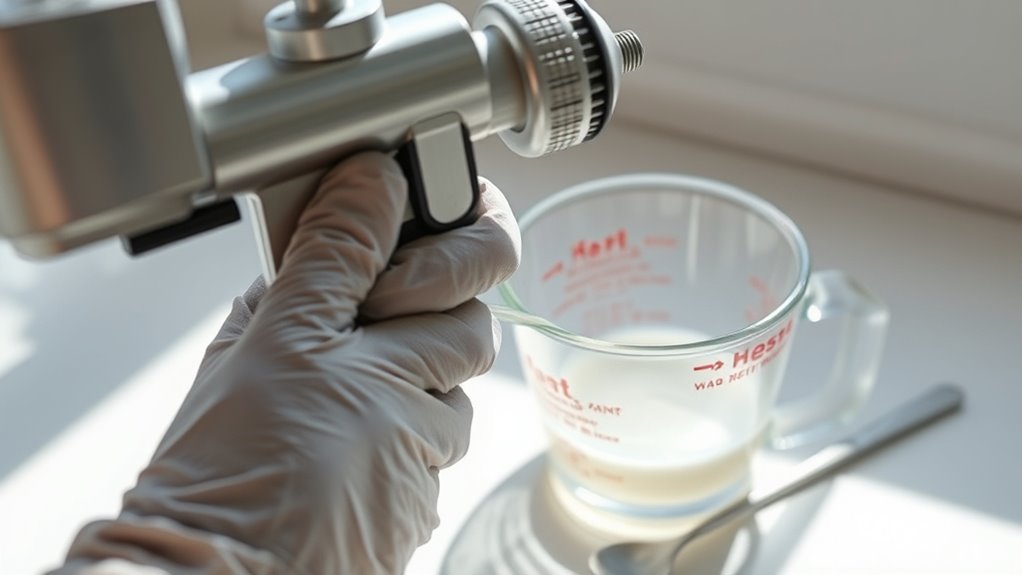
When you measure and mix paint with thinner, accuracy is key to achieving a smooth spray finish. Use a clean measuring cup or syringe to get precise amounts according to the recommended ratio.
Accurate measuring and mixing with a clean cup or syringe ensures a smooth, flawless spray finish.
For emulsion paint, mix about 70% paint with 30% water to thin the paint effectively. Oil-based paints require combining 3 parts paint with 1 part turpentine or mineral spirits.
If you’re applying a third coat of paint, keep the consistency consistent by stirring thoroughly after mixing. For fence paint or stains, start by adding 10% water and adjust as needed.
Proper measurement and mixing guarantee an even, smooth texture that sprays well without clogging your sprayer or leaving uneven coverage on your project. It’s all about getting that perfect blend!
Test and Adjust Consistency for Spraying

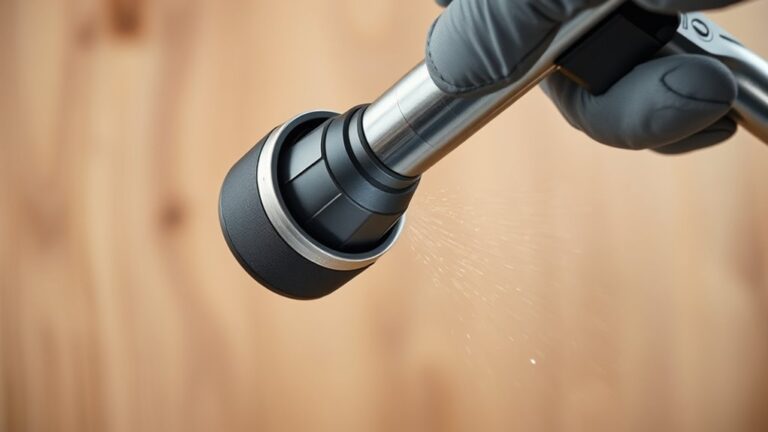
Once you’ve measured and mixed your paint and thinner accurately, it’s time to make sure the consistency is just right for spraying. Start by testing the paint on scrap material or cardboard.
Look for a smooth, pancake batter-like flow—too thick will clog the sprayer, and too thin might run or create a rough finish. Observe the spray pattern carefully; it should be even with fine droplets, indicating proper viscosity.
If the pattern sputters or is uneven, adjust the thinning ratio gradually, adding about 10% more thinner each time. Keep testing and adjusting until the paint flows smoothly through the sprayer, providing consistent coverage without splattering or spitting.
This ensures your project will have a flawless finish every time.
Frequently Asked Questions
What Is the Best Way to Thin Paint for a Spray Gun?
You thin paint for a spray gun by gradually adding the right thinner—water for water-based or mineral spirits for oil-based—until it’s the consistency of pancake batter.
Then, strain and test spray to guarantee smooth application. This way, you make sure the paint flows evenly without clogging the nozzle.
It’s a simple process but really helps you get that perfect finish every time.
What Is the Ratio for Thinning Paint for Sprayer?
Like Goldilocks seeking the perfect porridge, you’ll want roughly 70% paint to 30% water for emulsions, or 3:1 paint to thinner for oils.
Adjust slightly to find what sprays just right for you.
What Is the Best Paint Thinner for a Spray Gun?
The best paint thinner for your spray gun depends on your paint type. Use mineral spirits for oil-based paints and water for latex or acrylics.
Always check manufacturer guidelines to guarantee compatibility and peak results. This way, you’ll get the best finish without any hiccups.
Can You Use Acrylic Paint in a Spray Gun Without Thinning?
You can use acrylic paint in a spray gun without thinning if it’s already thin, like milk.
But if it’s thick, you’ll want to thin it 10-20% to avoid clogging and uneven spray patterns.
It helps keep the spray smooth and consistent, so your project looks great.
Conclusion
Thinning paint for your sprayer is simple when you select the suitable solvent, measure meticulously, and make mindful adjustments. By balancing the blend, you’ll boost your brushless brilliance and banish blotches.
Remember, practicing patience perfects your paint project, preventing problems and promoting professional results. So, stay steady, stay sharp, and savor the satisfying success that comes from skillful spraying.
Your careful craft creates enthralling, clean coverage every time! Thinning paint for sprayers isn’t just about adding solvent—it’s about finding the right mix that flows smoothly through your equipment. Take your time to adjust the consistency, and you’ll avoid clogs and uneven coats. With a little practice, thinning paint for sprayers becomes second nature, ensuring flawless finishes that elevate your projects. Keep these tips in mind, and your paint jobs will look sharp, smooth, and professional every time!