How You Use a Paint Sprayer for Polyurethane Application
To use a paint sprayer for polyurethane application, start by prepping your surface properly. Sand it smooth to remove any imperfections, then clean off all the dust to ensure a flawless finish. This prep work is crucial because polyurethane needs a clean and smooth base for the best adhesion and durability.
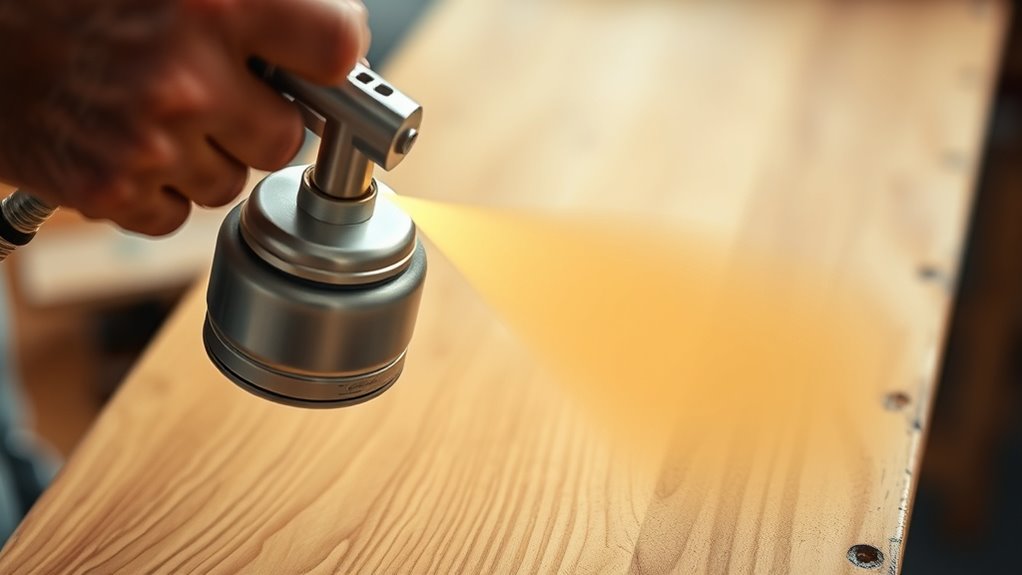
Next, set up your paint sprayer with the right tip designed for smooth finishes. Adjust the flow to get a consistent spray pattern that covers evenly without drips. When spraying, hold the nozzle about 10–12 inches from the surface. Spray thin, even coats with overlapping strokes to avoid streaks or pooling.
Begin with a thinned base coat to help the polyurethane adhere better to the surface. After that, apply 2–3 full-strength coats, remembering to sand lightly between each one. Keeping your technique steady throughout the process ensures a smooth, flawless finish every time.
Let’s explore what else you can do to get the most out of your paint sprayer!
Key Takeaways
- Thoroughly sand and clean the surface to ensure smooth adhesion before spraying polyurethane.
- Adjust the sprayer tip size and volume control for an even 10-12 inch spray pattern.
- Spray thin, overlapping coats using long, continuous strokes to prevent drips and ensure uniform coverage.
- Start with a thinned base coat, then apply 2-3 full-strength polyurethane coats, letting each dry completely.
- Lightly sand between coats with 220 grit sandpaper to enhance adhesion and achieve a flawless finish.
Preparing Your Surface and Workspace

Before you start spraying polyurethane, make sure you thoroughly sand the surface with 220 grit sandpaper to create a smooth, even base. Proper prep is essential for adhesion and a smooth finish.
Fill any holes or imperfections with wood filler, then sand again to maintain an even surface. Next, focus on dust removal—use a Shop-Vac or tack cloth to clean the surface meticulously, ensuring no debris remains.
Your workspace setup also plays a vital role; choose a dust-free environment and use a spray shelter or tent to keep dust and bugs away from the finish. This careful surface prep and workspace setup will help you achieve a clean surface and flawless polyurethane application every time.
Setting Up and Adjusting Your Sprayer

When you set up your sprayer for polyurethane, selecting the right tip size is essential—using a blue tip designed for a 1″-6″ spray pattern works well on furniture.
Begin your sprayer setup by securely installing the spray tip with the included wrench to guarantee no leaks.
Next, adjust the volume control knob to regulate flow: turn it toward “+” to increase spray or “-” to decrease it.
Maintain a proper distance of 10-12 inches from the surface for consistent spraying.
Before applying polyurethane to your project, perform a test spray on scrap wood. This step allows pattern fine-tuning and flow settings adjustment to achieve even coverage.
Applying and Finishing Polyurethane Coats
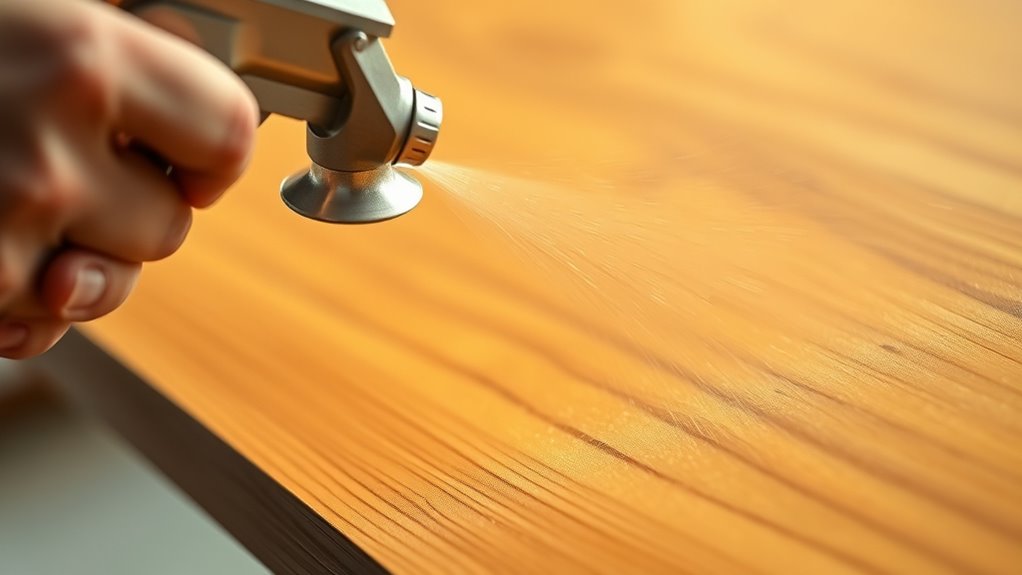
Although applying polyurethane requires patience, you’ll get the best results by spraying thin, even coats with long, continuous strokes to prevent drips and guarantee smooth coverage.
Keep your spray nozzle 10-12 inches from the surface, overlapping each pass by about one-third to ensure uniform application.
Start with a base coat thinned with paint thinner to improve adhesion. After this, apply 2-3 additional coats of full-strength polyurethane.
Between each coat, let the surface dry completely, then sand lightly with 220 grit sandpaper to enhance the finish and help the next coat adhere better.
Avoid using a brush for these coats, as spraying provides a smoother finish.
This method ensures a flawless, professional polyurethane finish with durable protection.
Frequently Asked Questions
Can You Spray Polyurethane Through a Paint Sprayer?
Yes, you can spray polyurethane through a paint sprayer. Just thin oil-based types with mineral spirits and use an HVLP sprayer for best results.
Always test first to get a smooth, even finish. It helps to avoid drips and uneven layers. Give it a try, and you’ll see how easy it can be!
What Paint Sprayer Tip for Polyurethane?
You’ll want the blue tip for polyurethane—because nothing screams “furniture finesse” like a 1″–6″ pattern.
It keeps your finish smooth and controlled, unlike the wild red tip that’s better left for walls, not your masterpiece.
What Pressure Do You Spray Polyurethane At?
You spray polyurethane at 40 to 60 PSI for most sprayers, or 10 to 20 PSI for HVLP models. Adjust pressure carefully to avoid runs or uneven coverage.
Always test on scrap before applying. This helps you get the spray just right and avoid any surprises on your project.
What Type of Spray Gun Is Best for Polyurethane?
Imagine painting with a fine artist’s brush—that’s how an HVLP gravity feed spray gun works best for polyurethane. You’ll get precise control, minimal waste, and a smooth finish perfect for furniture or detailed projects every time.
It’s like having a magic wand for your painting needs. Plus, the gravity feed design means less paint mess and easy cleanup. So, if you want that flawless look without the hassle, this spray gun is your go-to choice.
Conclusion
Now that you’ve mastered using a paint sprayer for polyurethane, your surfaces will look smoother than a lake on a windless day. Just remember, prepping your workspace and adjusting your sprayer correctly are the keys to flawless coats.
Don’t rush—each layer builds that perfect finish you’re aiming for. With a little patience and care, you’ll protect and beautify your projects like a pro.
Using a paint sprayer for polyurethane application not only saves you time but also ensures an even, professional look. So take your time, prep well, and adjust your sprayer settings carefully. This way, your polyurethane finish will shine brighter and last longer, making all your hard work truly stand out.