How to Prime a Wagner Paint Sprayer in 7 Easy Steps
To prime your Wagner paint sprayer, start by securely assembling the nozzle, container, and hose. This step is essential for a smooth painting experience.
Next, thin your paint with water to ensure it flows easily through the sprayer, which helps avoid clogs and splatters.
Fill the container carefully, making sure not to overfill. Setting the spray pattern and fluid control to your preferred settings comes next.
Once everything is set, power on the sprayer and hold it close to a test surface.
Spray until the paint flows evenly without any splatters. If needed, adjust the flow and pressure for consistent coverage.
Keep practicing, and you’ll discover more tips to achieve a flawless finish with your Wagner paint sprayer.
Key Takeaways
- Assemble all sprayer components securely, making sure the nozzle and container are properly locked in place. This helps avoid any leaks or mishaps while spraying.
- Prepare and thin the paint mixture to the right viscosity. You want it smooth enough to spray evenly without clogging the nozzle.
- Fill the paint container with filtered, well-mixed paint, then attach it tightly to the sprayer. A good seal is key to getting a consistent flow.
- Adjust the spray pattern and fluid control knobs. It’s a good idea to test the spray on some scrap material to check for even coverage.
- Power on the sprayer and gradually increase the flow. Keep spraying until you see a consistent, drip-free pattern. That’s when you know it’s primed and ready to go!
Gather and Assemble Your Wagner Paint Sprayer
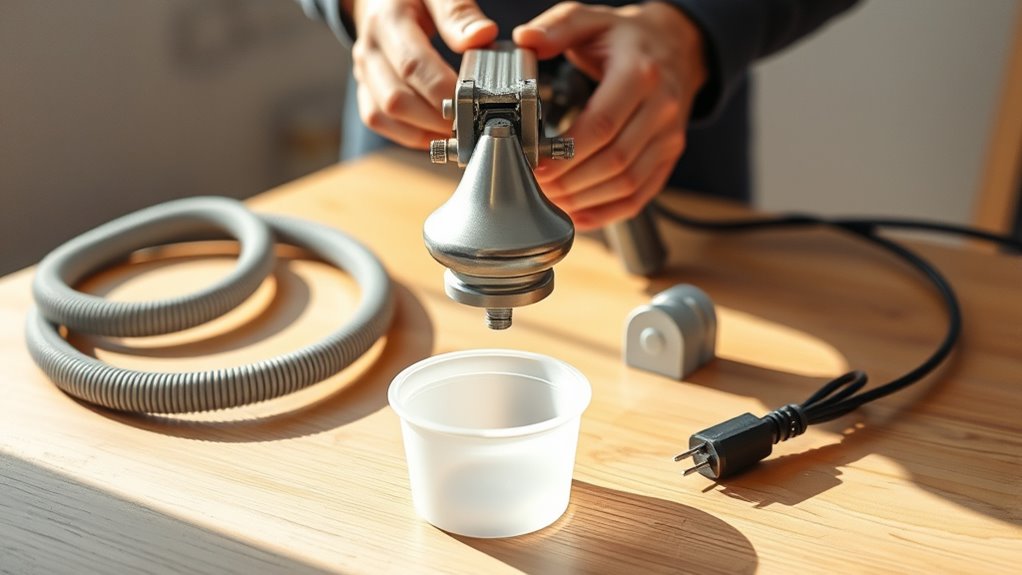
Before you start priming your Wagner paint sprayer, gather all its components and assemble them carefully. Unpack the nozzle, container, and hose, making sure each part is properly clean and free from damage.
Attach the spray nozzle securely to the sprayer body by locking it in place; you should hear a click confirming it’s set. Next, choose the correct container size—48 oz or 28 oz—and attach it firmly, ensuring it’s seated properly to avoid leaks.
Connect the hose tightly to the sprayer, checking every connection for a snug fit. Before moving on, perform a visual inspection to confirm everything is assembled correctly.
This will help maintain a consistent spray pattern and prevent issues during priming and painting. It’s always better to double-check now than fix problems later!
Prepare and Thin Your Paint Mixture
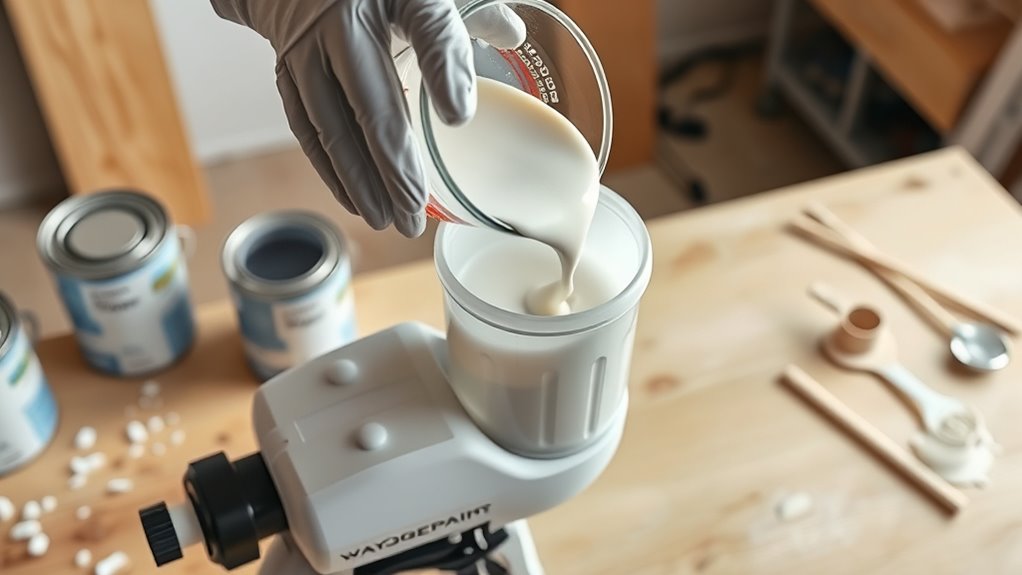
With your Wagner paint sprayer fully assembled and checked, it’s time to focus on preparing your paint mixture for ideal spraying. Start by pouring your chosen paint into a bucket, then add water at a ratio of about 1 part water to 3 parts paint for thinning. Mix thoroughly to combine.
Use a viscosity cup to test the flow rate, aiming for a run-out time between 25 and 40 seconds. This ensures your paint mixture isn’t too thick or too thin.
Filter the mixture through a fine mesh to remove any debris or clumps that could clog the sprayer. Adjust the thinning by adding more water if needed, based on the viscosity test, to guarantee a smooth, consistent spray pattern during priming.
Fill the Paint Container and Secure It

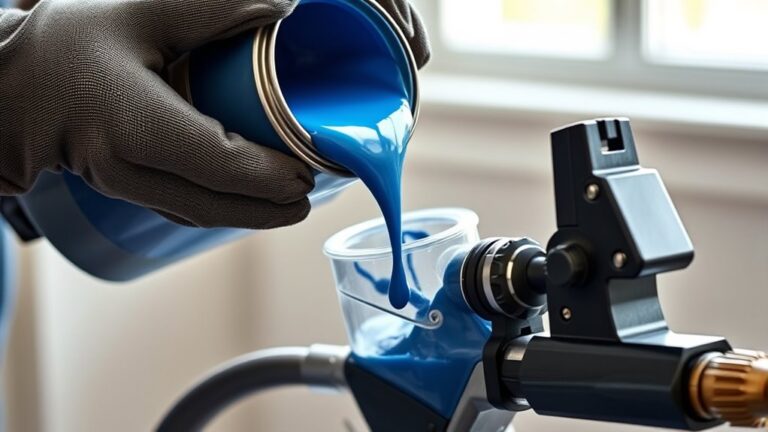
Once you’ve prepared your paint mixture, remove the paint container from the sprayer and make sure it’s clean and dry. Now, carefully fill the container with your properly thinned paint or primer. Just be sure not to go over the maximum fill line.
Next, align the container’s opening with the spray gun’s intake, making sure the dip tube is fully submerged inside the paint. To avoid leaks and keep the flow steady during priming, it’s really important to secure the container well.
Twist or lock the container into place until you hear a click or feel it’s firmly locked. Finally, double-check that the container is tightly sealed and properly mounted. This step ensures your Wagner sprayer will run smoothly without any interruptions.
Set the Spray Pattern and Fluid Control
Although setting the spray pattern and fluid control may seem straightforward, these adjustments are crucial for achieving even coverage and a smooth finish. You’ll want to tailor these settings to fit your project’s needs perfectly.
Properly adjusting spray pattern and fluid control is key to smooth, even paint coverage.
- Adjust the spray pattern knob to choose horizontal, vertical, or circular spray shapes.
- Turn the fluid control knob clockwise to increase paint flow or counterclockwise to reduce it.
- Test the spray pattern and fluid control on scrap material before working on your main surface.
- Modify the spray pattern depending on the thickness of the paint and size of the area.
- Fine-tune fluid control during spraying to prevent drips and maintain consistent coverage.
It might take a bit of practice, but getting these settings right makes a big difference!
Power On and Begin Initial Spraying
Before you start spraying your project, turn on the Wagner paint sprayer by pressing the power switch and letting the motor reach a smooth running speed.
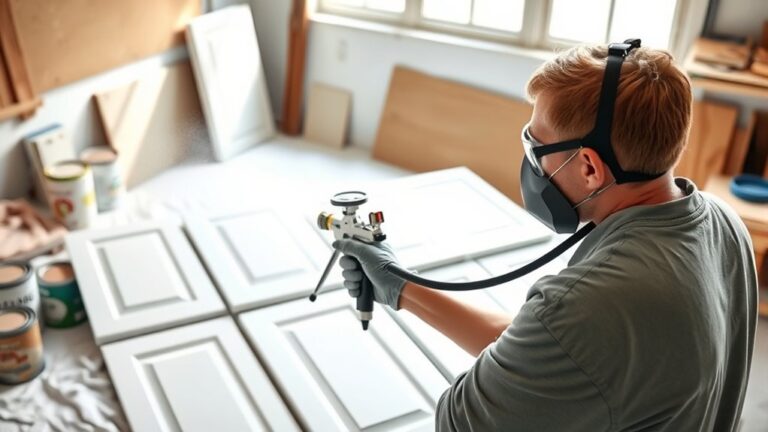
Once powered on, hold the spray gun close to a piece of scrap cardboard or paper for initial spraying. Trigger the spray to check for a steady, even flow of paint.
Gradually increase the flow rate by adjusting the spray pattern knob to ensure the sprayer is properly primed. Keep spraying on the test surface until you get a consistent, drip-free spray pattern.
This confirms the sprayer is ready for your project. Finally, turn off the sprayer and inspect the nozzle for any blockages or clogs before moving on.
Following these steps guarantees a smooth start every time you power on and begin initial spraying.
Adjust Flow and Pressure for Consistency
To achieve a smooth, even finish, you’ll need to adjust the flow and pressure settings on your Wagner paint sprayer carefully. Start by using the spray control knob to regulate the flow rate for consistent paint application.
Adjust flow and pressure on your Wagner sprayer for a smooth, even paint finish every time.
Then, set the pressure adjustment dial, usually between 1.5 to 3 bar, to ensure proper material flow and an even spray pattern.
- Open the material flow control fully to prime the sprayer.
- Trigger the gun to release paint and remove air bubbles.
- Watch the spray pattern closely for pulsing or sputtering.
- Adjust flow and pressure settings if the spray isn’t steady.
- Test spray on a scrap surface to confirm consistency before starting.
Fine-tuning these settings guarantees a flawless coat every time. Just take your time with the adjustments, and you’ll see the difference it makes!
Confirm Smooth Spray and Ready for Use
Once you’ve fine-tuned the flow and pressure for a steady spray, it’s time to confirm your Wagner paint sprayer delivers a smooth, consistent pattern. Start by spraying onto a test surface or cardboard, watching closely as the paint flows.
Adjust the flow control knob if you notice any splattering or sputtering until the spray pattern looks even and uniform. This smooth spray indicates your sprayer is properly primed and ready for use.
Make sure the paint container is securely attached and filled with well-mixed, filtered paint to avoid clogs that could disrupt the spray pattern. Once you see a consistent, clean spray, you’re set to move on to your project with confidence that your Wagner paint sprayer is primed perfectly.
Frequently Asked Questions
How Do I Prime My WAGNER Paint Sprayer?
You prime your Wagner paint sprayer by filling the container, turning it on, and holding the trigger until paint flows steadily.
Keep releasing and pulling the trigger until you don’t see any air bubbles.
Then, just adjust the spray settings to get a smooth flow. Easy!
How Do I Get My Paint Sprayer to Prime?
To get your paint sprayer to prime, start by filling the container with thinned paint. Make sure the paint is properly diluted for smoother flow.
Next, attach the container securely to the sprayer. Turn it on, and hold the trigger down. Keep spraying until the paint flows smoothly without sputtering or air gaps.
If you notice any sputtering, don’t worry—just keep the trigger pressed and give it a moment. The paint will start flowing evenly soon enough!
Why Is My WAGNER Paint Sprayer Not Priming?
Your Wagner paint sprayer isn’t priming because it might have an empty or loose paint container, clogged nozzle, air leaks, or insufficient fluid.
Check these areas, clean any blockages, and make certain everything’s securely connected to fix it.
Sometimes, just a quick look and a little cleaning can get your sprayer back in action. Give it a try!
Can You Put Primer in a WAGNER Paint Sprayer?
Yes, you can put primer in a Wagner paint sprayer, but you’ll need to thin it properly. Use water-based primer, dilute per instructions, strain it, and check viscosity to avoid clogs and make certain of smooth spraying.
Just make sure you follow the thinning guidelines closely. This helps the primer flow through the sprayer without any issues. Taking these steps will give you a great finish every time.
Conclusion
Priming your Wagner paint sprayer is like tuning a musical instrument before a performance—each step ensures your project hits the perfect note. By carefully assembling, adjusting, and testing your sprayer, you set the stage for a flawless finish.
Remember, patience in priming transforms your paint into a smooth, even flow. It turns a simple tool into a brush of creativity. Now, you’re prepared to paint your masterpiece with confidence and ease.
Taking these 7 easy steps to prime your Wagner paint sprayer properly not only saves you time but also guarantees a professional-looking result. So, get ready to enjoy a smooth, even coat every time you use your Wagner paint sprayer. Happy painting!