How to Use Graco Paint Sprayer in 7 Easy Steps
To use your Graco paint sprayer in seven easy steps, start by following all safety precautions and assembling your sprayer correctly. This will ensure everything works smoothly and safely from the get-go.
Next, prime the system to guarantee smooth paint flow, which helps avoid any clogs or uneven spraying.
Prepare the surface by cleaning and repairing imperfections. A clean surface means better paint adhesion and a flawless finish.
Then, adjust your spray settings to get even coverage that matches your project’s needs.
When you start painting, apply paint with steady, overlapping strokes about 12 inches away from the surface. This technique prevents drips and creates a smooth, professional look.
Finally, clean and maintain your equipment right after use to keep your sprayer in top shape.
Keep going, and you’ll discover tips to achieve flawless, professional results every time with your Graco paint sprayer. It’s easier than you think!
Key Takeaways
- Assemble and prime the Graco paint sprayer by securely connecting hoses and setting the dial to “Prime” for water flow before painting. This step ensures everything is ready to go and helps avoid clogs.
- Prepare the surface by cleaning, repairing, sanding, and protecting surrounding areas. Doing this will help the paint stick better and give you a nicer finish overall.
- Adjust the spray pattern to fit your project, keep a steady 12-inch distance from the surface, and use smooth, overlapping strokes. These techniques help you get an even coat without drips or missed spots.
- Apply the paint with consistent motion and proper overlap. Keep an eye on coverage so your finish comes out flawless and uniform.
- Clean and flush the sprayer right after you’re done using it. Take it apart for a thorough cleaning, then store everything in a dry place to keep your sprayer in great shape.
Follow Important Safety Precautions
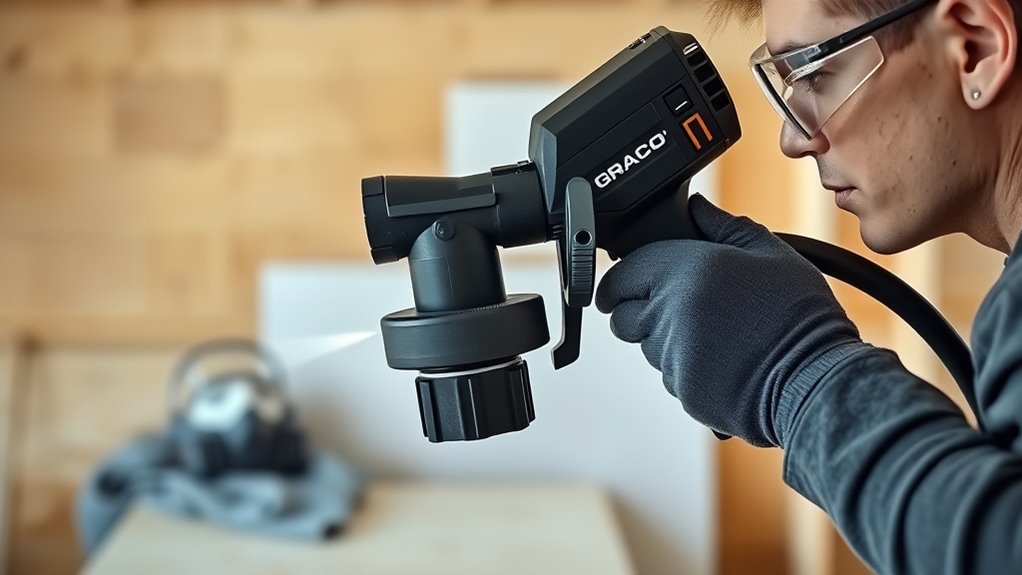
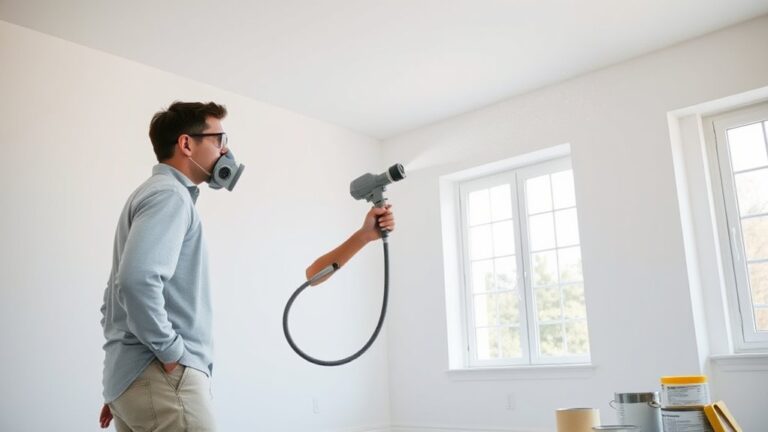
Before you start using your Graco paint sprayer, make sure you follow important safety precautions to protect yourself and others. Always wear protective clothing, goggles, and a mask to shield your skin and eyes from paint particles.
Pay close attention to the sprayer’s manual and follow all safety instructions to reduce risks. Keep the spray area well-ventilated to prevent inhaling harmful fumes and maintain proper airflow.
Be mindful of hazards like overspray, electrical shocks, and tripping over hoses or equipment. Before cleaning, adjusting, or performing maintenance, turn off and disconnect the sprayer to avoid accidental spraying.
Taking these steps guarantees a safe and efficient painting process every time you use your Graco paint sprayer. It’s worth the effort to stay safe!
Assemble and Prepare Your Sprayer
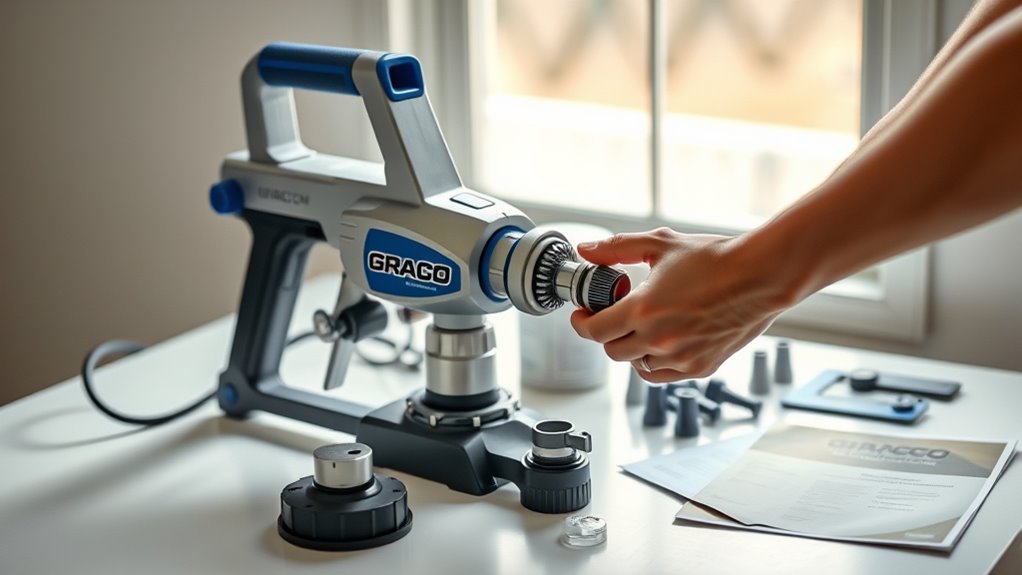
Start by securely connecting the hose and spray gun to avoid leaks.
Next, install the spray tip correctly, making sure the arrow points in the right direction.
Finally, prime your sprayer to flush out any air and prepare it for smooth painting.
Connect Hose Securely
When you connect the spray hose securely to your Graco sprayer, you’ll prevent leaks and guarantee smooth operation. First, attach the hose firmly to the sprayer body and paint container, ensuring a tight fit.
Make sure you use the included filter on the hose end to catch debris and avoid clogging. Double-check the hose clamp for a stable setup.
Also, confirm your spray gun is properly assembled with the tip and guard installed before use.
| Step | Purpose |
|---|---|
| Connect hose to sprayer | Prevent leaks and ensure flow |
| Attach filter | Catch debris, avoid clogging |
| Secure hose clamp | Stabilize connection |
| Connect hose to paint | Avoid spills and leaks |
| Check spray gun | Confirm readiness for spraying |
Install Spray Tip
Although connecting the hose is essential, installing the spray tip correctly is equally important for a smooth paint flow. Start by inserting the spray tip into your paint sprayer’s gun, making sure to align the arrow on the tip with the spray pattern direction.
The larger end of the spray tip should face the gun to ensure proper priming and flow. Push the spray tip firmly until it clicks or seats securely in place.
Next, lock it by tightening the retaining ring or collar if your model has one. This prevents the tip from loosening during use.
Finally, double-check that the spray tip is installed correctly and oriented properly before moving on to the next step. This setup guarantees efficient and consistent spraying.
Prime Sprayer Properly
Before you start spraying, you’ll need to prime your Graco paint sprayer properly to guarantee smooth and consistent paint flow. First, connect the hose securely to the spray gun and make sure the filter is in place.
Switch the machine to the priming setting, then run water through the hoses for 30 to 60 seconds until it runs clear. Remove the filter from the spray gun and dunk it in a cleaning container to prevent clogs.
Next, attach the spray tip, aligning the arrow for correct spray direction. Lock the trigger to avoid accidental spraying.
It’s a good idea to use two buckets—one with water to flush the hoses initially, and one with paint to prepare the sprayer system. Once everything is ready, switch to paint for ideal performance.
Prime the Sprayer System
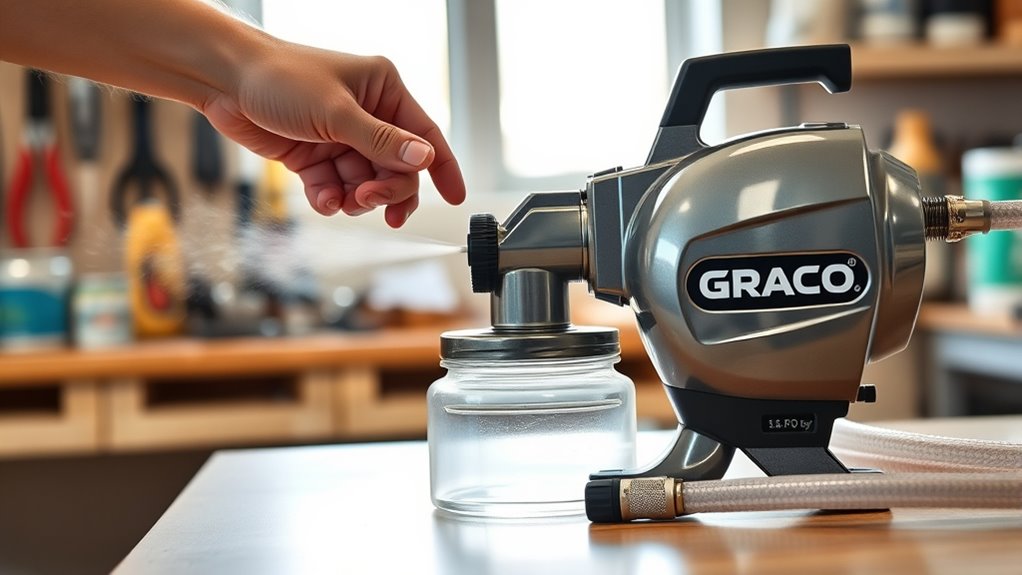
Because proper priming guarantees smooth paint flow, you’ll start by setting the sprayer dial to “Start” and switching the lever to “Prime” to initiate water flow through the system.
Begin with two buckets: one filled with clean water for initial hose priming and another with paint for priming the actual paint line.
Start with two buckets—clean water for hose priming and paint for priming the paint line.
Turn on the sprayer and let water run through the hose for 30-60 seconds until it flows clear, flushing out any residual paint.
After this, remove the water hose from the water bucket and connect it to the paint bucket.
Remember to lock the spray gun trigger during priming to avoid accidental spraying.
This priming process ensures your sprayer is ready for consistent paint application.
Prepare the Surface for Painting
Before you start painting, make sure to clean the walls thoroughly to remove any dirt and grease. Fix any cracks or holes and sand the surface smooth for the best results.
Don’t forget to protect nearby furniture and floors with drop cloths to keep everything safe from overspray. It’s a simple step, but it really helps keep your space neat.
Clean Walls Thoroughly
When you clean your walls thoroughly, you make certain the paint adheres smoothly and lasts longer. Start by washing interior walls with trisodium phosphate (TSP) and letting them dry completely before you paint or stain.
For exterior walls, use a pressure washer with the right cleaning solution to remove dirt and grime. Make sure to cover baseboards, furniture, and plants to protect them from overspray.
| Surface Type | Cleaning Method |
|---|---|
| Interior | Wash with TSP, dry completely |
| Exterior | Pressure wash with cleaning solution |
| Protection | Cover baseboards, furniture, plants |
| Dry Time | Ensure walls dry fully before painting |
Clean walls provide the best foundation for your paint or stain to adhere and look flawless. So, taking the time to clean properly really pays off!
Repair Surface Imperfections
Though cleaning sets the stage, repairing surface imperfections guarantees your paint job looks flawless. Start by inspecting the surface carefully for cracks, chips, and holes.
Use an appropriate filler to repair these flaws, making sure the surface is even. Next, sand any rough or uneven areas to create a smooth base that helps paint adhere better.
After repairs, clean the surface again if needed and allow everything to dry completely. This step is vital because applying paint on damp surfaces can cause adhesion problems.
Taking the time to repair your surface properly means your Graco paint sprayer will deliver a sleek, professional finish that lasts. Don’t rush this prep work—it’s the foundation of a great paint job.
Protect Surrounding Areas
After fixing surface imperfections and ensuring everything is dry, you need to shield the surrounding areas from paint overspray. This step is super important to keep paint off your furniture, floors, and plants.
Use drop cloths or plastic sheeting to cover everything near your painting area. Here’s how to protect your space effectively:
- Cover furniture, baseboards, and plants with drop cloths or plastic sheeting to catch any overspray.
- Remove or shield light fixtures, switches, and outlets to avoid paint splatter.
- Secure all coverings firmly to prevent them from shifting during spraying.
Taking these precautions helps keep your workspace clean and gives you a professional finish. Plus, it saves you from extra cleanup after using your Graco paint sprayer.
Adjust Spray Settings and Technique
Because your spray settings and technique directly affect the finish quality, you’ll want to modify the spray pattern control on the gun to suit your project and hold the gun about 12 inches from the surface to make certain of even coverage.
Set the spray pattern to either side-to-side or up-and-down, depending on your paint distribution needs. This adjustment helps you control how the paint spreads across the surface.
Keep your strokes long and continuous, starting before pulling the trigger and releasing after passing the edge of your previous pass. Lock the trigger when pausing to prevent accidental paint spurts.
Apply Paint With Proper Overlap
When you apply paint with your Graco sprayer, maintaining about a 50% overlap on each pass guarantees smooth, even coverage without streaks or gaps. Using your airless sprayer properly assures every coat of paint lays down uniformly.
Maintain a 50% overlap with your Graco sprayer for smooth, streak-free, and even paint coverage every time.
Here’s how to apply paint with proper overlap:
- Start your stroke before pulling the trigger and release it after passing the previous coat’s edge to avoid streaks.
- Keep the spray gun about 12 inches from the surface to maintain consistent overlap and prevent drips.
- Adjust the spray pattern width to fit the surface, overlapping adjacent passes by half the spray width to eliminate gaps.
Make sure you regularly check your overlap as you go. That way, you’ll keep a steady, flawless coat of paint across the entire surface.
Clean and Maintain Your Equipment
To keep your Graco paint sprayer performing at its best, you’ll want to clean and maintain it thoroughly right after each use. Rinse all hoses, spray tips, and the gun with water or the right cleaning solution to prevent paint from drying and clogging your equipment.
Use the water adapter to run clean water through the system until it flows clear, flushing out any leftover paint. Regularly disassemble spray tips and nozzles, cleaning them with a brush or solvent to maintain ideal spray patterns.
Store your sprayer in a dry, rust-protected place, applying pump armor or rust inhibitors if storing long-term. And don’t forget to follow the manufacturer’s cleaning schedule and recommended products, especially when switching paint types, to keep your sprayer in top shape.
Frequently Asked Questions
Should You Thin Paint When Using a Graco Sprayer?
Yes, you should thin paint if its viscosity exceeds your Graco sprayer’s range.
Add water for water-based or mineral spirits for oil-based paints. Always test flow first and avoid over-thinning to guarantee smooth, even coverage.
It’s all about getting that perfect consistency so your sprayer works efficiently. Just take your time and adjust as needed!
How to Use a Paint Sprayer for the First Time?
Start by reading the manual carefully, then prepare and strain your paint. Connect hoses, install the spray tip, and prime the sprayer.
Practice on scrap material, wear protective gear, and maintain consistent spray patterns for best results. It might feel tricky at first, but with a little practice, you’ll get the hang of it quickly.
Do You Add Water to Paint When You Use an Airless Paint Sprayer?
You usually don’t add water to paint when using an airless sprayer. But if your paint’s too thick, you might thin it slightly—just follow the label’s advice carefully to avoid ruining your finish.
Sometimes, the paint can be a bit too dense to spray properly. In that case, adding a little water can help, but only a small amount.
Make sure to check the paint can for thinning instructions. That way, you won’t mess up the texture or coverage of your paint job.
What Is the Number One Rule When Using an Airless Spray Gun?
The number one rule when using an airless spray gun is to always keep the trigger locked when you’re not spraying.
This prevents accidental discharge and keeps you and others safe during your project.
It’s a simple step, but it makes a big difference. Always stay alert and handle your equipment with care!
Conclusion
By following these steps, you’ll get professional results with your Graco paint sprayer every time. For example, imagine transforming a dull fence into a vibrant centerpiece in just one afternoon—thanks to proper preparation and technique.
Remember, safety and maintenance keep your sprayer working smoothly for years. Stick to these tips, and you’ll save time, avoid frustration, and enjoy a flawless finish on all your projects.
Using a Graco paint sprayer correctly not only speeds up your painting tasks but also delivers a high-quality, even coat. With the right approach, you can tackle any painting job, from fences to furniture, with confidence. Keep your sprayer clean and well-maintained, and it will be a reliable tool in your DIY arsenal for many projects to come.